Follow Me On Pinterest!


If you have never tried farro, you are missing out on one of the most satisfying grains in the pantry. This ancient grain boasts a delightful chewy texture and a nutty flavor that elevates any meal from “fine” to “phenomenal.” Traditionally, farro takes quite a while to simmer on the stove, requiring constant attention so it doesn’t boil over or stick. However, using the Instant Pot changes the game entirely. This method delivers perfectly tender yet distinct grains every single time with zero babysitting. It is the ultimate hands-off side dish that your family will actually ask for by name.
Recipe Information
- Prep Time: 5 minutes
- Cook Time: 15 minutes
- Total Time: 20 minutes
- Servings: 4
- Difficulty: Easy
Nutrition values
- Calories: 220 kcal
- Protein: 8g
- Carbs: 45g
Why Make This Instant Pot Farro Grains Easy One Pot Family
This recipe is a lifesaver for busy weeknights. Farro is a nutritional powerhouse, packed with fiber and protein, making it much more filling than white rice or pasta. By using the Instant Pot, you eliminate the guesswork of stovetop temperatures and evaporation rates. It is a true “set it and forget it” recipe that yields consistent results. Whether you are meal prepping for the week or looking for a quick base for a family stir-fry, this one-pot method saves you time and cleanup effort. Plus, children often love the bouncy, popping texture of the grains!
Ingredients
- 1 cup pearled farro (rinsed thoroughly)
- 2 cups vegetable broth or chicken broth (for extra flavor)
- 1/2 teaspoon kosher salt
- 1 tablespoon extra virgin olive oil or butter
- Optional: 1 clove garlic (minced) or a sprig of fresh thyme
Directions
Step 1: Preparation
Begin by placing the dry farro in a fine-mesh strainer. Rinse it under cold running water for about 30 seconds to remove any excess surface starch. This step is crucial because it prevents the grains from becoming gummy during the pressure cooking process. Shake the strainer well to drain off as much water as possible. If you want extra depth of flavor, hit the “Sauté” button on your Instant Pot and toast the dry grains with a drizzle of olive oil for 2 minutes before adding the liquid.
Step 2: Cooking
Add the rinsed farro, broth (or water), salt, and olive oil into the Instant Pot stainless steel inner pot. Stir everything briefly to ensure the grains are submerged. Secure the lid and set the steam release valve to the “Sealing” position. Select the “Manual” or “Pressure Cook” setting on High Pressure and set the timer for 12 minutes for a chewy texture, or 15 minutes if you prefer a softer grain. Once the timer beeps, let the pressure release naturally for 10 minutes before manually venting the remaining steam.
Step 3: Plating
Carefully open the lid and fluff the farro with a fork. If there is a small amount of excess liquid at the bottom, you can drain it or let the grains sit for a few minutes to absorb it. Transfer the farro to a large serving bowl. You can serve it plain as a side dish, or toss it with fresh herbs, lemon juice, and a sprinkle of parmesan cheese for a quick Mediterranean salad. Serve immediately while warm or store it for later use.
Expert Tips for Perfect Instant Pot Farro Grains Easy One Pot Family
For the best results, always check your farro packaging. This recipe uses “pearled” farro, which has the bran removed and cooks quickly. If you have “whole grain” farro, you will need to increase the cook time to 30 minutes. Another tip is to use broth instead of water. Cooking grains in salted broth infuses flavor into the core of the grain rather than just seasoning the outside. Lastly, don’t skip the natural pressure release; this allows the steam to distribute evenly, ensuring every grain is cooked through without becoming mushy.
Delicious Variations
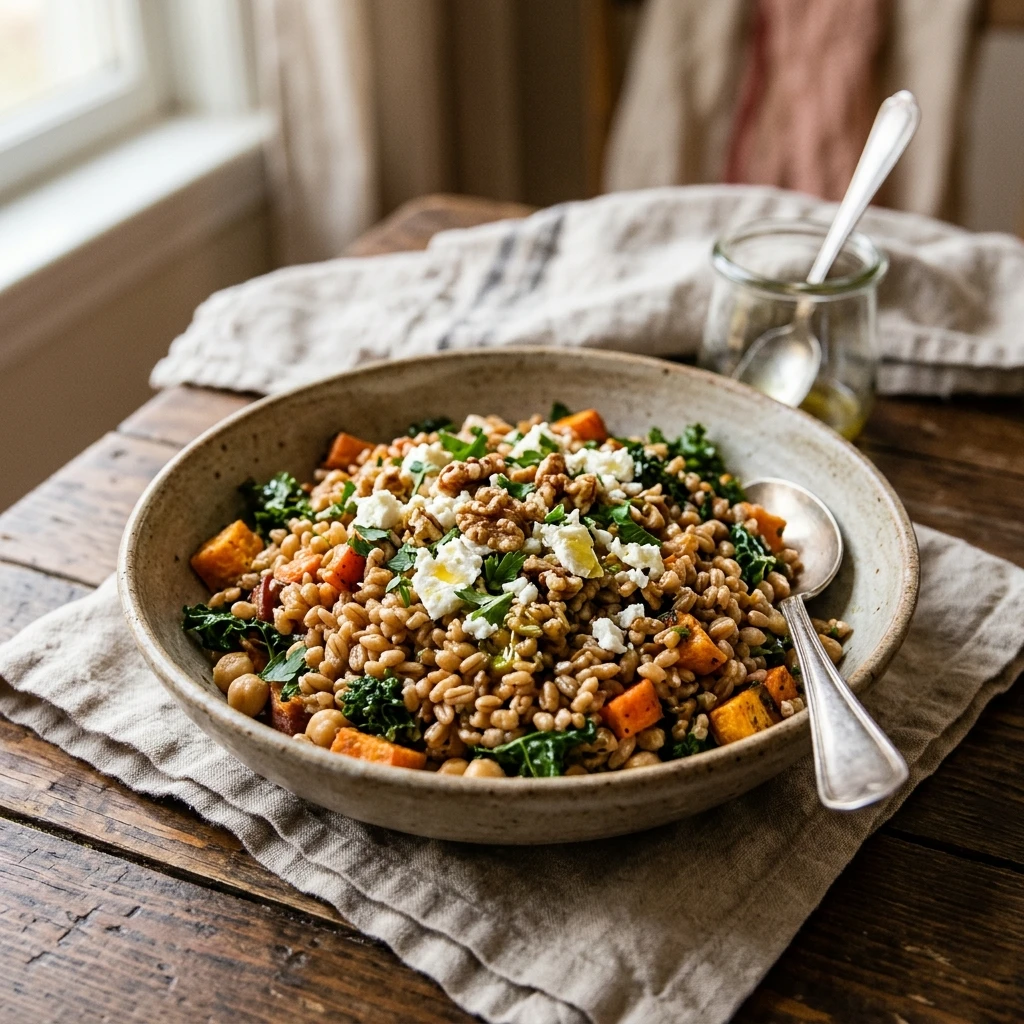
You can easily customize this farro to match any cuisine. For a Greek-inspired dish, toss the cooked farro with cucumbers, cherry tomatoes, olives, and feta cheese. For a hearty autumn bowl, mix in roasted butternut squash, dried cranberries, and toasted pecans. If you want a breakfast twist, cook the farro in almond milk and water, then top it with honey, cinnamon, and fresh berries. You can even turn it into a “fried rice” style dish by sautéing it with peas, carrots, and soy sauce after it finishes in the pressure cooker.
Frequently Asked Questions
Do I have to soak the farro before cooking?
No, one of the best parts about using the Instant Pot is that you do not need to soak pearled farro. The high pressure softens the grains perfectly without any prep work other than a quick rinse.
What is the ratio of farro to liquid in the Instant Pot?
The ideal ratio for the Instant Pot is 1 part farro to 2 parts liquid. This ensures the grains are fully hydrated without becoming a soggy porridge.
Can I freeze cooked farro?
Yes! Farro freezes beautifully. Let it cool completely, then store it in airtight freezer bags. It will stay fresh for up to 3 months. Just reheat with a splash of water when you’re ready to eat.
What if my farro is still too crunchy?
If the farro is too firm for your liking, add 1/4 cup of water, seal the lid, and cook for another 2-3 minutes on high pressure. Most people find 12-15 minutes to be the “sweet spot” for pearled varieties.
Is farro gluten-free?
No, farro is a type of wheat (specifically an ancient wheat grain), so it contains gluten and is not suitable for those with Celiac disease or gluten sensitivities.
Conclusion
Making farro in the Instant Pot is a game-changer for anyone looking to incorporate healthy, whole grains into their family’s diet. It is fast, consistent, and requires almost no effort. By mastering this basic technique, you unlock a versatile base for hundreds of different meals. Give this recipe a try tonight and enjoy the incredible texture and flavor that only perfectly cooked farro can provide!
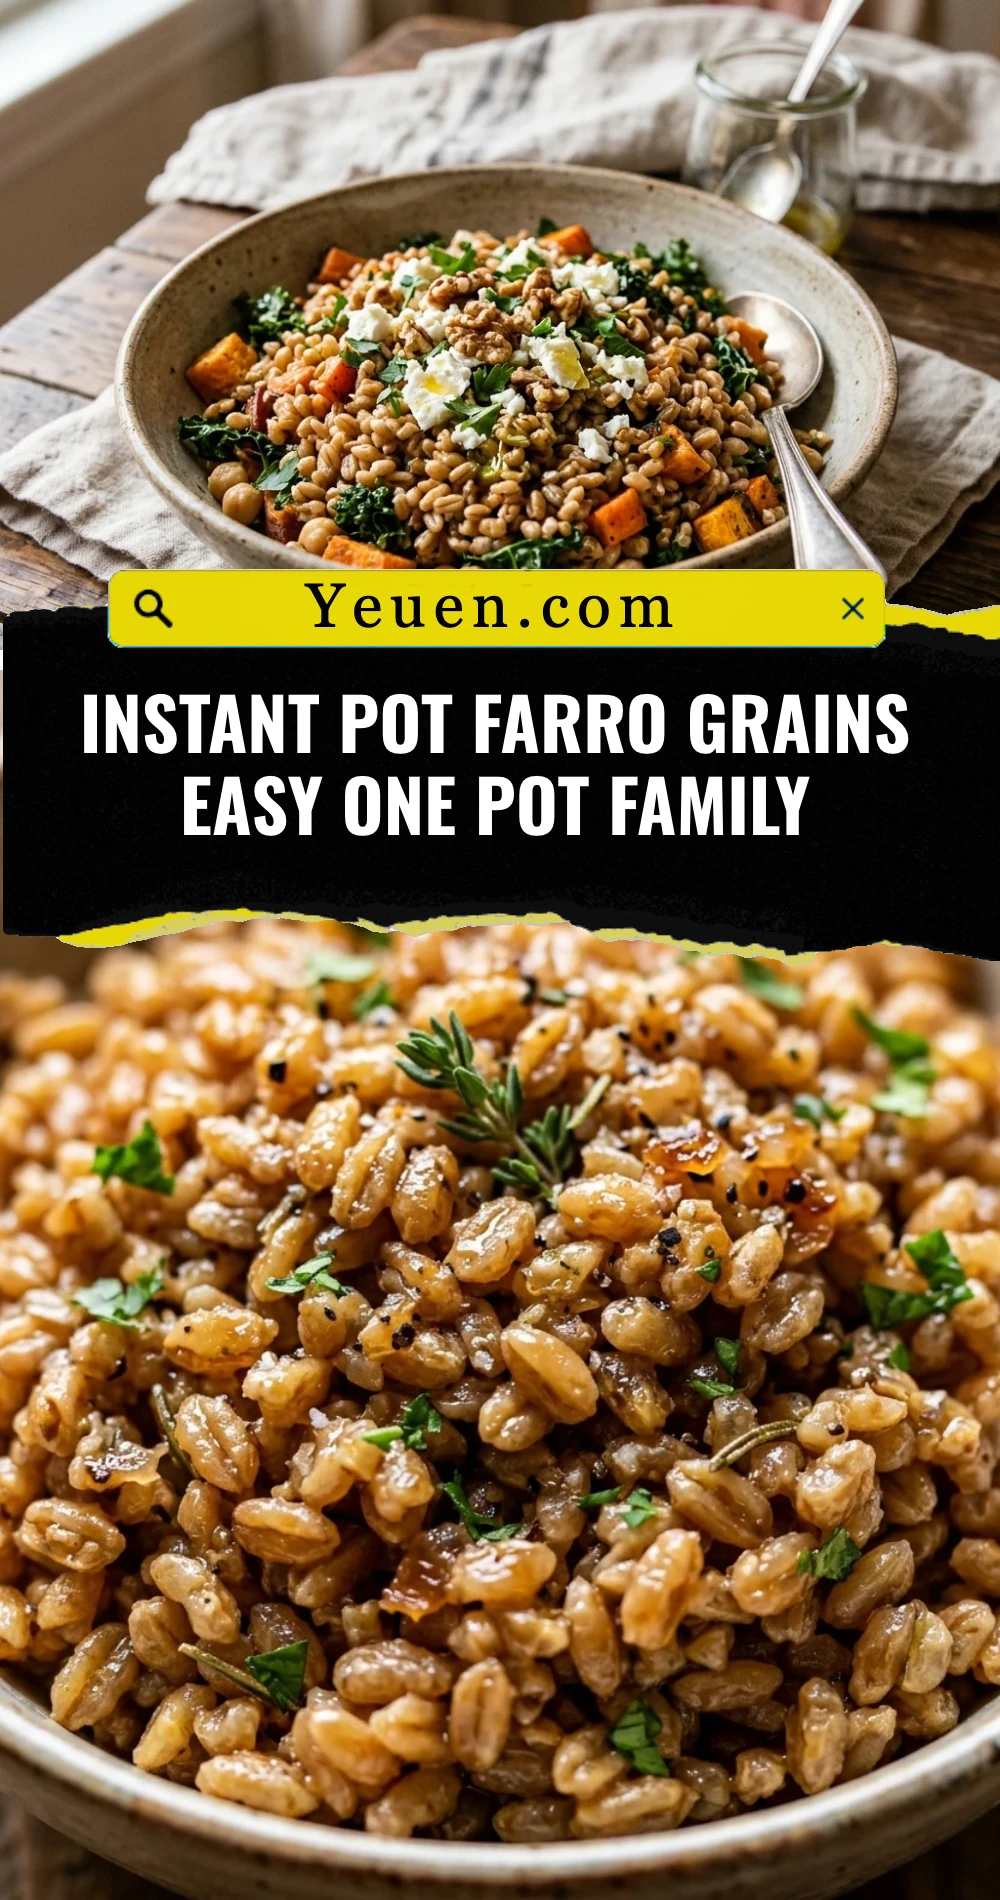

Instant Pot Farro Grains Easy One Pot Family
- Total Time: 20 minutes
- Diet: Vegetarian
Ingredients
Scale
- 1 cup pearled farro (rinsed thoroughly)
- 2 cups vegetable broth or chicken broth (for extra flavor)
- 1/2 teaspoon kosher salt
- 1 tablespoon extra virgin olive oil or butter
- Optional: 1 clove garlic (minced) or a sprig of fresh thyme
Instructions
- Begin by placing the dry farro in a fine-mesh strainer. Rinse it under cold running water for about 30 seconds to remove any excess surface starch. This step is crucial because it prevents the grains from becoming gummy during the pressure cooking process. Shake the strainer well to drain off as much water as possible. If you want extra depth of flavor, hit the “Sauté” button on your Instant Pot and toast the dry grains with a drizzle of olive oil for 2 minutes before adding the liquid.
- Add the rinsed farro, broth (or water), salt, and olive oil into the Instant Pot stainless steel inner pot. Stir everything briefly to ensure the grains are submerged. Secure the lid and set the steam release valve to the “Sealing” position. Select the “Manual” or “Pressure Cook” setting on High Pressure and set the timer for 12 minutes for a chewy texture, or 15 minutes if you prefer a softer grain. Once the timer beeps, let the pressure release naturally for 10 minutes before manually venting the remaining steam.
- Carefully open the lid and fluff the farro with a fork. If there is a small amount of excess liquid at the bottom, you can drain it or let the grains sit for a few minutes to absorb it. Transfer the farro to a large serving bowl. You can serve it plain as a side dish, or toss it with fresh herbs, lemon juice, and a sprinkle of parmesan cheese for a quick Mediterranean salad. Serve immediately while warm or store it for later use.
- Cook Time: 20 minutes