Follow Me On Pinterest!


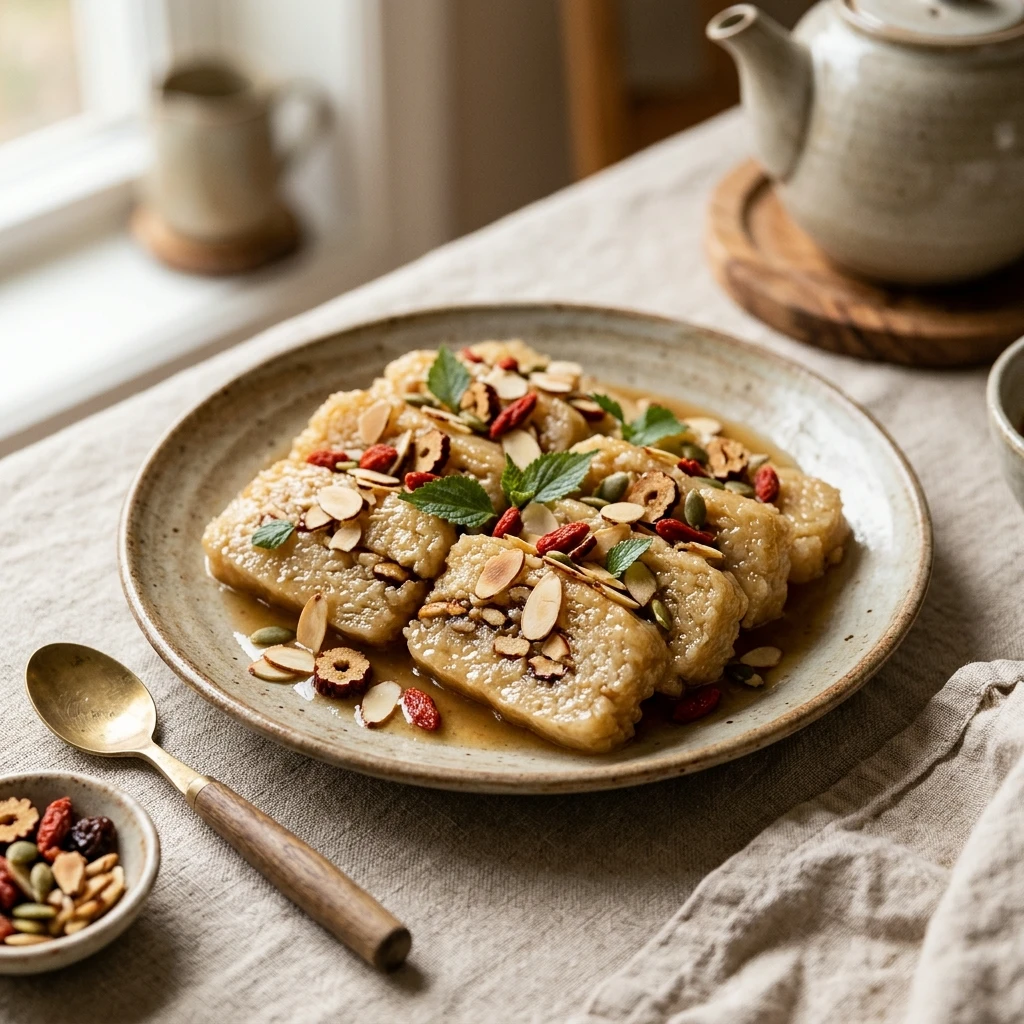
Imagine a dessert that is chewy, sweet, and satisfying, but takes almost no effort to prepare. This Instant Pot Rice Cake is the ultimate life hack for busy families who crave a homemade treat without the long wait. Using the magic of pressure cooking, you can achieve that perfect sticky texture in a fraction of the time it takes on a stovetop or in a traditional steamer. Whether you are celebrating a special occasion or just want a midweek pick-me-up, this recipe delivers consistent results every single time. It is a fantastic way to introduce your family to the delightful world of glutinous rice desserts with minimal cleanup.
Recipe Information
- Prep Time: 5 minutes
- Cook Time: 15 minutes
- Total Time: 20 minutes
- Servings: 8 servings
- Difficulty: Easy
Nutrition values
- Calories: 210 kcal
- Protein: 2g
- Carbs: 48g
Why Make This Instant Pot Rice Cake Easy 20 Min Family Dessert
This recipe is a game-changer for anyone who loves the chewy texture of Asian-style desserts but hates the hovering over a hot stove. It uses simple pantry staples like glutinous rice flour and brown sugar, making it an affordable option for large families. The Instant Pot ensures a moist environment, preventing the rice cake from drying out or becoming tough. Plus, the high-pressure environment speeds up the starch gelatinization, giving you that perfect “QQ” (chewy) texture in just minutes. It is naturally gluten-free and can easily be made vegan, ensuring everyone at the table can enjoy a slice.
Ingredients
- 2 cups glutinous rice flour (also known as sweet rice flour)
- 1 cup light brown sugar, firmly packed
- 1 cup warm water (or full-fat coconut milk for extra richness)
- 1 tablespoon vegetable oil or melted coconut oil
- 1 teaspoon vanilla extract
- 1/4 teaspoon salt
- Toasted sesame seeds for garnish
- Cooking spray for the pan
- 1 cup water (for the Instant Pot base)
Directions
Step 1: Mix the Batter
In a large mixing bowl, whisk together the glutinous rice flour, brown sugar, and salt. Ensure there are no large clumps of sugar. Slowly pour in the warm water (or coconut milk), vegetable oil, and vanilla extract. Use a whisk or a silicone spatula to stir the mixture until it is completely smooth. The batter should be thick but pourable, resembling a heavy pancake batter.
Step 2: Prepare the Baking Pan
Lightly grease a 6-inch or 7-inch round cake pan that fits comfortably inside your Instant Pot. Pour the prepared batter into the pan. Tap the pan firmly on your kitchen counter three or four times to help any trapped air bubbles rise to the surface and pop. Cover the top of the pan tightly with a piece of aluminum foil to prevent steam moisture from dripping onto the surface of the cake during the cooking process.
Step 3: Setup the Instant Pot
Add 1 cup of water to the inner stainless steel pot of your Instant Pot. Place a steam rack or trivet at the bottom. Create a “sling” by folding a long piece of aluminum foil into a narrow strip; place this under your cake pan to help you lower and lift it safely. Carefully lower the cake pan onto the trivet using the sling.
Step 4: Pressure Cooking
Secure the Instant Pot lid and ensure the steam release valve is set to the “Sealing” position. Select the “Manual” or “Pressure Cook” button and set the timer for 15 minutes on High Pressure. The pot will take a few minutes to come to pressure before the countdown begins.
Step 5: Plating and Cooling
Once the cooking cycle finishes, perform a quick pressure release by carefully moving the valve to “Venting.” Use the foil sling to lift the pan out of the pot. Remove the foil cover immediately. Let the rice cake cool completely in the pan—this is crucial as the cake sets and reaches its final chewy texture while cooling. Once cool, run a knife around the edges, flip it onto a plate, sprinkle with toasted sesame seeds, and slice into wedges.
Expert Tips for Perfect Instant Pot Rice Cake Easy 20 Min Family Dessert
Always double-check your flour label. You must use “Glutinous Rice Flour” (often found in bags with red lettering) rather than standard white rice flour. Standard rice flour will result in a hard, crumbly cake rather than a chewy one. For the best flavor, use dark brown sugar to give the cake a deep, caramel-like color and taste. If you find the cake is too sticky to slice, lightly grease your knife with a tiny bit of oil before cutting. Lastly, do not skip the foil cover; without it, the top of your cake will become soggy from the steam condensate inside the pressure cooker.
Delicious Variations
- Coconut Delight: Use full-fat canned coconut milk instead of water and fold in 1/4 cup of shredded unsweetened coconut into the batter.
- Red Bean Surprise: Pour half the batter into the pan, add a layer of sweetened red bean paste, and then cover with the remaining batter.
- Pandan Infusion: Add 1/2 teaspoon of pandan extract to the batter for a bright green color and a unique floral, nutty aroma.
- Crispy Pan-Fried: After the cake has cooled and set, slice it and pan-fry the pieces in a little butter until the outside is crispy and the inside is molten.
Frequently Asked Questions
Can I make this recipe in a 3-quart Instant Pot?
Yes, you can make this in a 3-quart model as long as you use a 6-inch pan that fits inside the inner pot. The cooking time remains the same.
Why is my rice cake so sticky?
Rice cakes made with glutinous rice flour are naturally very sticky! This is the desired texture. However, if it feels wet or undercooked, ensure you covered it tightly with foil and allowed it to cool completely before slicing.
How do I store the leftovers?
Store leftovers in an airtight container at room temperature for up to 2 days. You can also refrigerate it for up to 5 days, but it will harden. Simply microwave it for 15 seconds to restore the chewiness.
Is this recipe vegan?
Yes, as long as you use water or a plant-based milk like coconut milk and ensure your sugar is vegan-friendly, this recipe is naturally plant-based and dairy-free.
Can I use honey or maple syrup instead of brown sugar?
You can substitute the sugar with liquid sweeteners, but you may need to reduce the water slightly to maintain the correct batter consistency. The flavor profile will also change significantly.
Conclusion
This Instant Pot Rice Cake is the perfect solution for anyone looking for a fast, delicious, and unique family dessert. It bridges the gap between traditional steamed treats and modern convenience, proving that your pressure cooker is capable of so much more than just savory stews. With its delightful chewiness and simple ingredient list, it is a recipe you will find yourself returning to again and again. Serve it warm or at room temperature, and enjoy the smiles it brings to your table!
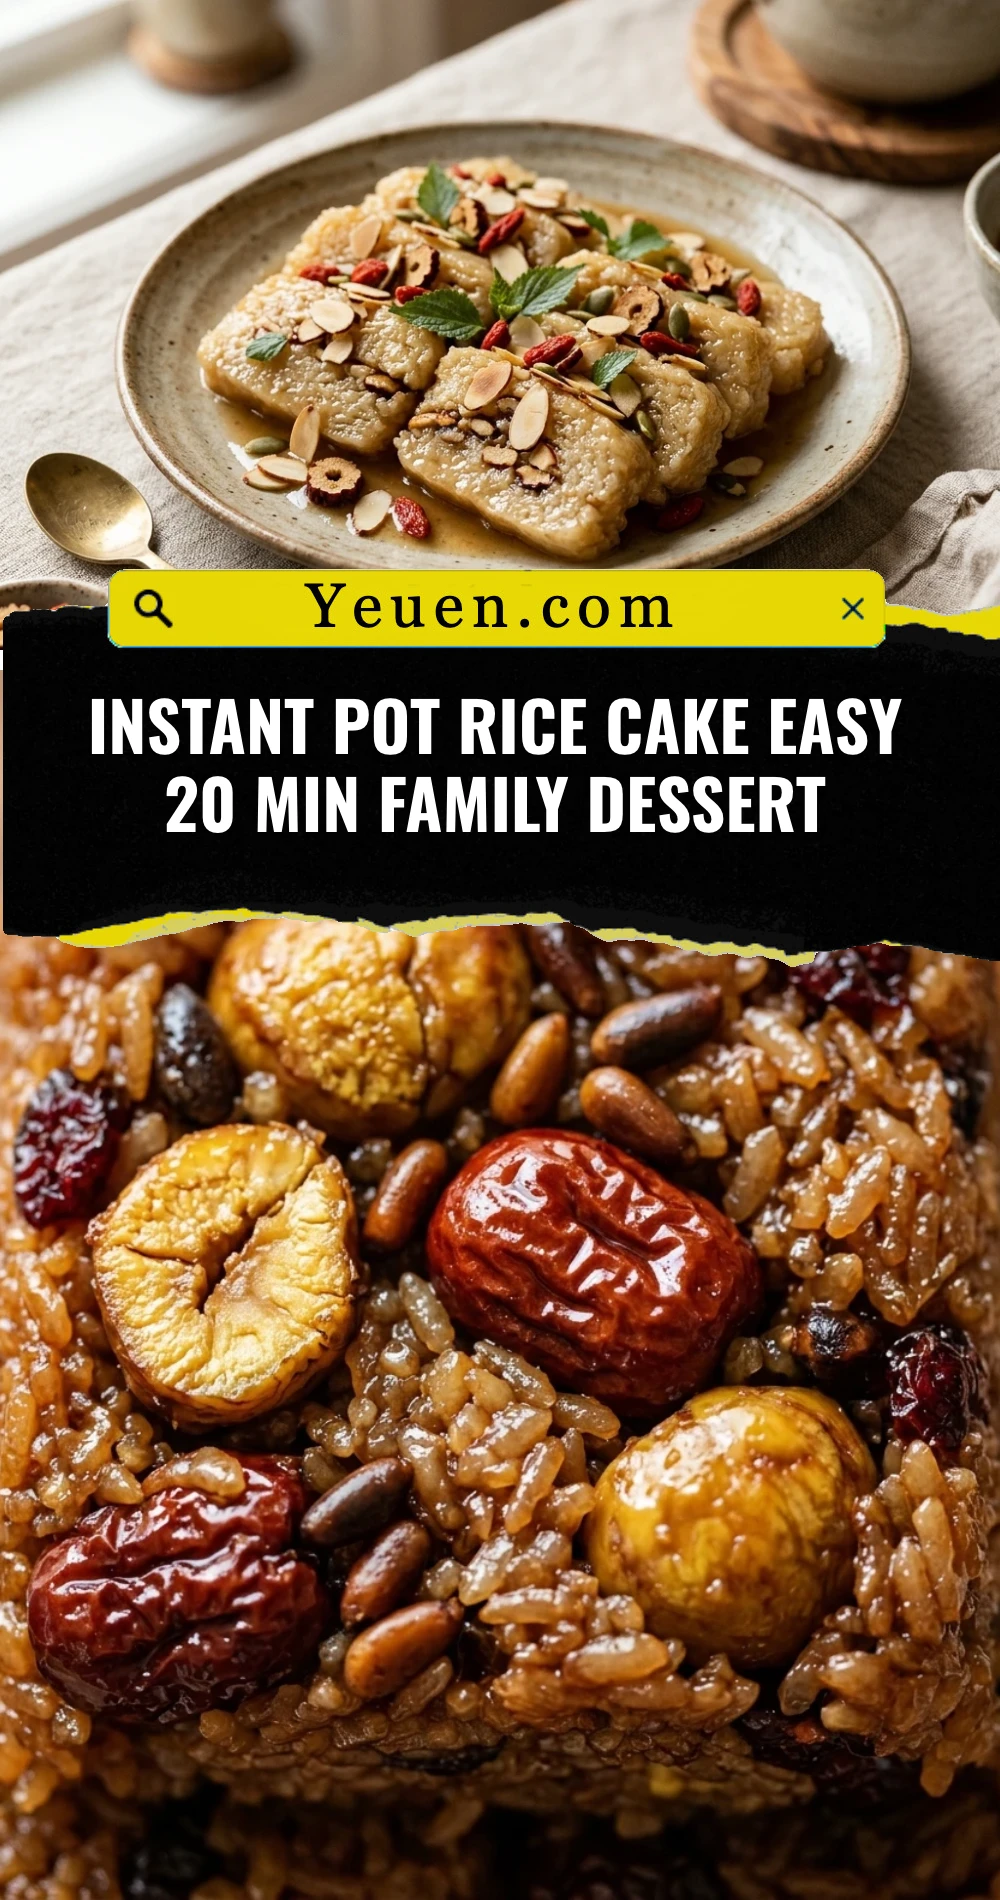

Instant Pot Rice Cake Easy 20 Min Family Dessert
- Total Time: 20 minutes
- Diet: Gluten-Free, Vegan, Vegetarian
Ingredients
Scale
- 2 cups glutinous rice flour (also known as sweet rice flour)
- 1 cup light brown sugar, firmly packed
- 1 cup warm water (or full-fat coconut milk for extra richness)
- 1 tablespoon vegetable oil or melted coconut oil
- 1 teaspoon vanilla extract
- 1/4 teaspoon salt
- Toasted sesame seeds for garnish
- Cooking spray for the pan
- 1 cup water (for the Instant Pot base)
Instructions
- In a large mixing bowl, whisk together the glutinous rice flour, brown sugar, and salt. Ensure there are no large clumps of sugar. Slowly pour in the warm water (or coconut milk), vegetable oil, and vanilla extract. Use a whisk or a silicone spatula to stir the mixture until it is completely smooth. The batter should be thick but pourable, resembling a heavy pancake batter.
- Lightly grease a 6-inch or 7-inch round cake pan that fits comfortably inside your Instant Pot. Pour the prepared batter into the pan. Tap the pan firmly on your kitchen counter three or four times to help any trapped air bubbles rise to the surface and pop. Cover the top of the pan tightly with a piece of aluminum foil to prevent steam moisture from dripping onto the surface of the cake during the cooking process.
- Add 1 cup of water to the inner stainless steel pot of your Instant Pot. Place a steam rack or trivet at the bottom. Create a “sling” by folding a long piece of aluminum foil into a narrow strip; place this under your cake pan to help you lower and lift it safely. Carefully lower the cake pan onto the trivet using the sling.
- Secure the Instant Pot lid and ensure the steam release valve is set to the “Sealing” position. Select the “Manual” or “Pressure Cook” button and set the timer for 15 minutes on High Pressure. The pot will take a few minutes to come to pressure before the countdown begins.
- Once the cooking cycle finishes, perform a quick pressure release by carefully moving the valve to “Venting.” Use the foil sling to lift the pan out of the pot. Remove the foil cover immediately. Let the rice cake cool completely in the pan—this is crucial as the cake sets and reaches its final chewy texture while cooling. Once cool, run a knife around the edges, flip it onto a plate, sprinkle with toasted sesame seeds, and slice into wedges.
- Cook Time: 20 minutes