Follow Me On Pinterest!


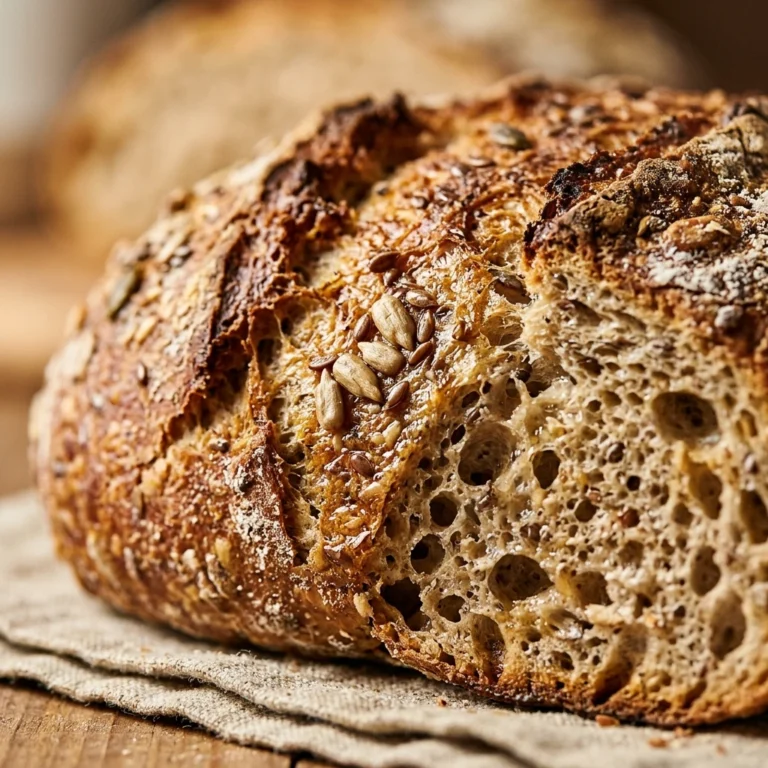
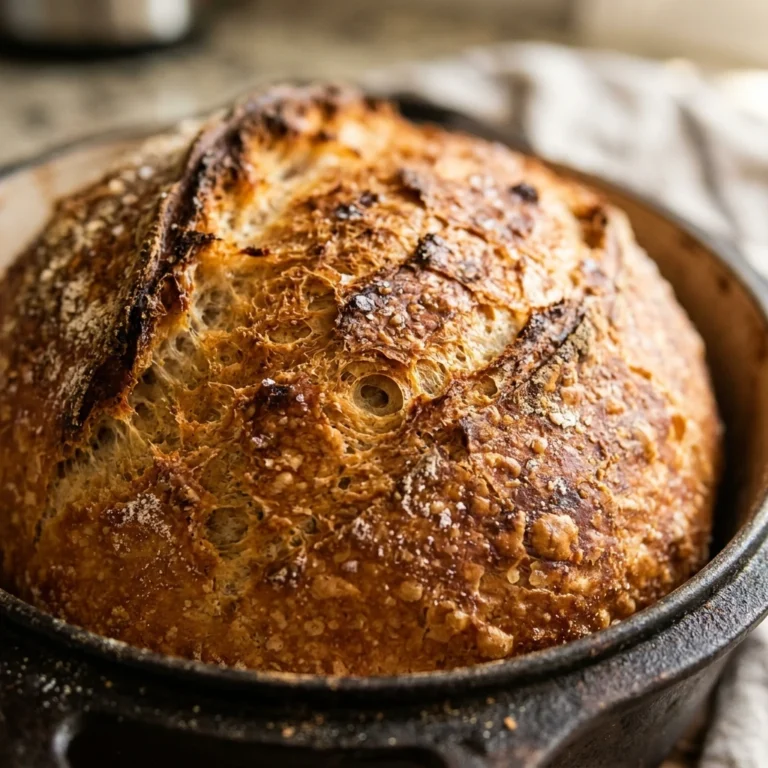
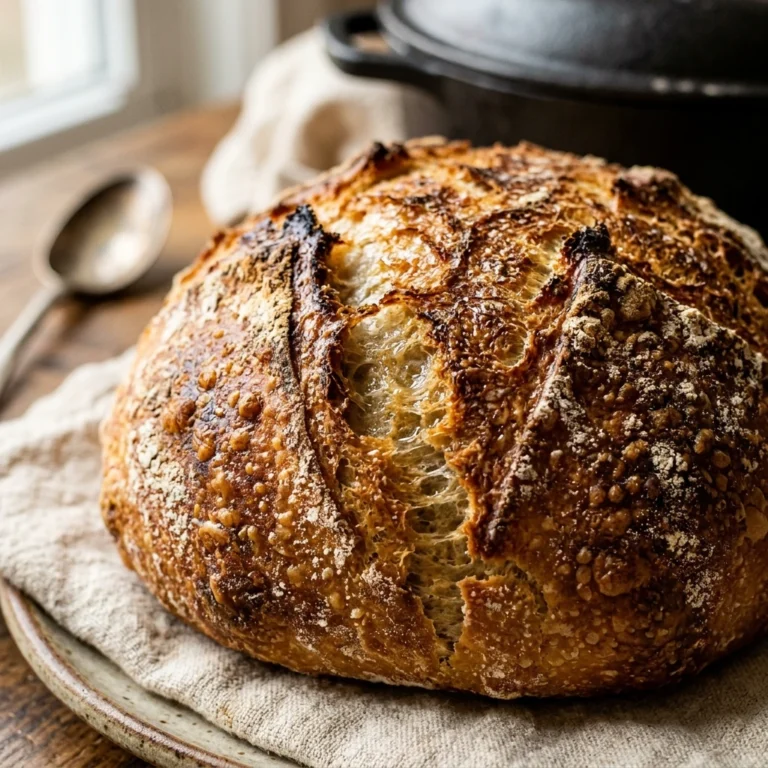
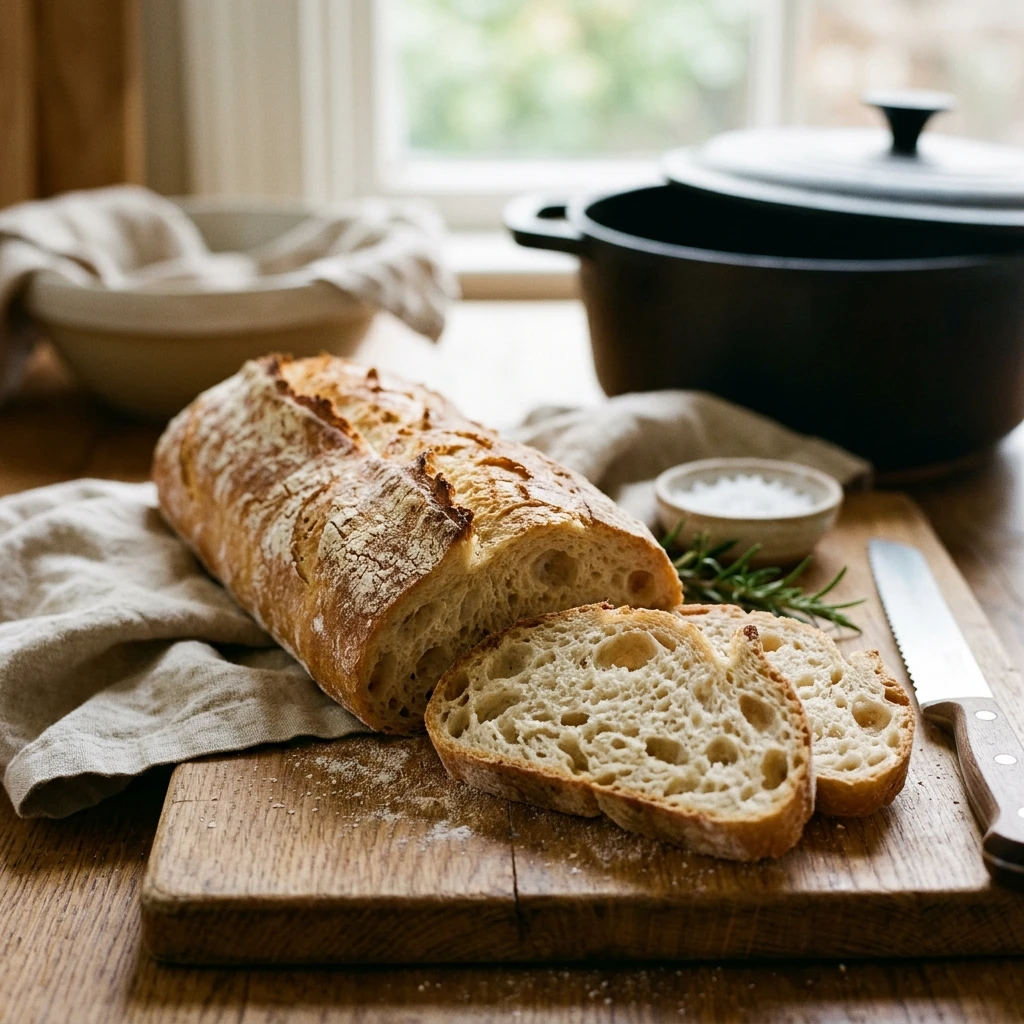
There is nothing quite like the aroma of fresh bread baking in your own kitchen. If you have ever felt intimidated by the thought of kneading dough for hours, this No-Knead Dutch Oven Baguette Bread is your new best friend. It is designed specifically for beginners who want that professional, bakery-style crust without the heavy lifting. By using a Dutch oven, you trap steam perfectly, resulting in a golden, crackly exterior and a soft, airy middle every single time. Get ready to impress your friends and family with a loaf that looks like it came straight from a Parisian boulangerie.
Recipe Information
- Prep Time: 15 minutes (plus 3 hours rising time)
- Cook Time: 45 minutes
- Total Time: 4 hours
- Servings: 2 baguettes
- Difficulty: Easy
Nutrition values
- Calories: 245 kcal per serving
- Protein: 8g
- Carbs: 51g
Why Make This No-Knead Dutch Oven Baguette Bread Easy Crusty Beginner
This recipe removes all the stress of traditional bread making. You do not need a fancy stand mixer or strong forearms for kneading. The long fermentation process does all the hard work for you, developing a deep flavor and the perfect gluten structure naturally. It is incredibly budget-friendly, requiring only four basic pantry staples. Plus, the Dutch oven method is foolproof; it creates the high-heat, steamy environment necessary for that iconic “crunch” that is usually hard to achieve in a home oven.
Ingredients
- 3 cups (375g) All-purpose flour or bread flour
- 1 ½ cups Warm water (about 105°F)
- 1 ½ teaspoons Salt
- ½ teaspoon Instant yeast
- Extra flour for dusting
Directions
Step 1: Mixing the Dough
In a large mixing bowl, whisk together the flour, salt, and instant yeast until well combined. Pour the warm water into the center. Use a sturdy spoon or a dough whisk to stir the mixture until a shaggy, sticky ball forms and no dry flour remains. Do not worry about the texture looking rough; it is supposed to be moist and lumpy at this stage.
Step 2: The First Rise
Cover the bowl tightly with plastic wrap or a clean, damp kitchen towel. Place the bowl in a warm, draft-free area of your kitchen. Let the dough rise for about 2 to 3 hours, or until it has more than doubled in size and you see bubbles forming on the surface. This slow rise is what builds the flavor and airy texture.
Step 3: Shaping the Baguettes
Turn the dough out onto a well-floured surface. Since the dough is sticky, use floured hands to gently fold it over itself a few times. Divide the dough into two equal portions. Roll each piece into a long log shape that will fit inside your Dutch oven (you may need to curve them slightly into a “U” or “S” shape if your pot is round). Place the shaped dough on a piece of parchment paper, cover lightly, and let rest for another 30 minutes.
Step 4: Preheating the Dutch Oven
While the loaves rest, place your empty Dutch oven (with the lid on) into the oven. Preheat the oven to 450°F (230°C). Heating the pot is crucial for creating that immediate blast of heat that makes the bread rise rapidly and develop a thick crust.
Step 5: Baking to Perfection
Carefully remove the hot Dutch oven from the oven. Use a sharp knife or a razor blade to make 3-4 diagonal slashes (scores) across the top of each baguette. Lift the parchment paper with the dough and lower it into the hot pot. Place the lid back on and bake for 30 minutes. Remove the lid and bake for another 10-15 minutes until the crust is deeply browned and sounds hollow when tapped.
Step 6: Cooling
Lift the baguettes out of the Dutch oven and place them on a wire cooling rack. It is tempting to slice into them immediately, but wait at least 20 minutes. The bread continues to cook inside as it cools, and cutting it too early can make the texture gummy.
Expert Tips for Perfect No-Knead Dutch Oven Baguette Bread Easy Crusty Beginner
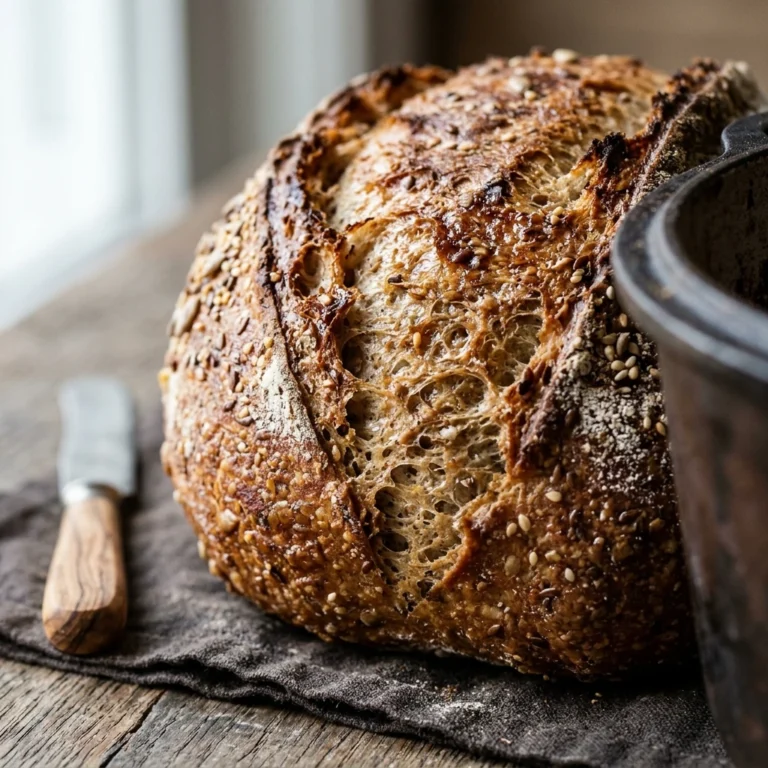
To get the best results, always measure your flour by weight using a kitchen scale if possible. If you use a measuring cup, spoon the flour in and level it off rather than scooping directly from the bag. Ensure your water is warm but not hot; water over 120°F can kill the yeast. If your kitchen is cold, you can let the dough rise inside an oven that is turned off with the oven light left on. Finally, don’t be afraid of the dark crust—that deep golden color is where all the toasted, nutty flavor lives.
Delicious Variations
- Garlic and Herb: Fold in 1 tablespoon of dried rosemary and 2 cloves of minced garlic during the initial mixing phase.
- Cheesy Baguette: Sprinkle a half-cup of shredded sharp cheddar or parmesan over the dough during the shaping step.
- Everything Bagel Style: Brush the top of the dough with a little water before baking and sprinkle generously with everything bagel seasoning.
- Whole Wheat: Replace 1 cup of the white flour with whole wheat flour for a heartier, nuttier taste.
Frequently Asked Questions
Can I use Active Dry Yeast instead of Instant Yeast?
Yes, you can! However, you must “bloom” the active dry yeast first. Mix it into the warm water with a pinch of sugar and let it sit for 5-10 minutes until it becomes foamy before adding it to the flour.
What if I don’t have a Dutch oven?
You can use any heavy, oven-safe pot with a tight-fitting lid, such as a cast-iron skillet with a stainless steel bowl inverted over the top. The goal is to trap the steam escaping from the dough.
Why is my bread flat and dense?
This usually happens if the yeast was expired or if the dough did not rise long enough. Make sure your yeast is fresh and give the dough plenty of time to double in size in a warm spot.
How do I store the leftovers?
Store the bread in a paper bag at room temperature for up to two days. Avoid plastic bags, as they will turn the crust soft and soggy. For longer storage, slice the bread and freeze it in a freezer bag.
Can I let the dough rise overnight?
Absolutely. You can mix the dough and leave it in the refrigerator for 12 to 18 hours. This cold fermentation actually improves the flavor significantly. Just let it come to room temperature for an hour before shaping.
Conclusion
Making artisan-quality bread at home does not have to be a chore. This No-Knead Dutch Oven Baguette Bread is the perfect entry point for any aspiring baker. With just a few minutes of effort and a bit of patience, you can create a loaf that rivals any professional bakery. Once you hear that first “crunch” of the crust, you will never want to go back to store-bought bread again. Happy baking!


No-Knead Dutch Oven Baguette Bread Easy Crusty Beginner
- Total Time: 4 hours
- Diet: Vegetarian
Ingredients
Scale
- 3 cups (375g) All-purpose flour or bread flour
- 1 ½ cups Warm water (about 105°F)
- 1 ½ teaspoons Salt
- ½ teaspoon Instant yeast
- Extra flour for dusting
Instructions
- In a large mixing bowl, whisk together the flour, salt, and instant yeast until well combined. Pour the warm water into the center. Use a sturdy spoon or a dough whisk to stir the mixture until a shaggy, sticky ball forms and no dry flour remains. Do not worry about the texture looking rough; it is supposed to be moist and lumpy at this stage.
- Cover the bowl tightly with plastic wrap or a clean, damp kitchen towel. Place the bowl in a warm, draft-free area of your kitchen. Let the dough rise for about 2 to 3 hours, or until it has more than doubled in size and you see bubbles forming on the surface. This slow rise is what builds the flavor and airy texture.
- Turn the dough out onto a well-floured surface. Since the dough is sticky, use floured hands to gently fold it over itself a few times. Divide the dough into two equal portions. Roll each piece into a long log shape that will fit inside your Dutch oven (you may need to curve them slightly into a “U” or “S” shape if your pot is round). Place the shaped dough on a piece of parchment paper, cover lightly, and let rest for another 30 minutes.
- While the loaves rest, place your empty Dutch oven (with the lid on) into the oven. Preheat the oven to 450°F (230°C). Heating the pot is crucial for creating that immediate blast of heat that makes the bread rise rapidly and develop a thick crust.
- Carefully remove the hot Dutch oven from the oven. Use a sharp knife or a razor blade to make 3-4 diagonal slashes (scores) across the top of each baguette. Lift the parchment paper with the dough and lower it into the hot pot. Place the lid back on and bake for 30 minutes. Remove the lid and bake for another 10-15 minutes until the crust is deeply browned and sounds hollow when tapped.
- Lift the baguettes out of the Dutch oven and place them on a wire cooling rack. It is tempting to slice into them immediately, but wait at least 20 minutes. The bread continues to cook inside as it cools, and cutting it too early can make the texture gummy.
- Cook Time: 4 hours