Follow Me On Pinterest!


No-Knead Dutch Oven January Sunday Reset Bread Easy Meal Prep
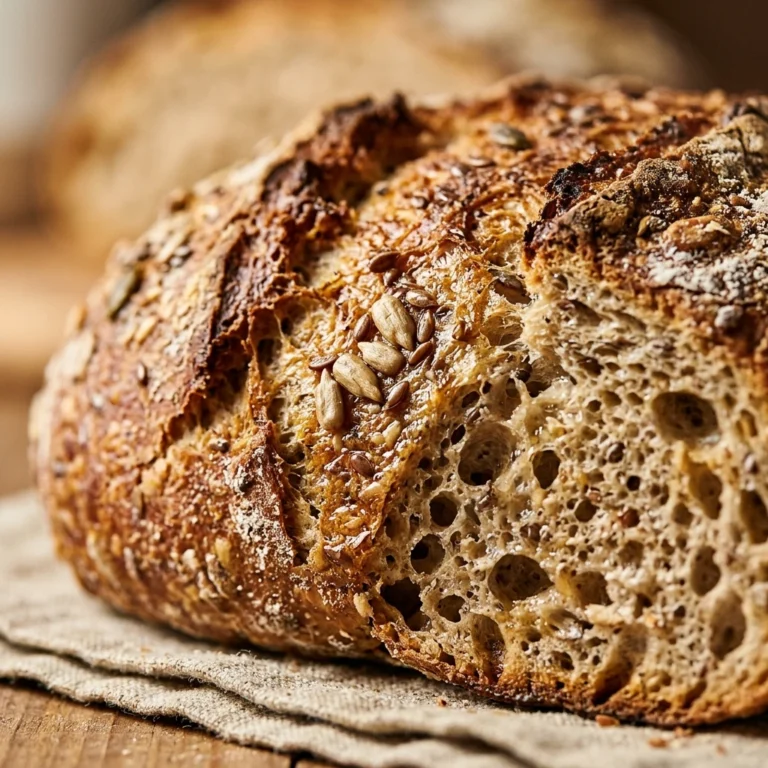
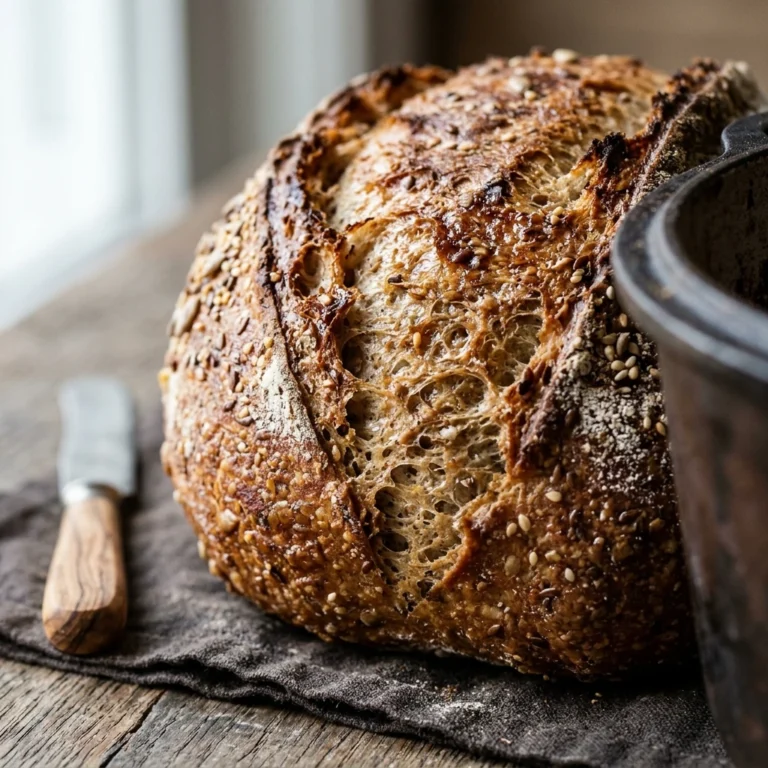
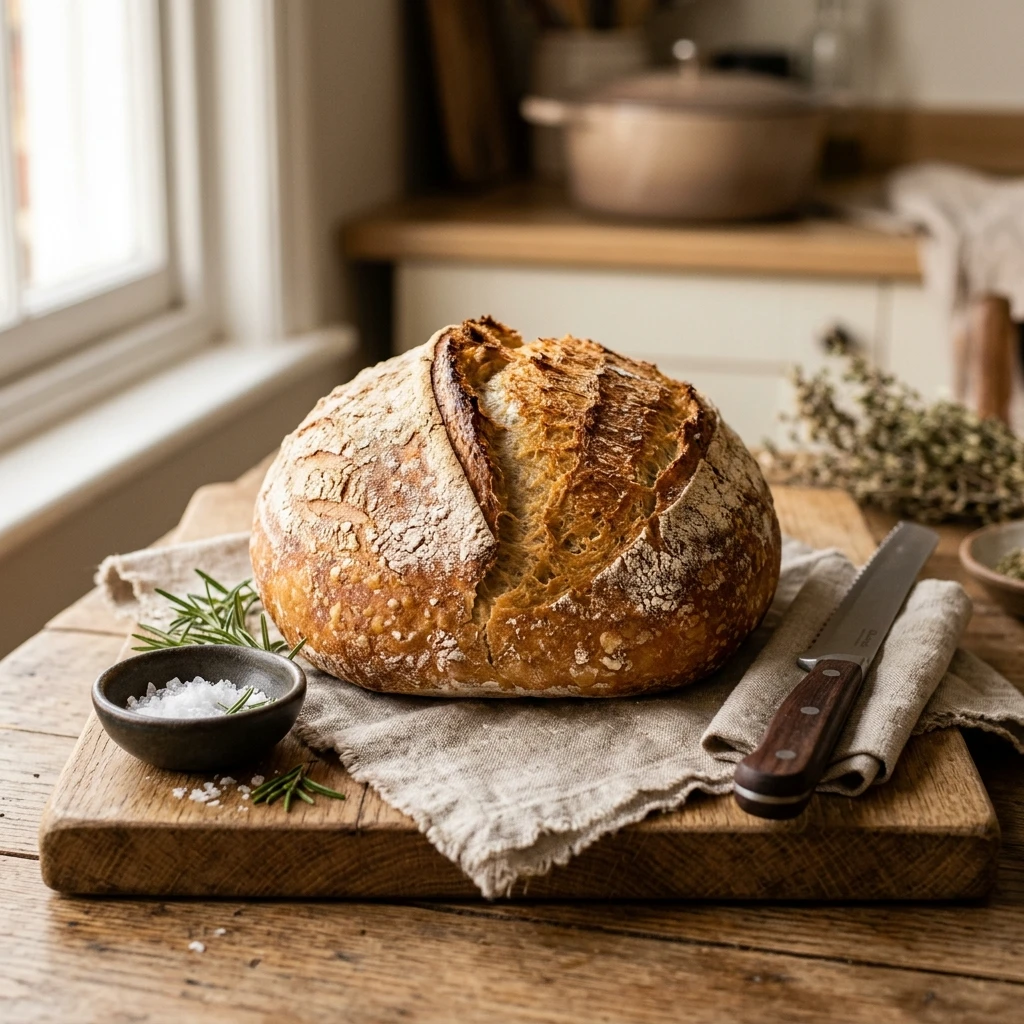
There is something incredibly therapeutic about the smell of fresh bread wafting through the house during a Sunday reset. As January rolls around, we all look for ways to simplify our routines while still nourishing our bodies with wholesome food. This No-Knead Dutch Oven Bread is the ultimate “set it and forget it” recipe. It requires zero fancy equipment, no grueling arm workouts from kneading, and yields a loaf that looks like it came straight from an artisanal bakery. Perfect for your weekly meal prep, this bread provides the base for avocado toasts, hearty sandwiches, or a simple side for your winter soups.Recipe Information
- Prep Time: 10 minutes (plus 12-18 hours rising time)
- Cook Time: 45 minutes
- Total Time: 18 hours 55 minutes
- Servings: 10 slices
- Difficulty: Easy
Nutrition values
- Calories: 165 kcal per slice
- Protein: 5g
- Carbs: 34g
Why Make This No-Knead Dutch Oven January Sunday Reset Bread Easy Meal Prep
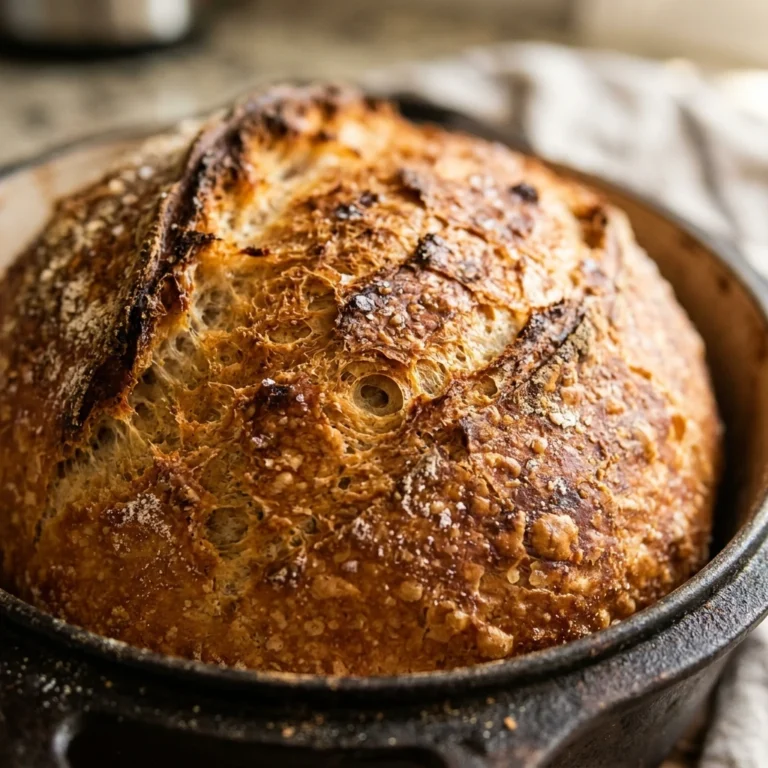
This recipe is designed for the busy person who wants high-quality food with minimal intervention. In January, we often focus on “resetting” our habits. Making your own bread eliminates the preservatives and hidden sugars found in store-bought loaves. Because it uses a Dutch oven, the pot traps steam, creating a professional-grade crispy crust and a light, airy interior without the need for a steam-injected oven. It is cost-effective, satisfying, and acts as the perfect anchor for your weekly meal planning.
Ingredients
- 3 cups all-purpose flour (or bread flour for extra chew)
- 1 ½ cups warm water (about 100°F)
- 1 ½ teaspoons sea salt
- ½ teaspoon instant yeast
- Optional: 1 tablespoon dried rosemary or everything bagel seasoning
Directions
Step 1: Mixing the Dough
In a large glass bowl, whisk together the flour, salt, and instant yeast until well combined. Pour in the warm water. Use a sturdy spatula or a wooden spoon to stir the mixture until a shaggy, sticky ball forms and no dry flour streaks remain. Do not overmix; you just want the ingredients incorporated. The dough will look messy, which is exactly what you want.
Step 2: The Long Rise
Cover the bowl tightly with plastic wrap or a beeswax wrap. Place it in a draft-free spot at room temperature. Let the dough sit for at least 12 hours, though 18 hours is ideal for the best flavor development. During this time, the yeast bubbles away, creating those beautiful air pockets and developing a slight sourdough-like tang. By the end of the rise, the dough should have doubled in size and the surface should be dotted with little bubbles.
Step 3: Preheating the Dutch Oven
Place your empty 6-quart Dutch oven (with the lid on) into the oven. Preheat the oven to 450°F (230°C). Let the pot heat up for at least 30 minutes while the oven reaches temperature. This intense heat is the secret to getting that shatteringly crisp crust. While the pot heats, turn your dough out onto a well-floured piece of parchment paper and gently shape it into a round ball. Cover it with a clean kitchen towel for a final 30-minute rest.
Step 4: Baking to Perfection
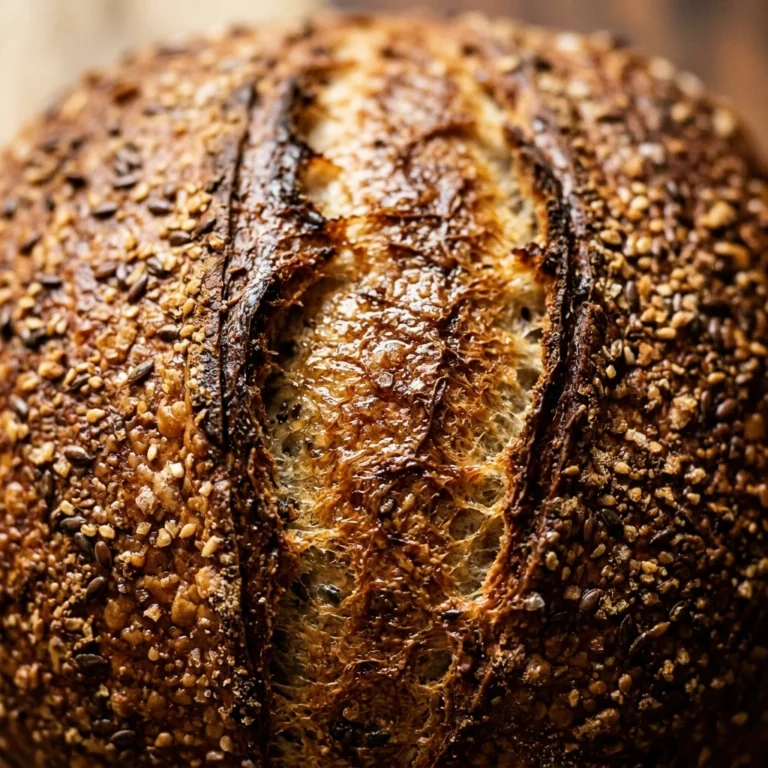
Carefully remove the hot Dutch oven from the oven. Lift the dough using the edges of the parchment paper and drop it (paper and all) into the hot pot. Cover with the lid and bake for 30 minutes. After 30 minutes, remove the lid to reveal the pale loaf. Continue baking uncovered for another 12–15 minutes until the crust is a deep golden brown. Carefully lift the bread out and let it cool on a wire rack for at least one hour before slicing. This prevents the interior from becoming gummy.
Expert Tips for Perfect No-Knead Dutch Oven January Sunday Reset Bread Easy Meal Prep
Always use a digital scale if you have one for the most accurate flour measurement. If you are measuring by volume, fluff the flour with a spoon before leveling it off in the measuring cup to avoid packing it down. Ensure your yeast is fresh; if it doesn’t bubble during the long rise, your loaf will be heavy and dense. For an extra-crunchy bottom, sprinkle a tablespoon of cornmeal into the Dutch oven right before adding the dough. Finally, resist the urge to cut into the bread while it is hot! The steam inside is still finishing the cooking process.
Delicious Variations
- Garlic and Herb: Fold in 2 cloves of minced garlic and 1 tablespoon of dried Italian herbs during Step 1.
- Jalapeño Cheddar: Add ½ cup of shredded sharp cheddar and ¼ cup of diced pickled jalapeños to the dry ingredients.
- Whole Wheat Blend: Swap 1 cup of all-purpose flour for 1 cup of whole wheat flour for a nuttier flavor and extra fiber.
- Honey Walnut: Add 1 tablespoon of honey to the water and fold in ½ cup of chopped walnuts during the mixing stage.
Frequently Asked Questions
Do I have to use a Dutch oven?
While a Dutch oven is best for trapping steam, you can use a heavy oven-safe pot with a tight-fitting lid. If you don’t have a lid, you can place a pan of water on the bottom rack of the oven to create steam, though the crust may not be as thick.
Can I use active dry yeast instead of instant yeast?
Yes, you can. However, you should dissolve the active dry yeast in the warm water for about 5 minutes until it becomes foamy before adding it to the dry ingredients. This ensures the yeast is “awake” and ready to work.
How do I store this bread for meal prep?
Keep the bread in a paper bag at room temperature for up to 2 days to maintain the crust. For longer storage, slice the bread and freeze it in a freezer-safe bag. You can toast individual slices directly from the freezer for a quick breakfast.
Why is my dough so sticky?
This dough is naturally high-hydration, which means it will be very sticky. Avoid adding too much extra flour, as this will make the bread tough. Use floured hands or a bench scraper to handle it gently.
Can I let it rise longer than 18 hours?
You can let it rise for up to 24 hours at room temperature. If you need more time, you can move the covered bowl to the refrigerator for up to 3 days. Cold fermentation actually improves the flavor and makes the dough easier to handle.
Conclusion
Incorporating this No-Knead Dutch Oven Bread into your January Sunday reset is a game-changer for your weekly meal prep. It requires very little active work but delivers immense satisfaction. By taking a few minutes on Saturday night or Sunday morning to mix the dough, you set yourself up for a week of delicious, homemade meals. Give this simple recipe a try and enjoy the rustic, comforting taste of artisan bread from your very own kitchen.
No-Knead Dutch Oven January Sunday Reset Bread Easy Meal Prep
- Total Time: 18 hours 55 minutes
- Diet: Vegetarian, Vegan
Ingredients
Scale
- 3 cups all-purpose flour (or bread flour for extra chew)
- 1 ½ cups warm water (about 100°F)
- 1 ½ teaspoons sea salt
- ½ teaspoon instant yeast
- Optional: 1 tablespoon dried rosemary or everything bagel seasoning
Instructions
- Step 1: Mixing the Dough
In a large glass bowl, whisk together the flour, salt, and instant yeast until well combined. Pour in the warm water. Use a sturdy spatula or a wooden spoon to stir the mixture until a shaggy, sticky ball forms and no dry flour streaks remain. Do not overmix; you just want the ingredients incorporated. The dough will look messy, which is exactly what you want. - Step 2: The Long Rise
Cover the bowl tightly with plastic wrap or a beeswax wrap. Place it in a draft-free spot at room temperature. Let the dough sit for at least 12 hours, though 18 hours is ideal for the best flavor development. During this time, the yeast bubbles away, creating those beautiful air pockets and developing a slight sourdough-like tang. By the end of the rise, the dough should have doubled in size and the surface should be dotted with little bubbles. - Step 3: Preheating the Dutch Oven
Place your empty 6-quart Dutch oven (with the lid on) into the oven. Preheat the oven to 450°F (230°C). Let the pot heat up for at least 30 minutes while the oven reaches temperature. This intense heat is the secret to getting that shatteringly crisp crust. While the pot heats, turn your dough out onto a well-floured piece of parchment paper and gently shape it into a round ball. Cover it with a clean kitchen towel for a final 30-minute rest. - Step 4: Baking to Perfection
Carefully remove the hot Dutch oven from the oven. Lift the dough using the edges of the parchment paper and drop it (paper and all) into the hot pot. Cover with the lid and bake for 30 minutes. After 30 minutes, remove the lid to reveal the pale loaf. Continue baking uncovered for another 12–15 minutes until the crust is a deep golden brown. Carefully lift the bread out and let it cool on a wire rack for at least one hour before slicing. This prevents the interior from becoming gummy.
- Cook Time: 18 hours 55 minutes