Follow Me On Pinterest!


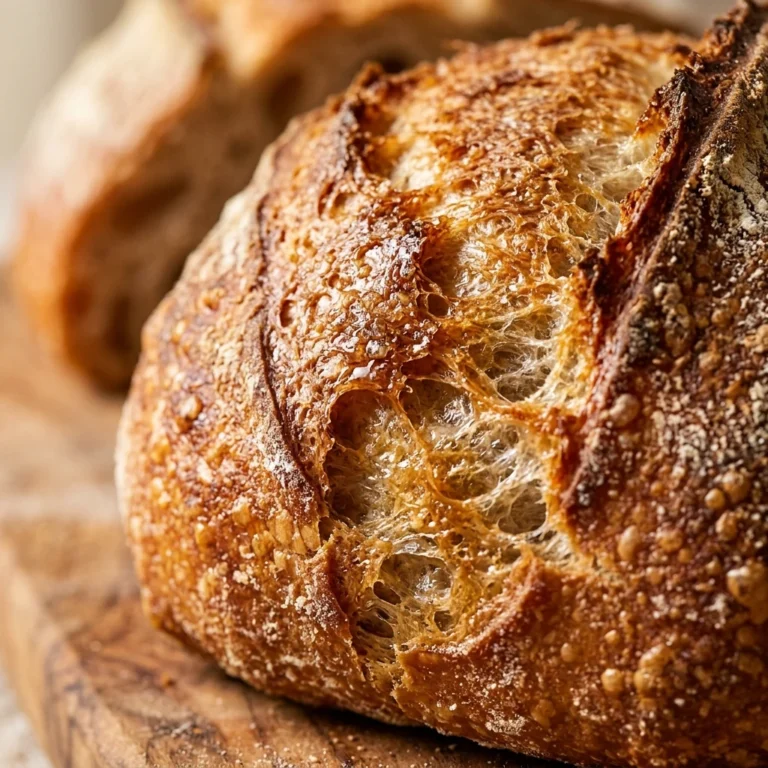
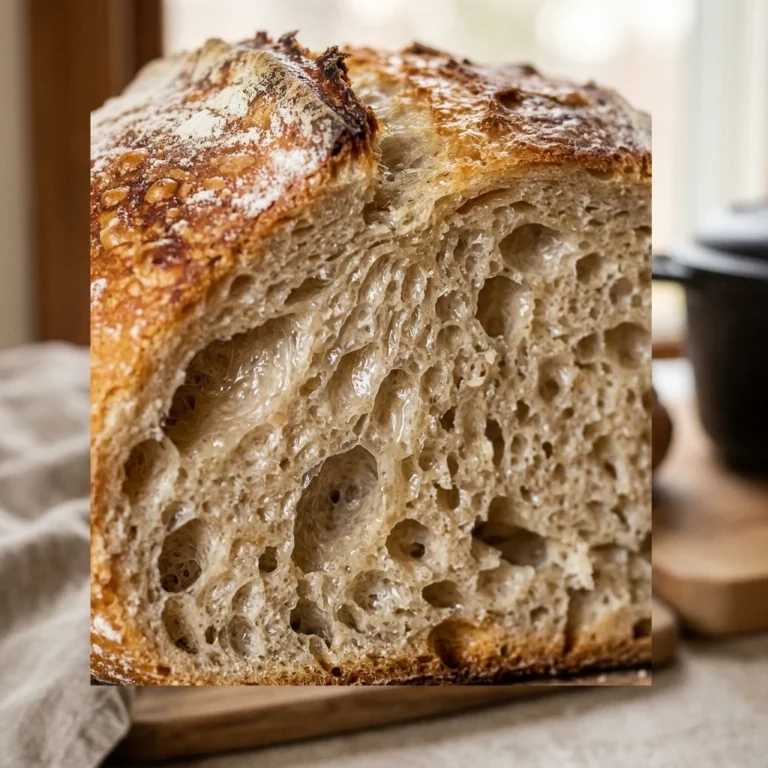
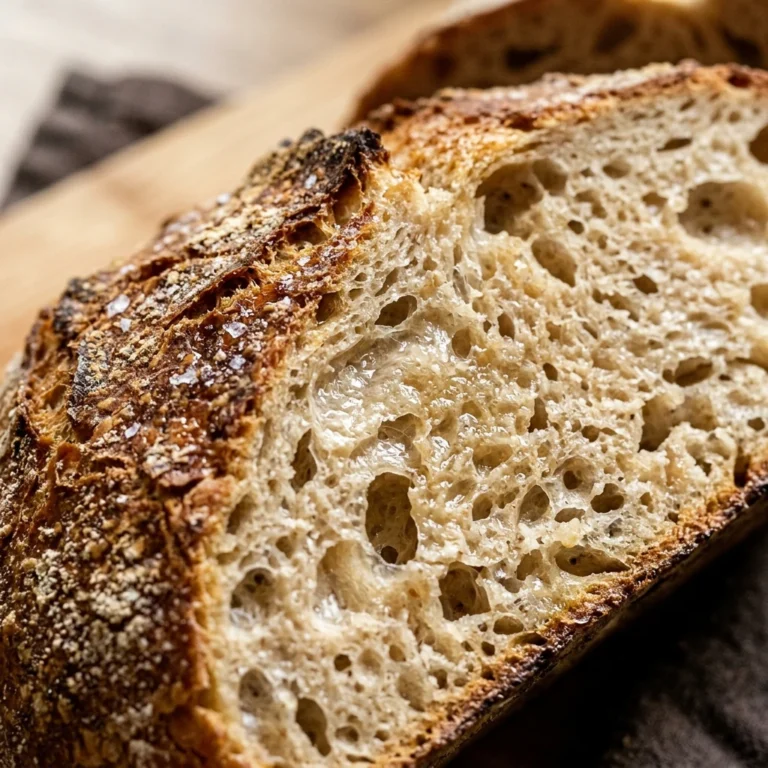
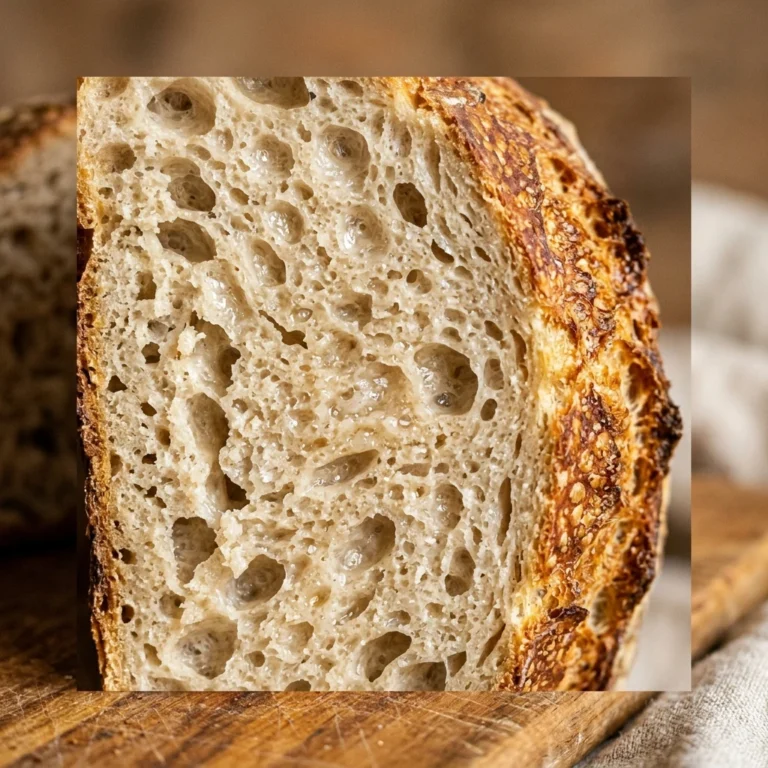
Starting the New Year with the aroma of freshly baked bread wafting through your home is a tradition worth keeping. You don’t need a professional bakery setup or years of experience to create a loaf that looks like it belongs in a gourmet shop window. This no-knead Dutch oven bread is the ultimate “cheat code” for beginner bakers. With just four simple ingredients and a little bit of patience, you can achieve that signature crackly crust and airy, chewy interior that characterizes the finest artisan loaves. It is the perfect low-stress project for a cozy New Year’s Day at home.
Recipe Information
- Prep Time: 15 minutes (plus 12-18 hours rising time)
- Cook Time: 45 minutes
- Total Time: 1 hour 0 minutes (active time)
- Servings: 8 slices
- Difficulty: Easy
Nutrition values
- Calories: 185 kcal per slice
- Protein: 6g
- Carbs: 38g
Why Make This No-Knead Dutch Oven New Year Bread Easy Artisan Beginner
This recipe removes all the intimidating parts of bread making. You don’t have to worry about proper kneading techniques or windowpane tests. The long fermentation process does all the heavy lifting for you, developing flavor and gluten structure naturally. Using a Dutch oven creates a mini-steam chamber, which is the secret to getting that professional, crispy crust without a specialized steam-injection oven. It is cost-effective, incredibly satisfying, and tastes significantly better than anything you can buy at the supermarket.
Ingredients
- 3 cups All-purpose flour or Bread flour (plus extra for dusting)
- 1 ½ cups Warm water (about 100°F)
- 1 ½ teaspoons Salt
- ½ teaspoon Active dry yeast or Instant yeast
Directions
Step 1: Mix the Dough
In a large mixing bowl, whisk together the flour, salt, and yeast until well combined. Pour the warm water into the center of the dry ingredients. Use a sturdy spoon or a dough whisk to stir the mixture until a shaggy, sticky ball forms and no dry flour remains. Do not worry about the texture being smooth; it should look lumpy and wet at this stage.
Step 2: The Long Rise
Cover the bowl tightly with plastic wrap or a damp kitchen towel. Place the bowl in a warm, draft-free spot in your kitchen. Let the dough rest for at least 12 hours, though 18 hours is even better for flavor development. During this time, the dough will double in size and the surface will become dotted with tiny bubbles.
Step 3: Preheating and Shaping
Place your empty Dutch oven (with the lid on) into the oven and preheat to 450°F (230°C). While the oven heats, turn the dough out onto a well-floured surface. It will be very sticky, so use plenty of flour on your hands. Gently fold the dough over itself a few times to form a rough ball. Place the dough onto a piece of parchment paper and let it rest while the oven finishes preheating.
Step 4: The Bake
Carefully remove the hot Dutch oven from the oven. Lift the parchment paper by the corners and lower the dough into the pot. Cover with the lid and bake for 30 minutes. After 30 minutes, remove the lid and bake for an additional 12-15 minutes until the crust is a deep golden brown. Carefully lift the bread out and let it cool on a wire rack for at least 30 minutes before slicing.
Expert Tips for Perfect No-Knead Dutch Oven New Year Bread Easy Artisan Beginner
Always measure your flour correctly by spooning it into the measuring cup and leveling it off with a knife; packing the flour can result in a dense loaf. Make sure your Dutch oven is truly hot before adding the dough, as this thermal shock is what creates the “oven spring” or rise. If you want an extra-crispy crust, you can spray the top of the loaf with a tiny bit of water right before putting the lid on. Finally, resist the urge to cut into the bread while it is piping hot; the steam inside is still finishing the cooking process!
Delicious Variations
- Rosemary and Garlic: Add 2 tablespoons of chopped fresh rosemary and 1 tablespoon of garlic powder to the dry ingredients.
- Cheddar and Jalapeño: Fold in 1 cup of cubed sharp cheddar and ¼ cup of diced jalapeños during the final shaping.
- Everything Bagel: Generously coat the top of the dough with everything bagel seasoning before baking.
- Honey Walnut: Add ½ cup of chopped walnuts and swap 2 tablespoons of the water for honey for a slightly sweet crunch.
Frequently Asked Questions
Do I have to use a Dutch oven?
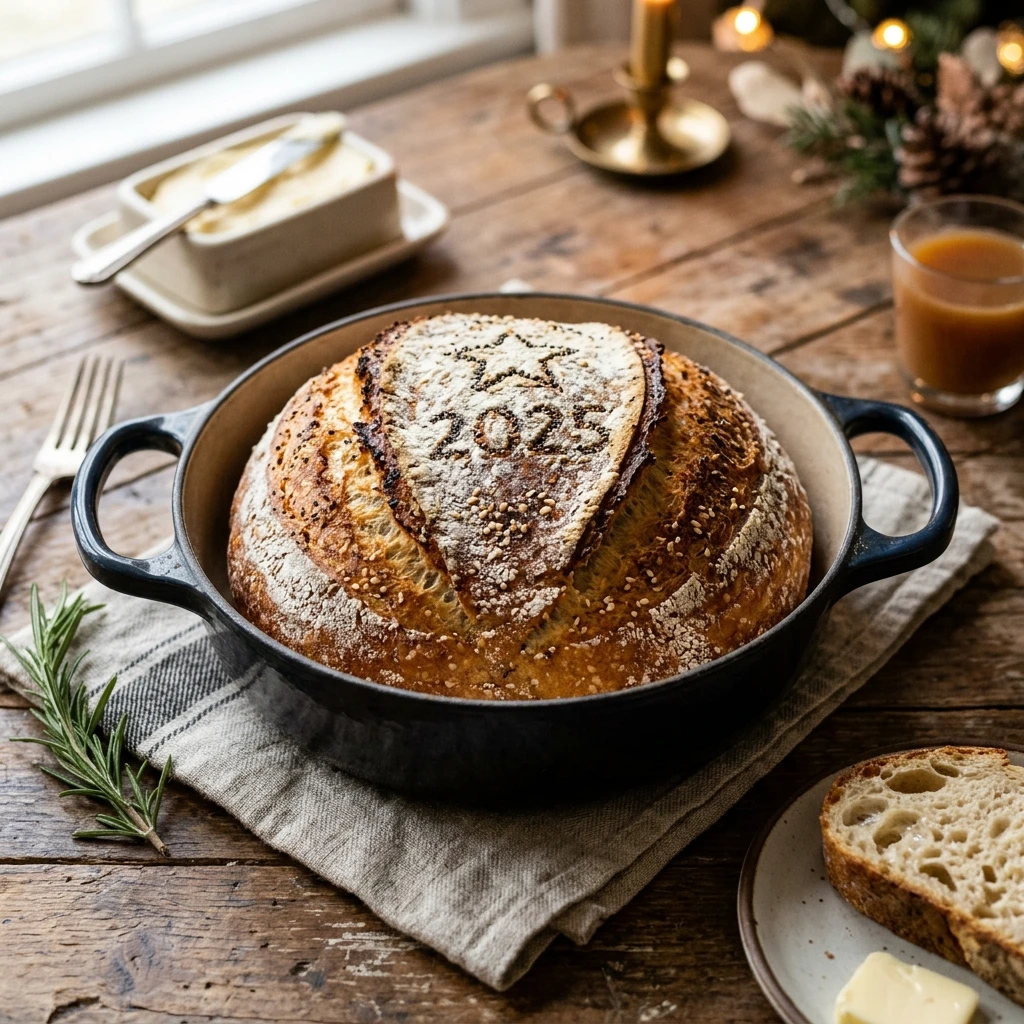
The Dutch oven is essential for this specific method because it traps steam, which keeps the crust soft initially so the bread can rise fully. If you don’t have one, you can use a heavy oven-safe pot with a tight-fitting lid, but the results may vary slightly.
Can I use whole wheat flour?
You can substitute up to half of the flour with whole wheat flour. Note that whole wheat absorbs more water, so you may need to add an extra tablespoon or two of water to maintain the sticky consistency.
What if my dough doesn’t rise?
Ensure your yeast is not expired. Also, check that your water is warm but not hot; water over 115°F can kill the yeast. If your kitchen is very cold, the rise may take longer than 18 hours.
How do I store the leftovers?
Store the bread at room temperature in a paper bag or wrapped in a clean kitchen towel for up to 2 days. Avoid plastic bags as they will make the crust soft. For longer storage, slice the bread and freeze it in a freezer-safe bag.
Can I make the rise happen faster?
If you are in a hurry, you can double the yeast and let the dough rise in a very warm spot (around 80°F) for 3-4 hours. However, the 12-18 hour rise provides a much better flavor and texture.
Conclusion
There is nothing quite as rewarding as pulling a steaming, golden-brown loaf of bread out of your own oven. This no-knead Dutch oven recipe proves that you don’t need fancy equipment or expert skills to achieve artisan-quality results. Whether you serve it alongside a New Year’s stew or toast it with a thick layer of butter for breakfast, this bread is sure to become a staple in your kitchen. Happy baking and Happy New Year!
No-Knead Dutch Oven New Year Bread Easy Artisan Beginner
- Total Time: 1 hour
- Diet: Vegetarian, Vegan
Ingredients
Scale
- 3 cups All-purpose flour or Bread flour (plus extra for dusting)
- 1 ½ cups Warm water (about 100°F)
- 1 ½ teaspoons Salt
- ½ teaspoon Active dry yeast or Instant yeast
Instructions
- Step 1: Mix the Dough: In a large mixing bowl, whisk together the flour, salt, and yeast until well combined. Pour the warm water into the center of the dry ingredients. Use a sturdy spoon or a dough whisk to stir the mixture until a shaggy, sticky ball forms and no dry flour remains. Do not worry about the texture being smooth; it should look lumpy and wet at this stage.
- Step 2: The Long Rise: Cover the bowl tightly with plastic wrap or a damp kitchen towel. Place the bowl in a warm, draft-free spot in your kitchen. Let the dough rest for at least 12 hours, though 18 hours is even better for flavor development. During this time, the dough will double in size and the surface will become dotted with tiny bubbles.
- Step 3: Preheating and Shaping: Place your empty Dutch oven (with the lid on) into the oven and preheat to 450°F (230°C). While the oven heats, turn the dough out onto a well-floured surface. It will be very sticky, so use plenty of flour on your hands. Gently fold the dough over itself a few times to form a rough ball. Place the dough onto a piece of parchment paper and let it rest while the oven finishes preheating.
- Step 4: The Bake: Carefully remove the hot Dutch oven from the oven. Lift the parchment paper by the corners and lower the dough into the pot. Cover with the lid and bake for 30 minutes. After 30 minutes, remove the lid and bake for an additional 12-15 minutes until the crust is a deep golden brown. Carefully lift the bread out and let it cool on a wire rack for at least 30 minutes before slicing.
- Cook Time: 1 hour 0 minutes (active time)