Follow Me On Pinterest!


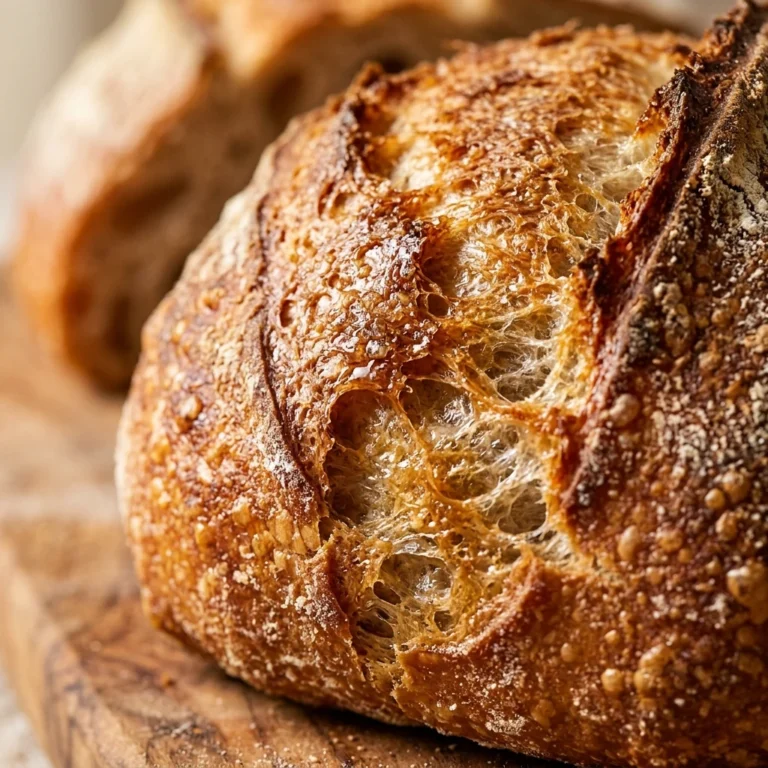
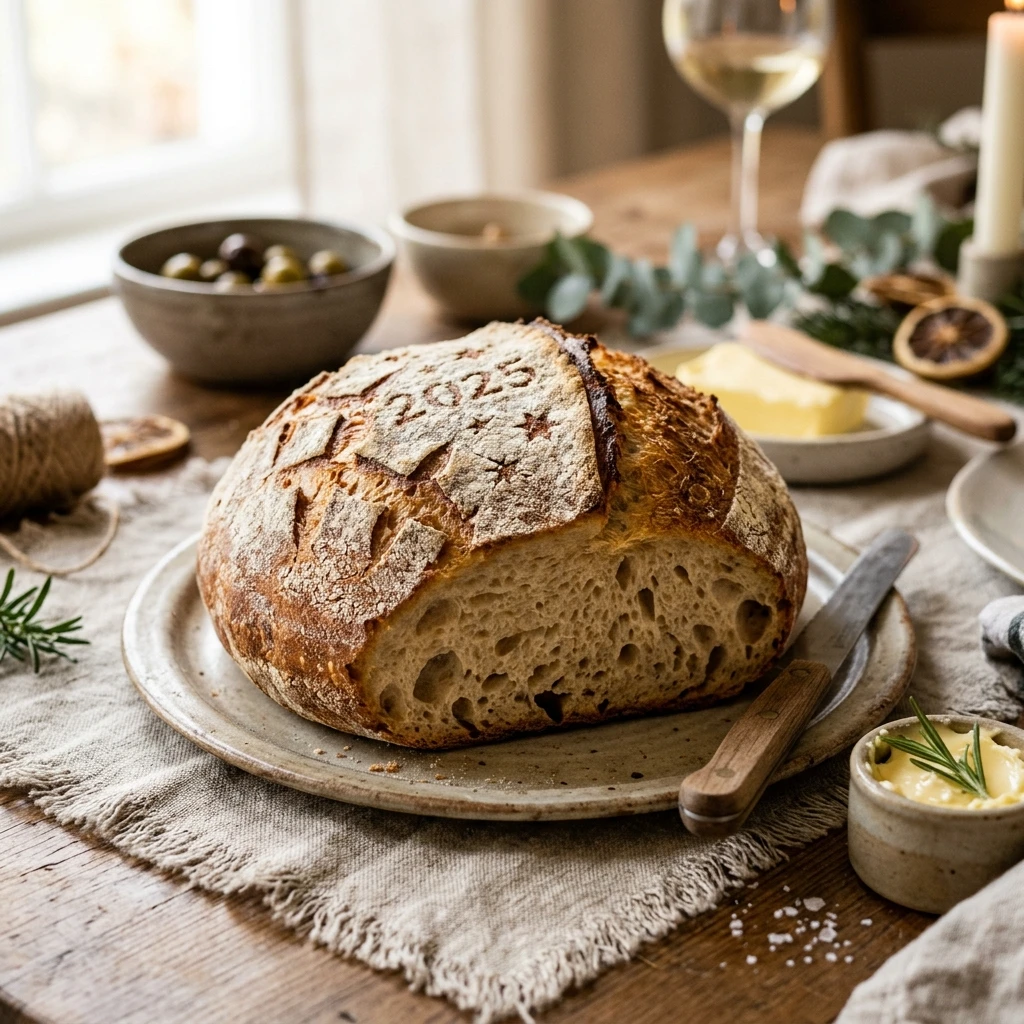
Imagine waking up on the first morning of the year to the smell of a professional bakery right in your own kitchen. This No-Knead Dutch Oven New Year Bread Easy Artisan Beginner recipe is your ticket to a crusty, golden loaf without the forearm workout or complex techniques. If you have a bowl, a spoon, and a heavy pot, you can create a masterpiece that rivals any gourmet bakery. This method relies on time rather than muscle, allowing the gluten to develop naturally while you sleep. It is the perfect low-stress way to start your year with a warm, comforting tradition that family and friends will absolutely adore.
Recipe Information
- Prep Time: 15 minutes (plus 12-18 hours rising time)
- Cook Time: 45 minutes
- Total Time: 19 hours 0 minutes
- Servings: 8 servings
- Difficulty: Easy
Nutrition values
- Calories: 185 kcal
- Protein: 6g
- Carbs: 38g
Why Make This No-Knead Dutch Oven New Year Bread Easy Artisan Beginner
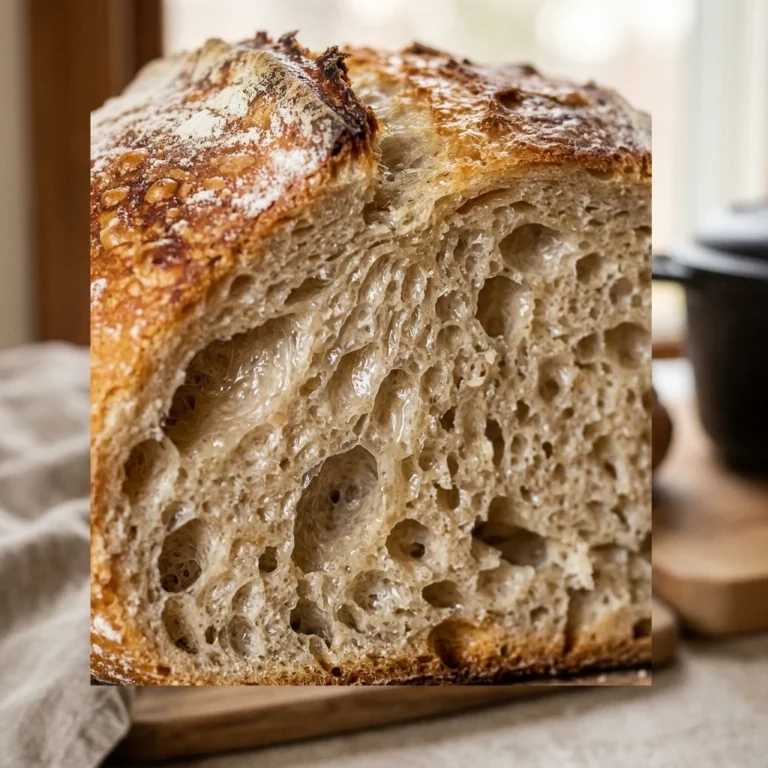
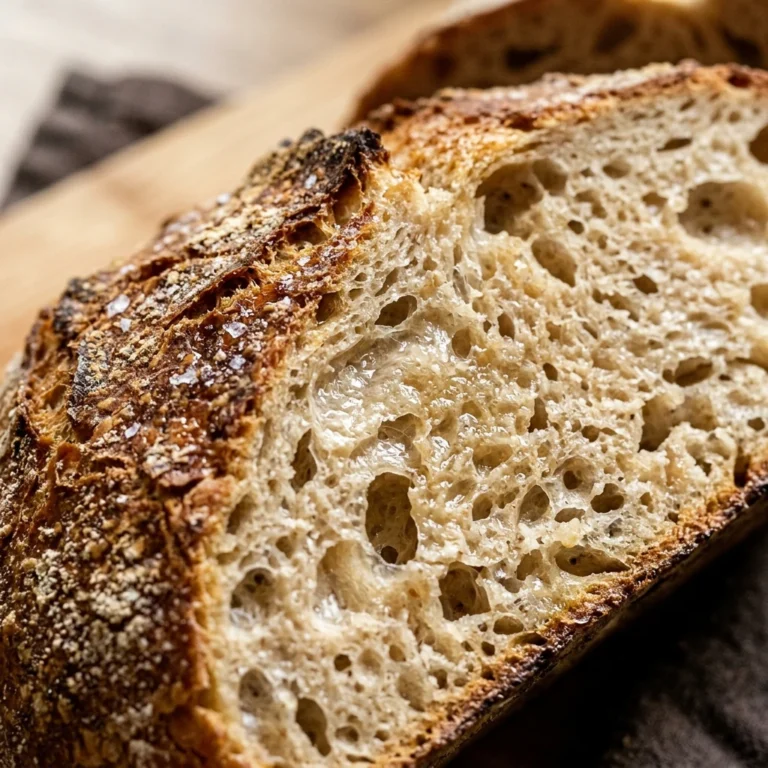
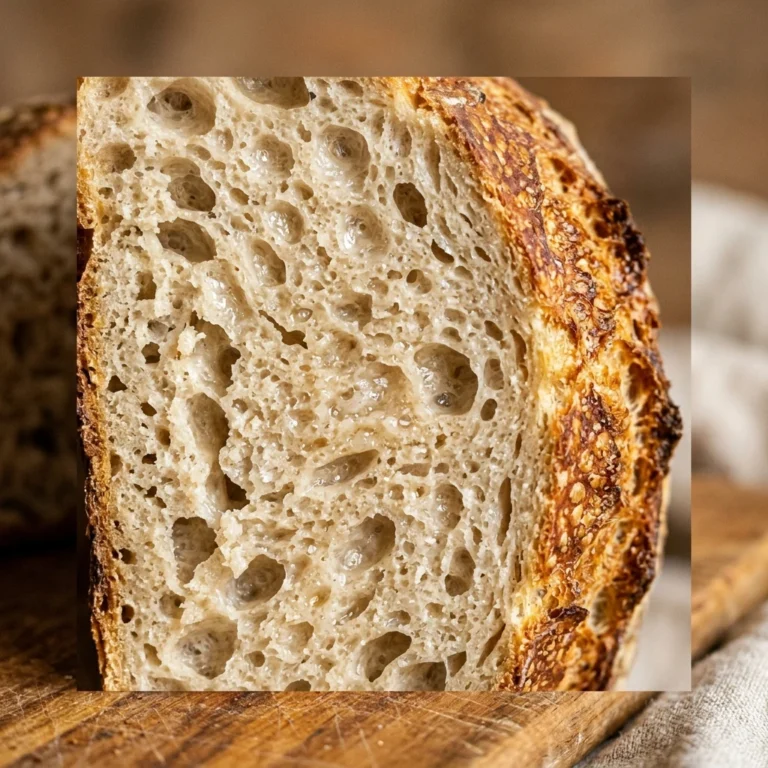
Making bread can feel intimidating, but this recipe removes all the barriers. Since there is no kneading involved, you do not need a stand mixer or specialized skills. The Dutch oven acts as a mini-steam oven, trapping moisture to create that signature thin, crispy crust and airy interior. It is an incredibly cost-effective way to serve a high-quality side dish for your New Year’s dinner. Plus, the slow fermentation process gives the bread a deeper, more complex flavor than quick-rise loaves. It is the ultimate “set it and forget it” baking project for beginners.
Ingredients
- 3 cups all-purpose flour or bread flour (plus extra for dusting)
- 1 ½ cups warm water (about 100°F)
- 1 ½ teaspoons sea salt
- ½ teaspoon active dry yeast
- Optional: 1 tablespoon honey for a hint of sweetness
- Optional: 1 teaspoon dried rosemary for aroma
Directions
Step 1: Mixing the Dough
In a large mixing bowl, whisk together the flour, salt, and active dry yeast. If you are using rosemary, add it now. Pour in the warm water and honey. Use a sturdy wooden spoon or a spatula to stir the mixture until a shaggy, sticky ball forms and no dry flour remains. Do not worry about the appearance; it should look messy and unrefined at this stage.
Step 2: The Long Rise
Cover the bowl tightly with plastic wrap or a damp kitchen towel. Place the bowl in a draft-free spot at room temperature. Let the dough rest for at least 12 hours, though 18 hours is ideal for the best flavor. During this time, the dough will double in size and the surface will become dotted with tiny bubbles. This slow rise is what develops the artisan texture.
Step 3: Shaping and Second Rise
Lightly flour a piece of parchment paper. Gently scrape the dough out of the bowl onto the paper. Use floured hands to fold the dough over itself a few times to form a rough ball. Cover the dough with a towel and let it rest for another 30 to 60 minutes. This allows the gluten to relax and ensures a better rise in the oven.
Step 4: Preheating the Dutch Oven
While the dough rests for the second time, place your empty Dutch oven (with the lid on) into the oven. Preheat the oven to 450°F (230°C). It is crucial that the pot is extremely hot before the dough goes in. This heat shock is what creates the “oven spring” that makes the bread tall and fluffy.
Step 5: Baking the Bread
Carefully remove the hot Dutch oven from the oven. Lift the parchment paper by the corners and lower the dough (and the paper) into the pot. Cover with the lid and bake for 30 minutes. After 30 minutes, remove the lid and bake for an additional 15 minutes. This final step browns the crust to a deep golden color. Remove the bread and let it cool on a wire rack for at least 30 minutes before slicing.
Expert Tips for Perfect No-Knead Dutch Oven New Year Bread Easy Artisan Beginner
- Use a heavy pot: A cast iron Dutch oven is best because it retains heat evenly and traps steam effectively.
- Check your yeast: Make sure your yeast is fresh. If it doesn’t foam slightly when mixed with warm water, it might be dead.
- Be patient with cooling: Slicing into hot bread releases steam that should stay inside to finish the crumb. Wait until it is warm, not hot.
- High temperature is key: Do not be afraid of the 450°F setting; the high heat is necessary for that artisan crust.
- Wet hands: If the dough is too sticky to handle, lightly wet your hands with water instead of using more flour to prevent toughening the dough.
Delicious Variations
- Roasted Garlic: Fold in 5-6 cloves of roasted garlic during the shaping step for a savory punch.
- Cranberry Walnut: Add ½ cup of dried cranberries and ½ cup of chopped walnuts for a festive New Year’s twist.
- Everything Bagel: Sprinkle the top of the loaf with everything bagel seasoning right before putting the lid on to bake.
- Cheese and Jalapeño: Mix in 1 cup of sharp cheddar cubes and diced jalapeños for a spicy, gooey interior.
Frequently Asked Questions
Can I use whole wheat flour for this recipe?
Yes, you can substitute up to 1 cup of the all-purpose flour with whole wheat flour. Keep in mind that whole wheat absorbs more water, so you may need to add an extra tablespoon or two of water to maintain the sticky consistency.
What if I don’t have a Dutch oven?
You can use any heavy, oven-safe pot with a tight-fitting lid, such as a ceramic casserole dish. If you don’t have a lid, you can use a heavy baking sheet to cover the top, though a proper lid works best for trapping steam.
How do I store the leftovers?
Store the bread in a paper bag at room temperature for up to 2 days to keep the crust crisp. If you wrap it in plastic, the crust will soften. You can also freeze sliced portions in an airtight bag for up to 3 months.
Can I speed up the rising process?
While the long rise provides the best flavor, you can use a “warm rise” method. Place the dough in a slightly warm oven (turned off) or near a heater to cut the rise time to 4-6 hours, though the texture will be slightly denser.
Why did my bread come out flat?
This usually happens if the yeast was old, the water was too hot (killing the yeast), or the Dutch oven wasn’t preheated long enough. Ensure your pot is screaming hot before adding the dough to encourage a quick rise.
Conclusion
Mastering the No-Knead Dutch Oven New Year Bread Easy Artisan Beginner recipe is a rewarding way to welcome the new year. It proves that you don’t need years of experience to produce a loaf that looks like it came from a professional bakery. With just a few basic ingredients and a little bit of patience, you will create a crusty, delicious centerpiece for your holiday table. Serve it warm with salted butter or use it to mop up a hearty New Year’s stew. Happy baking and Happy New Year!
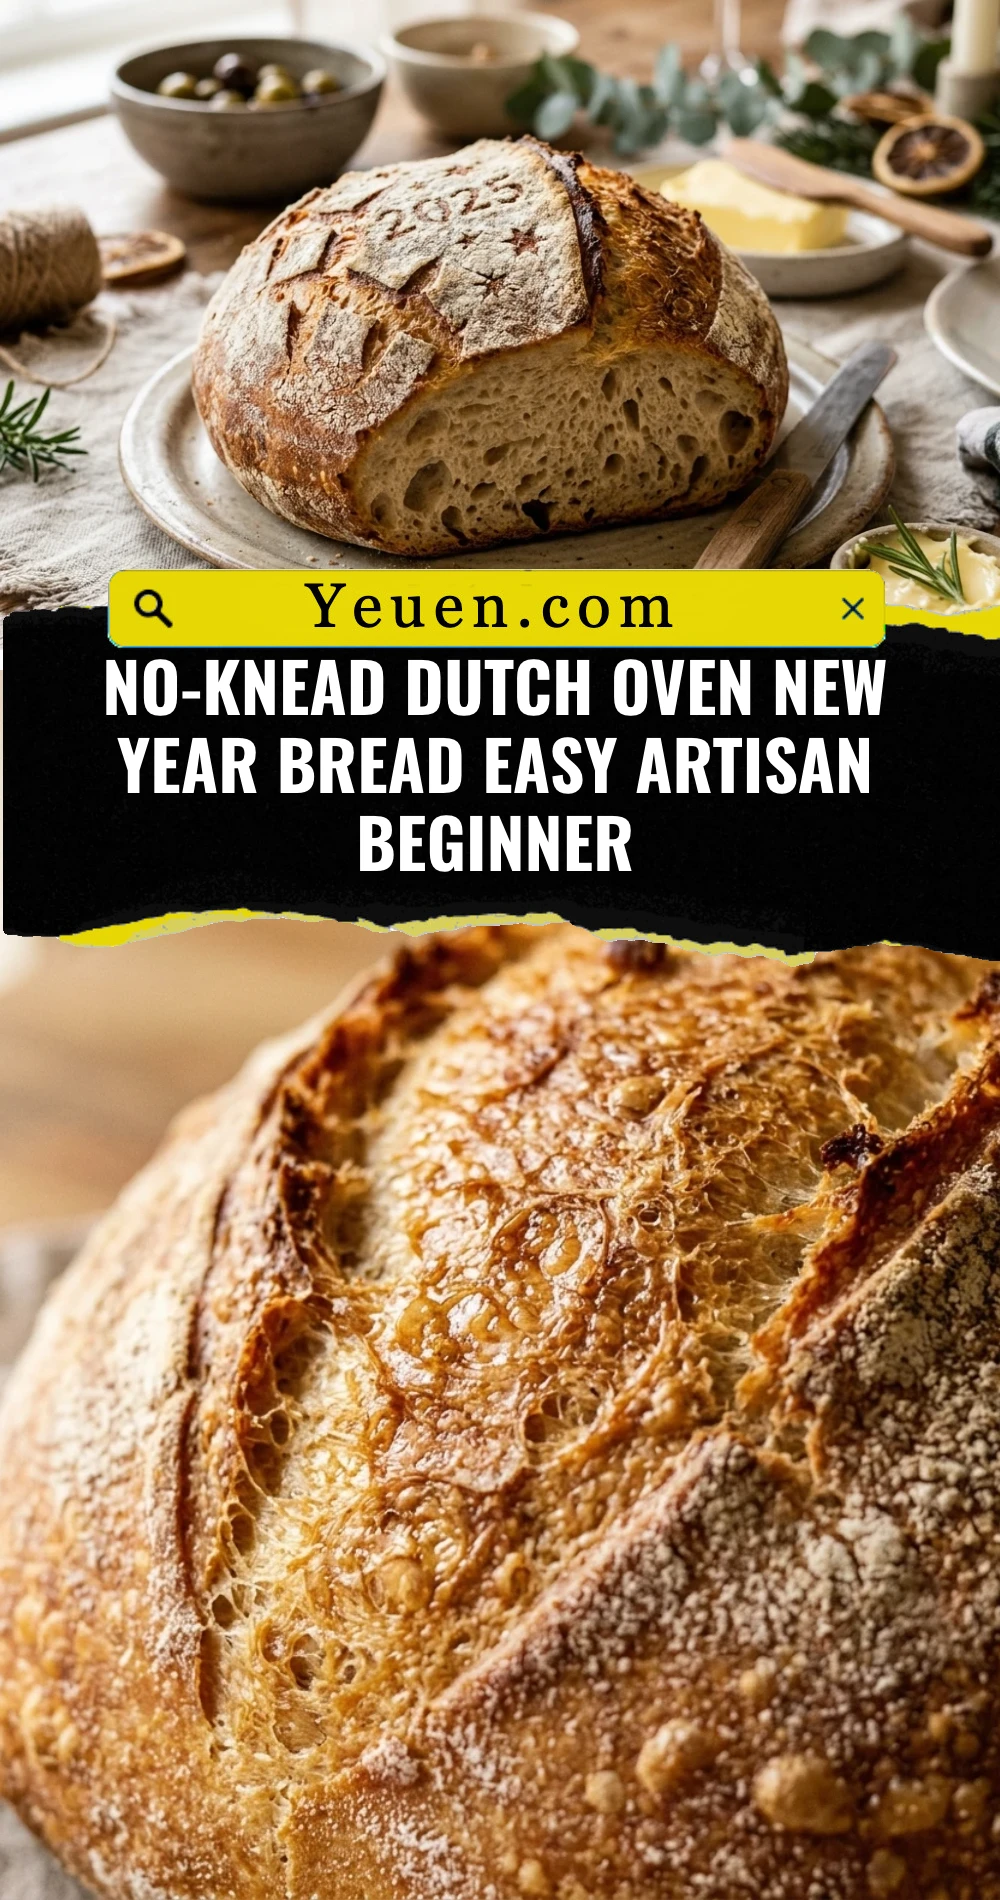

No-Knead Dutch Oven New Year Bread Easy Artisan Beginner
- Total Time: 19 hours
- Diet: Vegetarian
Ingredients
Scale
- 3 cups all-purpose flour or bread flour (plus extra for dusting)
- 1 ½ cups warm water (about 100°F)
- 1 ½ teaspoons sea salt
- ½ teaspoon active dry yeast
- Optional: 1 tablespoon honey for a hint of sweetness
- Optional: 1 teaspoon dried rosemary for aroma
Instructions
- In a large mixing bowl, whisk together the flour, salt, and active dry yeast. If you are using rosemary, add it now. Pour in the warm water and honey. Use a sturdy wooden spoon or a spatula to stir the mixture until a shaggy, sticky ball forms and no dry flour remains. Do not worry about the appearance; it should look messy and unrefined at this stage.
- Cover the bowl tightly with plastic wrap or a damp kitchen towel. Place the bowl in a draft-free spot at room temperature. Let the dough rest for at least 12 hours, though 18 hours is ideal for the best flavor. During this time, the dough will double in size and the surface will become dotted with tiny bubbles. This slow rise is what develops the artisan texture.
- Lightly flour a piece of parchment paper. Gently scrape the dough out of the bowl onto the paper. Use floured hands to fold the dough over itself a few times to form a rough ball. Cover the dough with a towel and let it rest for another 30 to 60 minutes. This allows the gluten to relax and ensures a better rise in the oven.
- While the dough rests for the second time, place your empty Dutch oven (with the lid on) into the oven. Preheat the oven to 450°F (230°C). It is crucial that the pot is extremely hot before the dough goes in. This heat shock is what creates the “oven spring” that makes the bread tall and fluffy.
- Carefully remove the hot Dutch oven from the oven. Lift the parchment paper by the corners and lower the dough (and the paper) into the pot. Cover with the lid and bake for 30 minutes. After 30 minutes, remove the lid and bake for an additional 15 minutes. This final step browns the crust to a deep golden color. Remove the bread and let it cool on a wire rack for at least 30 minutes before slicing.
- Cook Time: 19 hours 0 minutes