Follow Me On Pinterest!


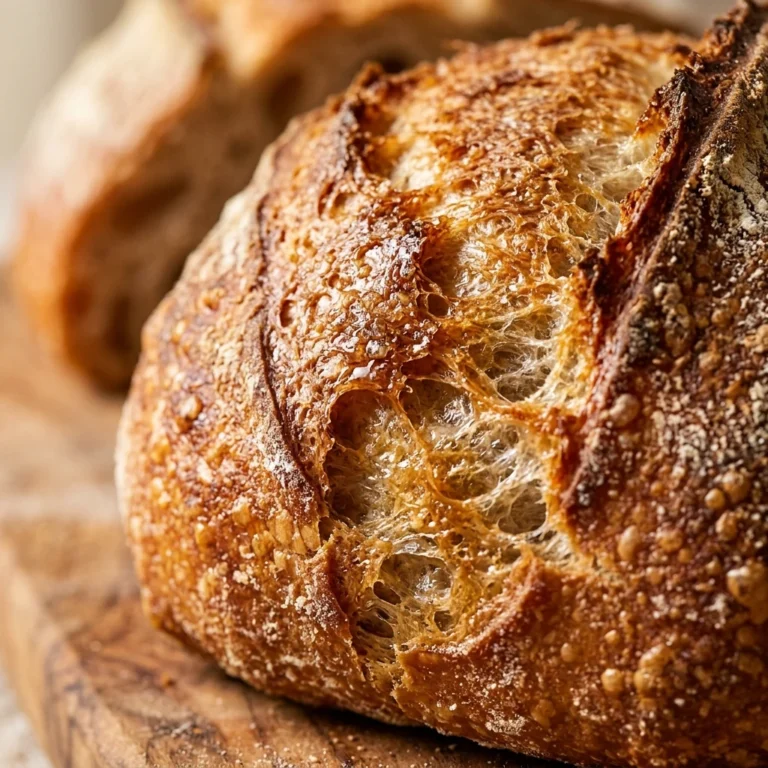
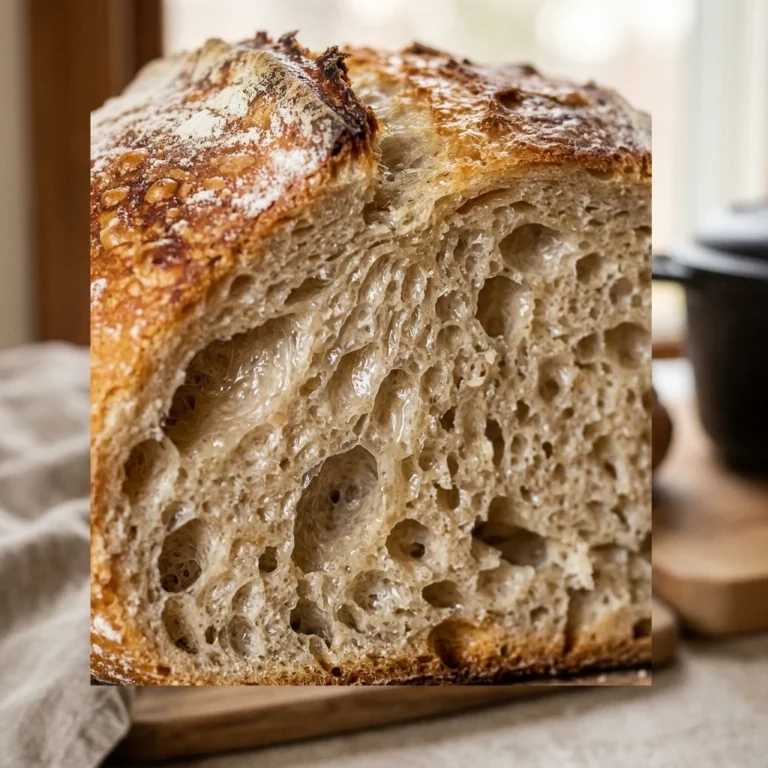
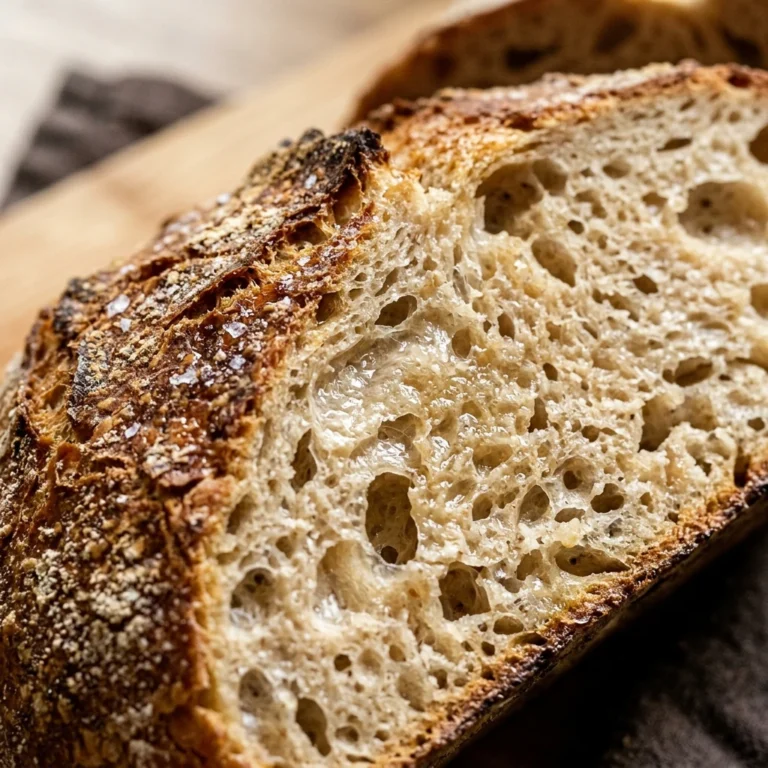
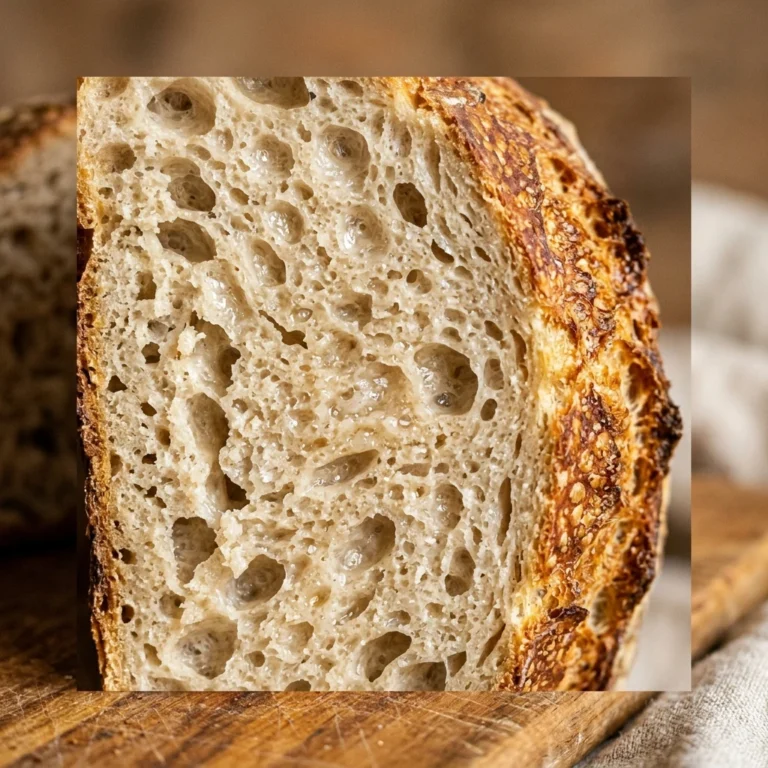
There is nothing quite like the smell of fresh bread wafting through your home. If you have always felt intimidated by the thought of working with yeast or kneading dough for hours, this recipe is your golden ticket to bakery-quality results. This no-knead Dutch oven bread is specifically designed for beginners who want a crispy, golden crust and a soft, airy interior with almost zero effort. By letting time do the heavy lifting, you create a complex flavor and perfect texture that rivals any artisan bakery. Grab your favorite pot, and let’s get baking!
Recipe Information
- Prep Time: 10 minutes (plus 12–18 hours rising time)
- Cook Time: 45 minutes
- Total Time: 18 hours 55 minutes
- Servings: 8 servings
- Difficulty: Easy
Nutrition values
- Calories: 185 kcal per slice
- Protein: 6g
- Carbs: 38g
Why Make This No-Knead Dutch Oven Easy Bread For Beginners Step By Step
This recipe removes every barrier to entry for home bakers. You do not need a fancy stand mixer, you do not need strong forearms for kneading, and you certainly do not need a professional culinary degree. The Dutch oven acts as a mini-steam oven, trapping moisture released by the dough to create that signature crackly crust. It is a foolproof method that produces consistent, impressive results every single time. Plus, it only requires four basic pantry staples.
Ingredients
- 3 cups All-Purpose Flour (or Bread Flour for a chewier texture)
- 1 ½ cups Warm Water (about 100°F to 110°F)
- 1 ½ teaspoons Salt
- ½ teaspoon Active Dry Yeast or Instant Yeast
- Extra flour for dusting
Directions
Step 1: Mixing the Dough
In a large mixing bowl, whisk together the flour, salt, and yeast until well combined. Pour the warm water into the center of the dry ingredients. Use a sturdy wooden spoon or your hands to mix everything together until a shaggy, sticky ball forms and no dry flour remains. Do not worry about how it looks; it should be messy and irregular at this stage.
Step 2: The Long Rise
Cover the bowl tightly with plastic wrap or a damp kitchen towel. Place the bowl in a warm, draft-free spot in your kitchen. Let the dough rest for at least 12 hours, though 18 hours is ideal for the best flavor. During this time, you will see the dough double in size and become covered in tiny bubbles. This slow fermentation replaces the need for kneading.
Step 3: Preheating the Pot
Once the dough has finished its long rest, place your empty Dutch oven (with the lid on) into your oven. Preheat the oven to 450°F (230°C). Let the pot heat up inside the oven for at least 30 minutes. A screaming hot pot is essential for achieving the perfect crust and oven spring.
Step 4: Shaping the Dough
While the pot preheats, turn the sticky dough out onto a well-floured surface. Dust your hands with flour and gently fold the edges of the dough toward the center to form a rough ball. Place the dough onto a piece of parchment paper. If desired, use a sharp knife or razor to score a shallow “X” or a long slit across the top of the dough.
Step 5: Baking with Steam
Carefully remove the hot Dutch oven from the oven. Lift the parchment paper by the corners and lower the dough (and the paper) into the pot. Be very careful not to touch the sides of the hot pot. Place the lid back on and slide the pot into the oven. Bake for 30 minutes with the lid on to trap the steam.
Step 6: The Final Crisp
Remove the lid from the Dutch oven. You will see that the bread has risen and started to turn pale gold. Continue baking uncovered for another 12 to 15 minutes. This step allows the crust to darken into a deep golden brown and become incredibly crispy. Remove the bread from the pot and let it cool on a wire rack for at least 30 minutes before slicing.
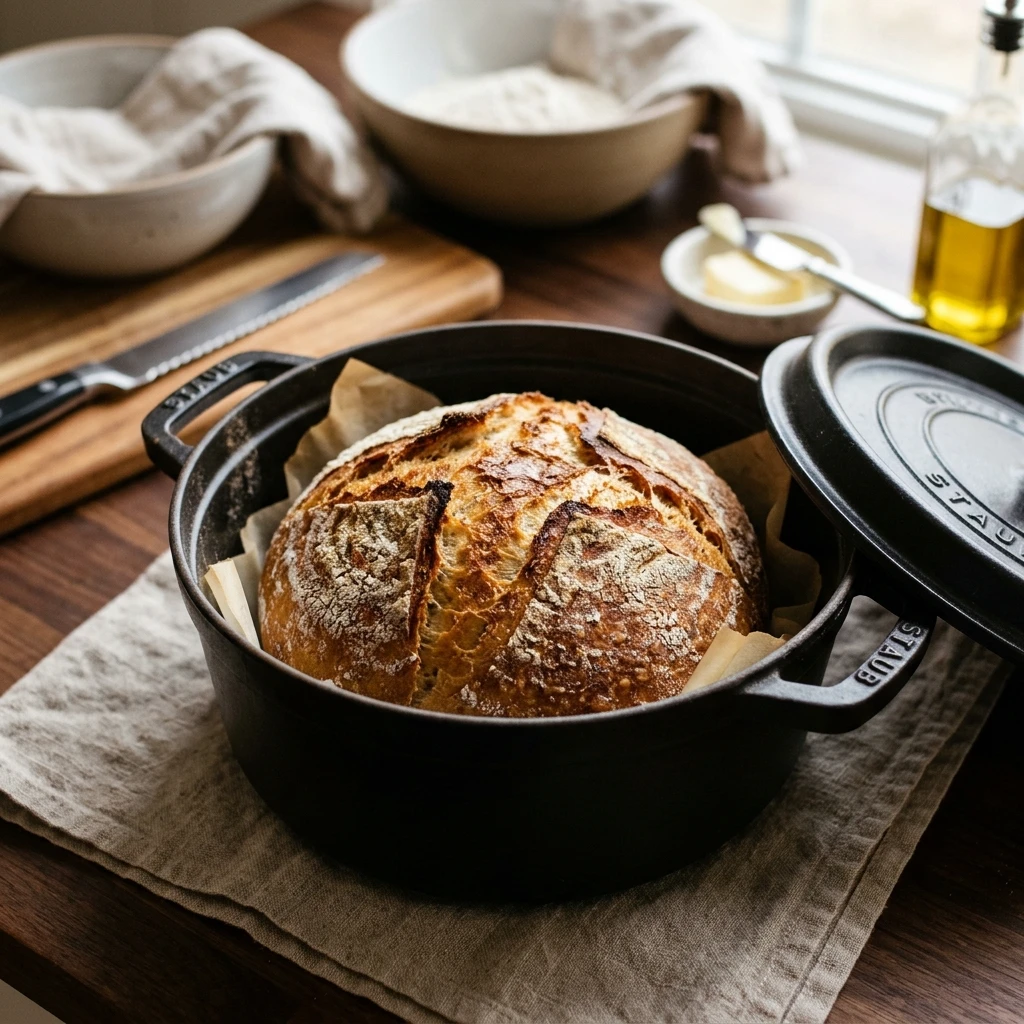
Expert Tips for Perfect No-Knead Dutch Oven Easy Bread For Beginners Step By Step
- Check your yeast: Ensure your yeast is fresh. If it doesn’t foam slightly when mixed with warm water, start over with a fresh batch.
- Use a kitchen scale: For the most consistent results, weigh your flour (360g) instead of using measuring cups.
- Patience is key: Do not slice the bread while it is piping hot. The interior is still “setting” as it cools; cutting it too early can result in a gummy texture.
- The “Tap” Test: To check if it is done, flip the loaf over and tap the bottom. It should sound hollow.
- Parchment Paper Hack: Using parchment paper makes it significantly easier and safer to transfer the dough into the scorching hot Dutch oven.
Delicious Variations
- Rosemary and Garlic: Fold in 2 tablespoons of chopped fresh rosemary and 3 cloves of minced garlic during the initial mixing phase.
- Cheddar and Jalapeño: Add 1 cup of shredded sharp cheddar and ¼ cup of diced pickled jalapeños for a spicy, cheesy kick.
- Everything Bagel: Sprinkle the top of the dough with everything bagel seasoning right before putting the lid on to bake.
- Honey Wheat: Replace 1 cup of all-purpose flour with whole wheat flour and add 1 tablespoon of honey to the water.
Frequently Asked Questions
Can I use a glass bowl instead of a Dutch oven?
While you can use oven-safe glass, it often lacks the heat retention and tight seal of a cast-iron Dutch oven. The Dutch oven is superior because it mimics a professional steam oven. If you must use glass, ensure it is rated for high heat (450°F) to avoid shattering.
What if I don’t have 12 hours to wait?
You can speed up the process by using slightly warmer water and adding 2 teaspoons of yeast instead of 1/2 teaspoon. Let it rise in a very warm spot for 2-3 hours until doubled. However, the flavor will not be as deep or complex as the slow-rise version.
Why did my bread turn out flat?
A flat loaf usually happens if the yeast was dead, the dough was handled too roughly after the long rise (deflating the bubbles), or the Dutch oven wasn’t preheated long enough. Ensure your pot is very hot before adding the dough.
Can I make this bread without parchment paper?
Yes, you can carefully drop the dough directly into the hot pot. To prevent sticking, sprinkle a little cornmeal or extra flour into the bottom of the pot right before adding the dough. However, parchment paper is much safer for beginners.
How should I store this bread?
Store the bread at room temperature in a paper bag or wrapped in a clean kitchen towel for up to 2 days. Avoid plastic bags, as they will soften the crispy crust. For longer storage, slice the bread and freeze it in a freezer-safe bag for up to 3 months.
Conclusion
Mastering the art of bread making doesn’t have to be a stressful endeavor. With this no-knead Dutch oven recipe, you can produce a professional-looking loaf with minimal active work. The combination of a long fermentation and the intense heat of the Dutch oven does all the hard labor for you. Whether you enjoy a slice toasted with butter or use it to scoop up a hearty stew, this bread will quickly become a staple in your kitchen. Happy baking!
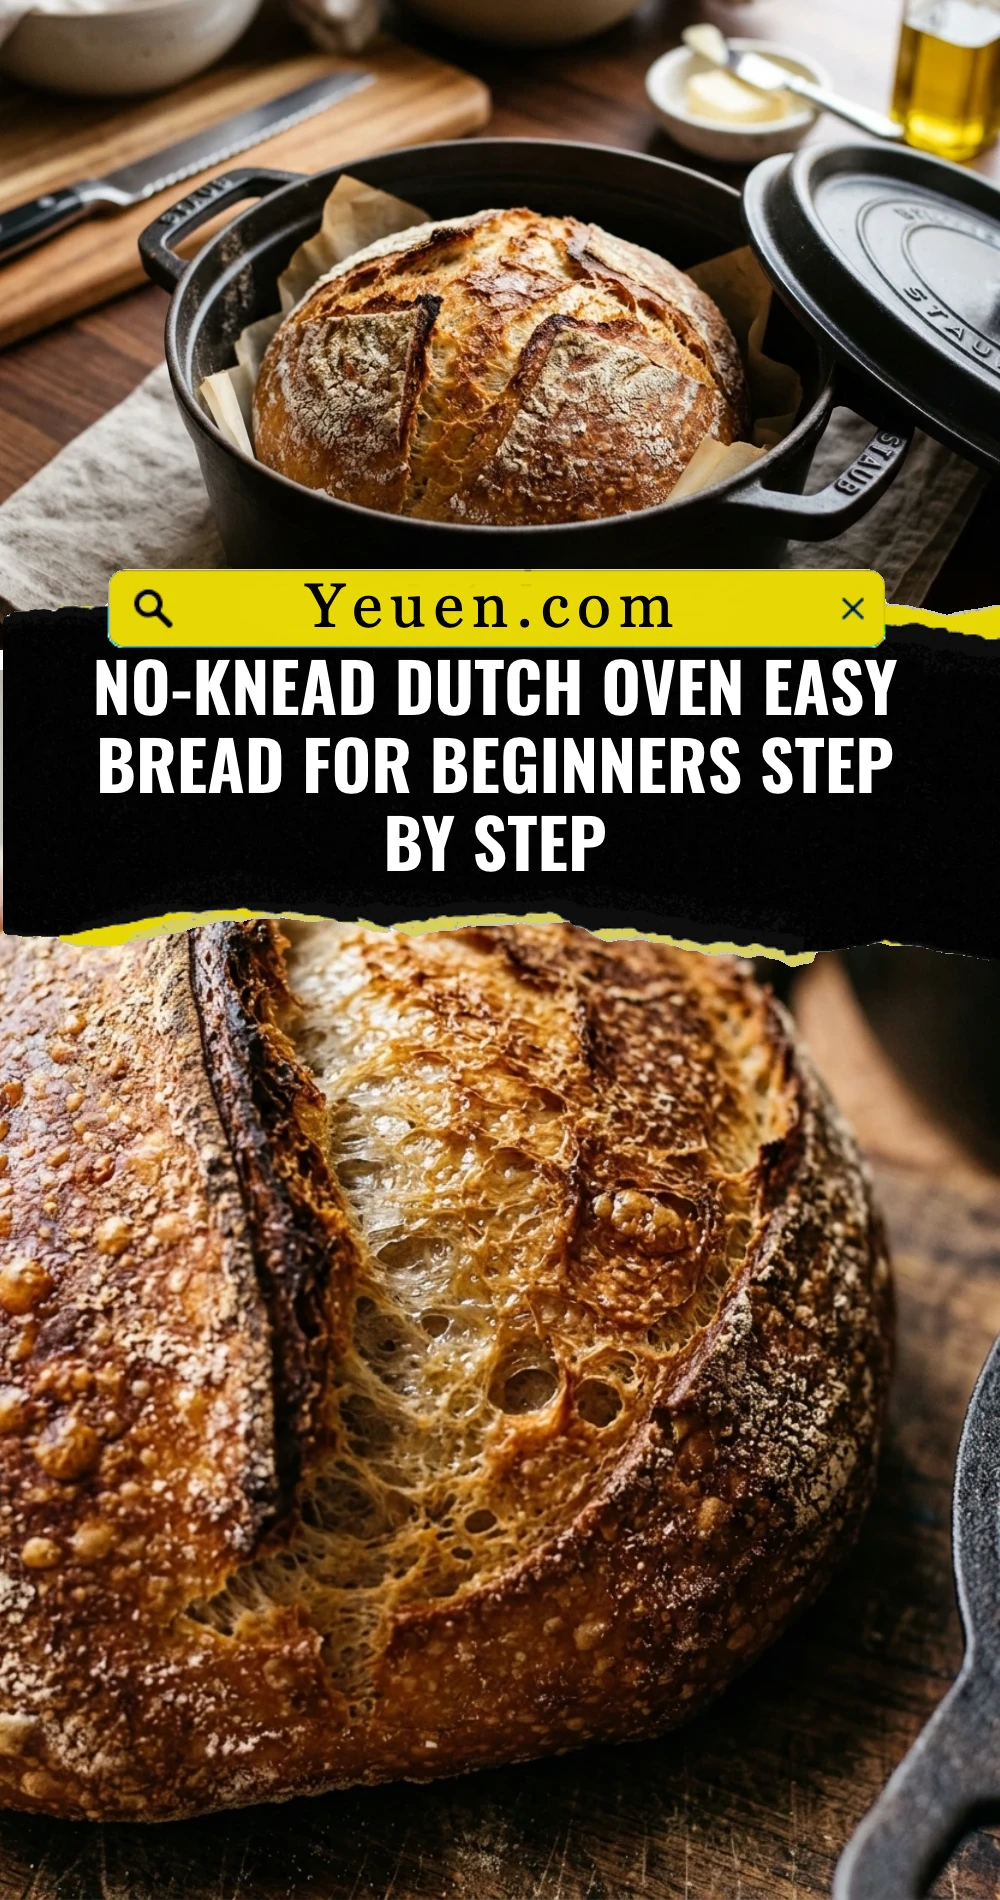
No-Knead Dutch Oven Easy Bread For Beginners Step By Step
- Total Time: 18 hours 55 minutes
- Diet: Vegetarian, Vegan
Ingredients
Scale
- 3 cups All-Purpose Flour (or Bread Flour for a chewier texture)
- 1 ½ cups Warm Water (about 100°F to 110°F)
- 1 ½ teaspoons Salt
- ½ teaspoon Active Dry Yeast or Instant Yeast
- Extra flour for dusting
Instructions
- In a large mixing bowl, whisk together the flour, salt, and yeast until well combined. Pour the warm water into the center of the dry ingredients. Use a sturdy wooden spoon or your hands to mix everything together until a shaggy, sticky ball forms and no dry flour remains. Do not worry about how it looks; it should be messy and irregular at this stage.
- Cover the bowl tightly with plastic wrap or a damp kitchen towel. Place the bowl in a warm, draft-free spot in your kitchen. Let the dough rest for at least 12 hours, though 18 hours is ideal for the best flavor. During this time, you will see the dough double in size and become covered in tiny bubbles. This slow fermentation replaces the need for kneading.
- Once the dough has finished its long rest, place your empty Dutch oven (with the lid on) into your oven. Preheat the oven to 450°F (230°C). Let the pot heat up inside the oven for at least 30 minutes. A screaming hot pot is essential for achieving the perfect crust and oven spring.
- While the pot preheats, turn the sticky dough out onto a well-floured surface. Dust your hands with flour and gently fold the edges of the dough toward the center to form a rough ball. Place the dough onto a piece of parchment paper. If desired, use a sharp knife or razor to score a shallow “X” or a long slit across the top of the dough.
- Carefully remove the hot Dutch oven from the oven. Lift the parchment paper by the corners and lower the dough (and the paper) into the pot. Be very careful not to touch the sides of the hot pot. Place the lid back on and slide the pot into the oven. Bake for 30 minutes with the lid on to trap the steam.
- Remove the lid from the Dutch oven. You will see that the bread has risen and started to turn pale gold. Continue baking uncovered for another 12 to 15 minutes. This step allows the crust to darken into a deep golden brown and become incredibly crispy. Remove the bread from the pot and let it cool on a wire rack for at least 30 minutes before slicing.
- Cook Time: 18 hours 55 minutes