Follow Me On Pinterest!


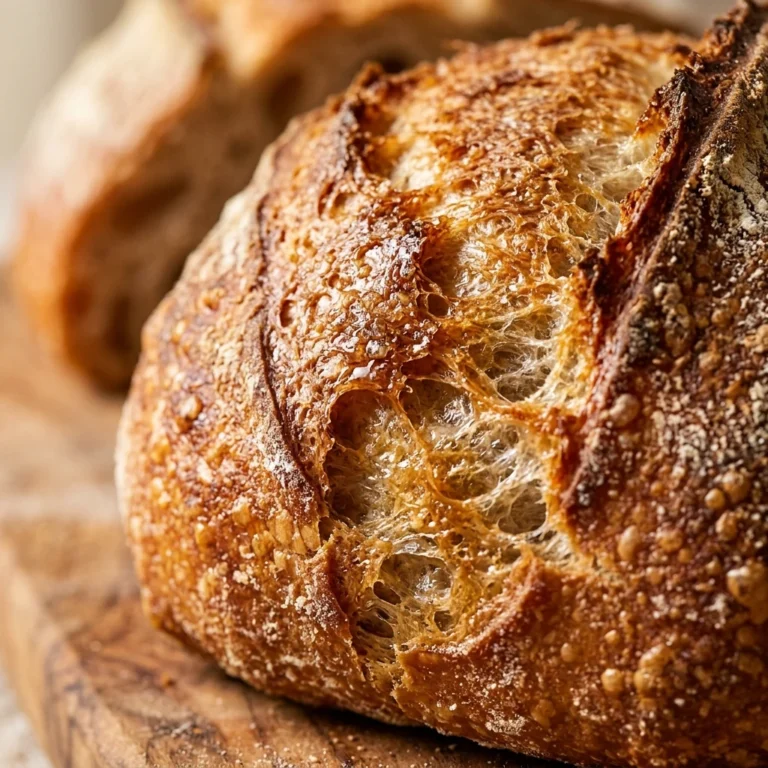
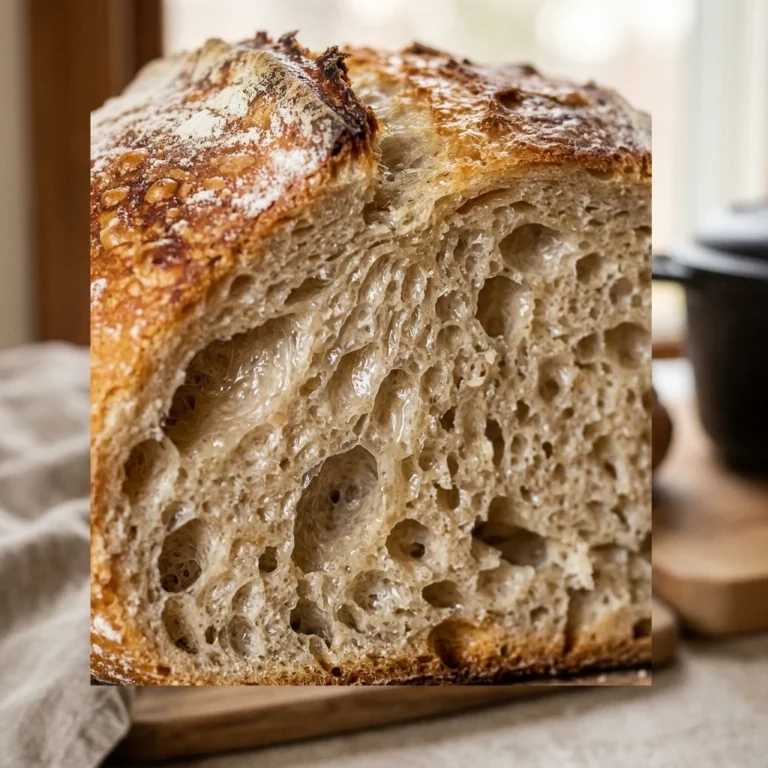
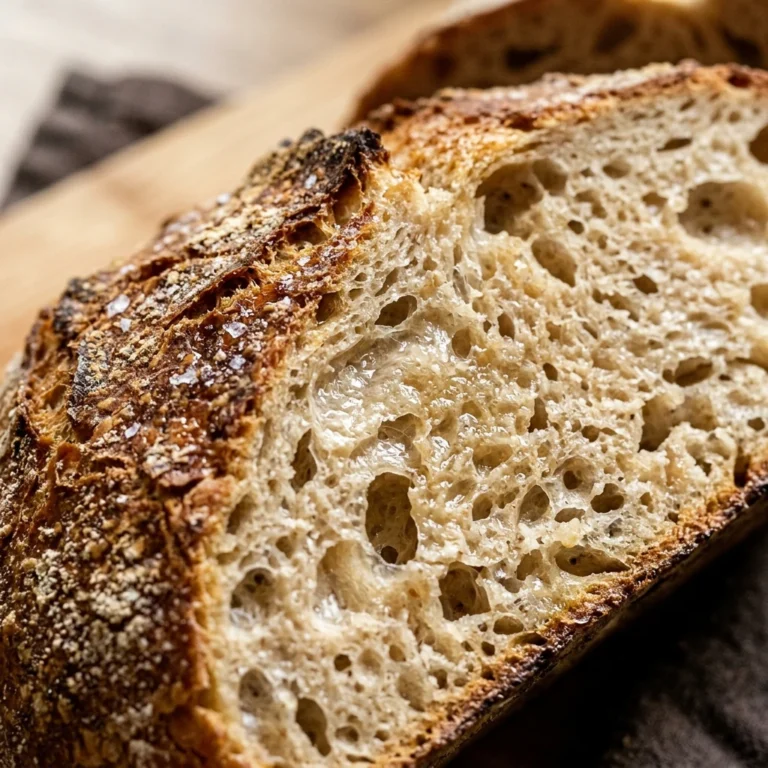
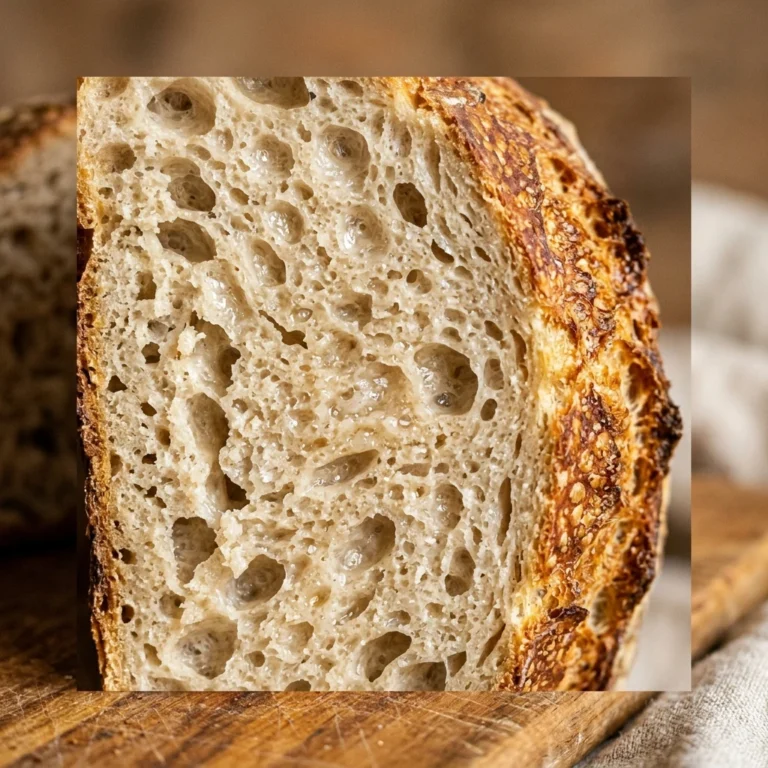
Imagine waking up to the aroma of a bakery-fresh loaf of bread without having to leave your house or master the complicated art of sourdough. This no-knead Dutch oven bread is a total game-changer for beginners. You don’t need a fancy starter, a kitchen mixer, or hours of exhausting kneading. With just four basic pantry staples and a little bit of patience, you can create a loaf with a shatteringly crisp crust and a soft, airy interior. This recipe relies on time rather than muscle power to develop gluten, making it the most foolproof way to dive into the world of bread making.
Recipe Information
- Prep Time: 15 minutes (plus 12-18 hours rising time)
- Cook Time: 45 minutes
- Total Time: 19 hours
- Servings: 1 loaf (approximately 10 slices)
- Difficulty: Easy
Nutrition values
- Calories: 165 kcal (per slice)
- Protein: 5g
- Carbs: 34g
Why Make This No-Knead Dutch Oven Bread Without Starter Easy Beginner
Traditional bread making often feels intimidating because of the precise techniques required. This recipe removes those barriers entirely. You skip the sourdough starter, which requires daily feedings and weeks of maintenance. Instead, you use simple instant yeast. Because you bake it in a Dutch oven, the pot traps steam, mimicking a professional steam-injection oven. This ensures your bread gets that signature golden, crackly crust every single time. It is the perfect low-effort, high-reward project for anyone who loves fresh bread but has a busy schedule.
Ingredients
- 3 cups (390g) All-purpose flour or bread flour
- 1 ½ cups (355ml) Warm water (about 100°F)
- 1 ½ teaspoons Salt
- ½ teaspoon Instant yeast
- Extra flour for dusting
Directions
Step 1: Mix the Dough
In a large mixing bowl, whisk together the flour, salt, and instant yeast until well combined. Pour the warm water into the bowl. Use a sturdy spoon or a spatula to stir the mixture until no dry flour remains. The dough will look shaggy, sticky, and a bit messy—this is exactly how it should look! Do not try to knead it; just ensure all ingredients are incorporated.
Step 2: The Long Rise
Cover the bowl tightly with plastic wrap or a beeswax wrap to prevent the dough from drying out. Place the bowl in a draft-free spot at room temperature. Let the dough sit for at least 12 hours, though 18 hours is even better for flavor development. During this time, you will see the dough double in size and become dotted with little bubbles on the surface.
Step 3: Preheat the Oven and Dutch Oven
Place your empty Dutch oven (with the lid on) into the oven. Preheat the oven to 450°F (230°C). Let the pot heat up for at least 30 minutes. While the pot is heating, turn the dough out onto a well-floured piece of parchment paper. Gently fold the dough over itself once or twice and shape it into a rough ball. Cover it with a clean kitchen towel and let it rest while the oven finishes preheating.
Step 4: The Initial Bake
Carefully remove the hot Dutch oven from the oven. Using the parchment paper as a sling, lift the dough and carefully lower it into the hot pot. Be very careful as the pot is extremely hot. Place the lid back on the Dutch oven and slide it into the oven. Bake for 30 minutes. The lid traps the moisture from the dough, creating the steam needed for a great rise.
Step 5: The Final Crisp
Remove the lid from the Dutch oven. You will see the bread has risen and looks pale. Continue baking uncovered for another 15 minutes, or until the crust is deep golden brown and sounds hollow when you tap the bottom. Remove the bread from the pot and place it on a wire rack. Let it cool for at least 30 minutes before slicing to allow the internal structure to set.
Expert Tips for Perfect No-Knead Dutch Oven Bread Without Starter Easy Beginner
For the best results, use a kitchen scale to weigh your flour. Measuring by volume can lead to using too much flour, resulting in a dense loaf. Ensure your water is warm but not hot; water over 120°F can kill the yeast. If you want an even crispier crust, toss two or three ice cubes into the bottom of the Dutch oven (outside the parchment paper) right before you put the lid on. Finally, resist the urge to cut into the bread immediately! Slicing it while hot allows steam to escape, which can make the inside of your bread gummy.

Delicious Variations
- Garlic and Rosemary: Fold in 2 cloves of minced garlic and 1 tablespoon of chopped fresh rosemary during the initial mixing phase.
- Cheddar Jalapeño: Add 1 cup of cubed sharp cheddar and ¼ cup of pickled jalapeño slices for a spicy, cheesy kick.
- Everything Bagel: Sprinkle 2 tablespoons of everything bagel seasoning over the top of the loaf just before putting it in the Dutch oven.
- Honey Wheat: Replace 1 cup of all-purpose flour with whole wheat flour and add 1 tablespoon of honey to the warm water.
Frequently Asked Questions
Do I have to use a Dutch oven?
While a Dutch oven is best for creating steam, you can use any heavy, oven-safe pot with a tight-fitting lid. If you don’t have a lid, you can use a baking stone and place a pan of water on the rack below to create steam.
Can I use active dry yeast instead of instant yeast?
Yes. However, you should dissolve the active dry yeast in the warm water first and let it sit for 5 minutes until it becomes foamy before adding it to the dry ingredients.
Why didn’t my bread rise?
This usually happens if the yeast is expired or if the water used was too hot and killed the yeast. Check the expiration date on your yeast package and use a thermometer for the water if you are unsure.
How should I store this bread?
Store the cooled bread in a paper bag at room temperature for up to two days. Avoid plastic bags, as they make the crust soft. For longer storage, slice the bread and freeze it in a freezer-safe bag.
What size Dutch oven works best?
A 4-quart to 6-quart Dutch oven is the ideal size for this loaf. If the pot is too large, the dough may spread out too much rather than rising upward.
Conclusion
Baking your own bread is one of the most rewarding skills you can learn in the kitchen. This no-knead Dutch oven bread proves that you don’t need a complicated starter or expert techniques to achieve professional results. It’s a simple, forgiving recipe that delivers a beautiful loaf every time. Once you hear that first crunch of the crust and taste the soft interior, you may never go back to store-bought bread again. Grab your flour and start your first loaf today!
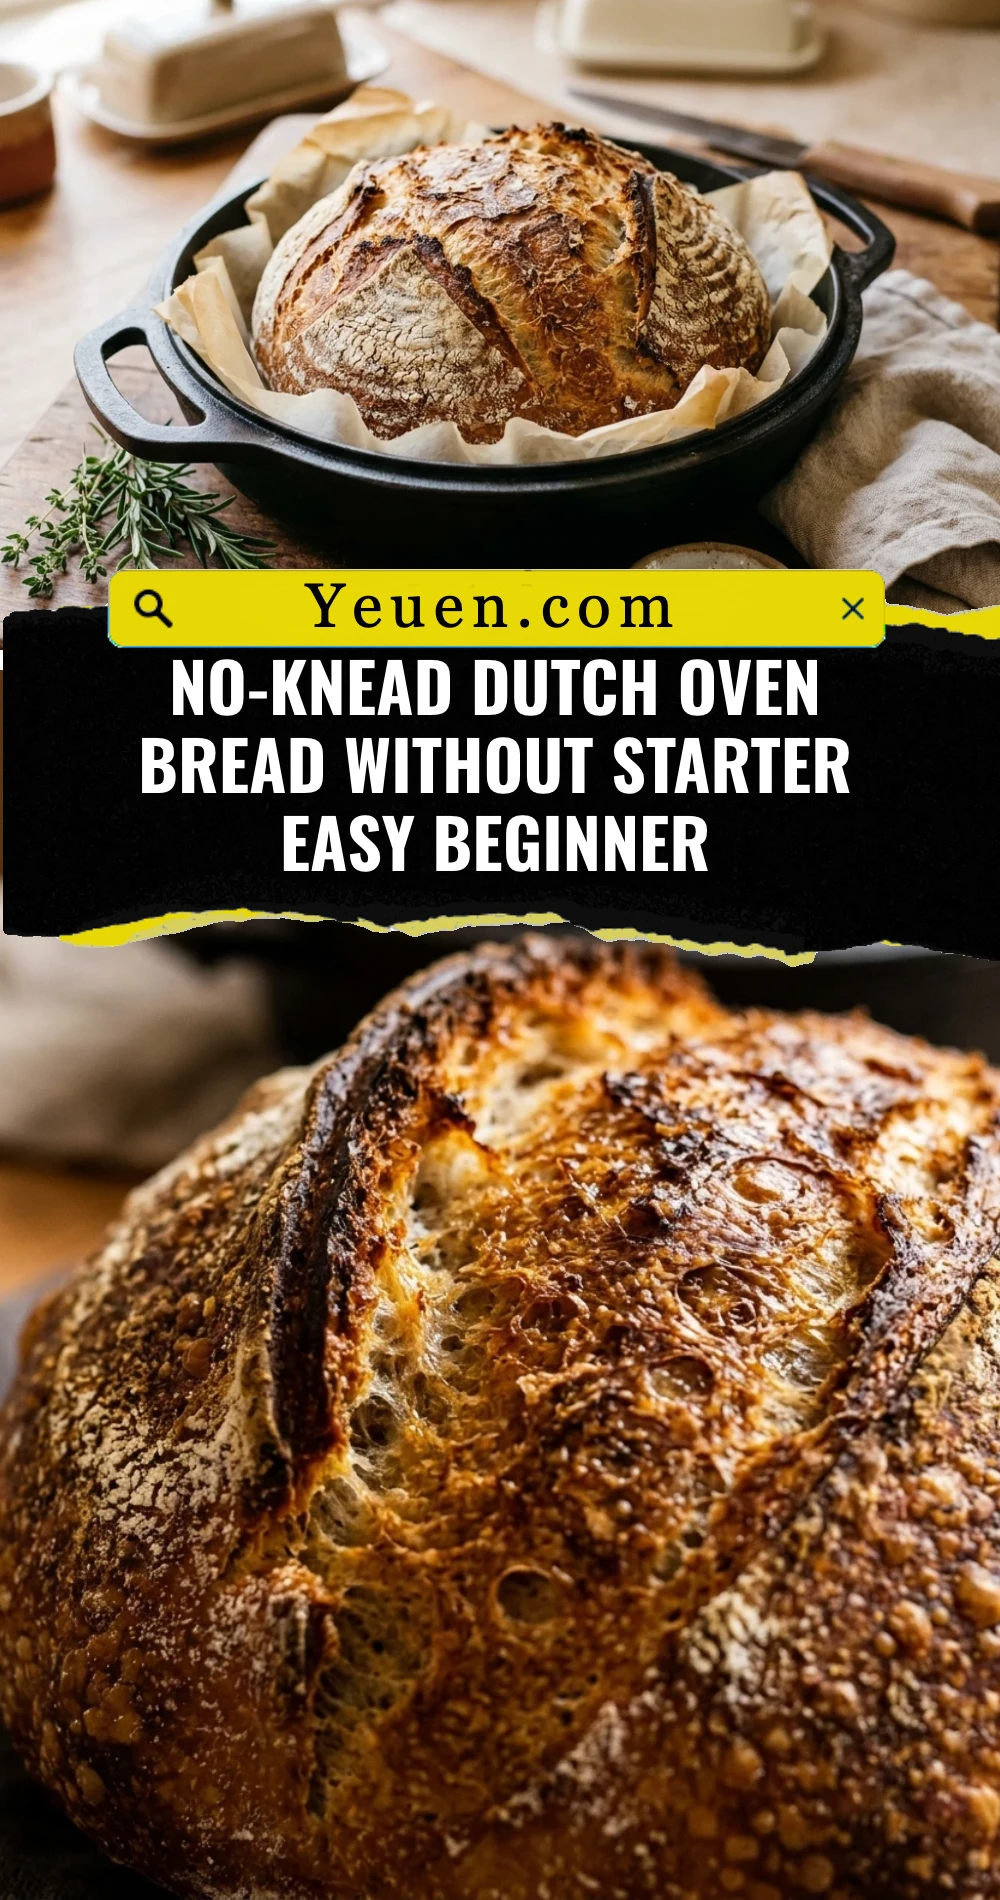
No-Knead Dutch Oven Bread Without Starter Easy Beginner
- Total Time: 19 hours
- Diet: Vegetarian, Vegan
Ingredients
Scale
- 3 cups (390g) All-purpose flour or bread flour
- 1 ½ cups (355ml) Warm water (about 100°F)
- 1 ½ teaspoons Salt
- ½ teaspoon Instant yeast
- Extra flour for dusting
Instructions
- In a large mixing bowl, whisk together the flour, salt, and instant yeast until well combined. Pour the warm water into the bowl. Use a sturdy spoon or a spatula to stir the mixture until no dry flour remains. The dough will look shaggy, sticky, and a bit messy—this is exactly how it should look! Do not try to knead it; just ensure all ingredients are incorporated.
- Cover the bowl tightly with plastic wrap or a beeswax wrap to prevent the dough from drying out. Place the bowl in a draft-free spot at room temperature. Let the dough sit for at least 12 hours, though 18 hours is even better for flavor development. During this time, you will see the dough double in size and become dotted with little bubbles on the surface.
- Place your empty Dutch oven (with the lid on) into the oven. Preheat the oven to 450°F (230°C). Let the pot heat up for at least 30 minutes. While the pot is heating, turn the dough out onto a well-floured piece of parchment paper. Gently fold the dough over itself once or twice and shape it into a rough ball. Cover it with a clean kitchen towel and let it rest while the oven finishes preheating.
- Carefully remove the hot Dutch oven from the oven. Using the parchment paper as a sling, lift the dough and carefully lower it into the hot pot. Be very careful as the pot is extremely hot. Place the lid back on the Dutch oven and slide it into the oven. Bake for 30 minutes. The lid traps the moisture from the dough, creating the steam needed for a great rise.
- Remove the lid from the Dutch oven. You will see the bread has risen and looks pale. Continue baking uncovered for another 15 minutes, or until the crust is deep golden brown and sounds hollow when you tap the bottom. Remove the bread from the pot and place it on a wire rack. Let it cool for at least 30 minutes before slicing to allow the internal structure to set.
- Cook Time: 19 hours