Follow Me On Pinterest!


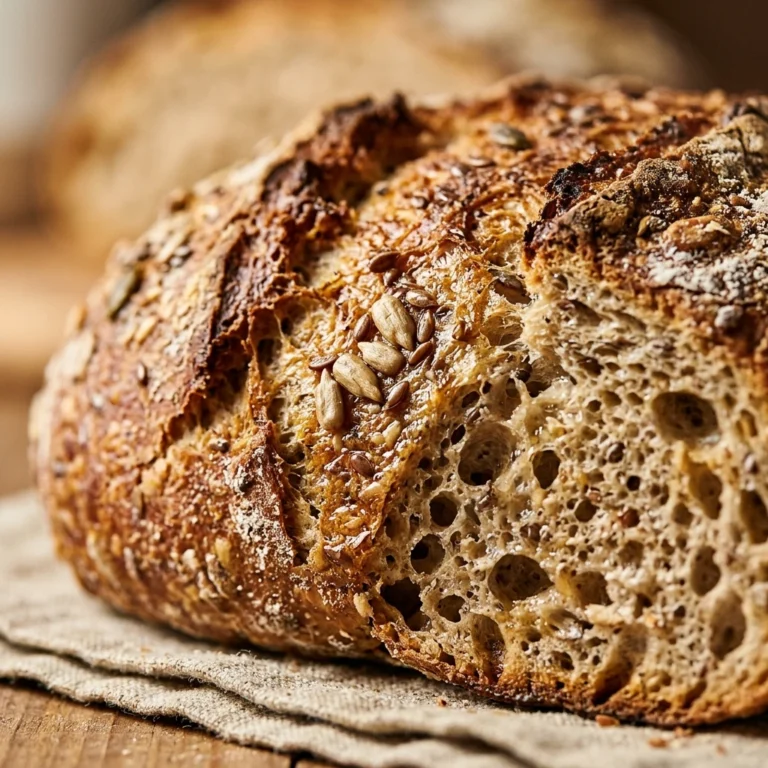
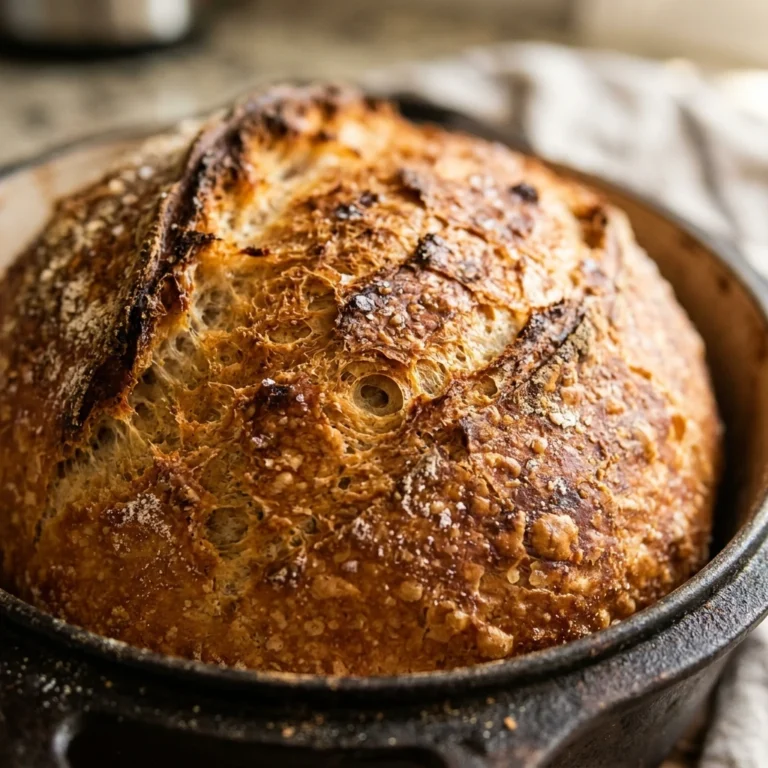
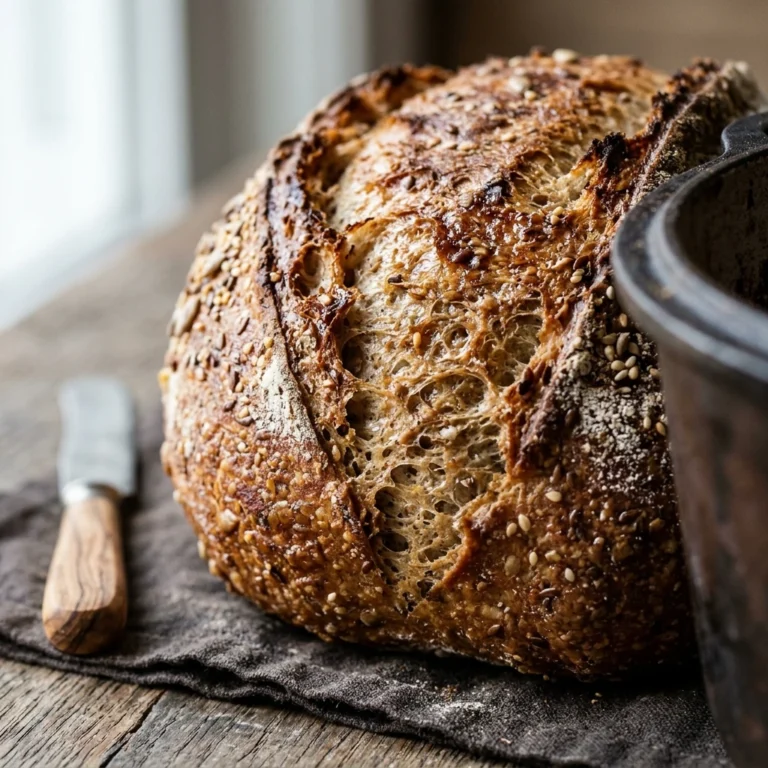
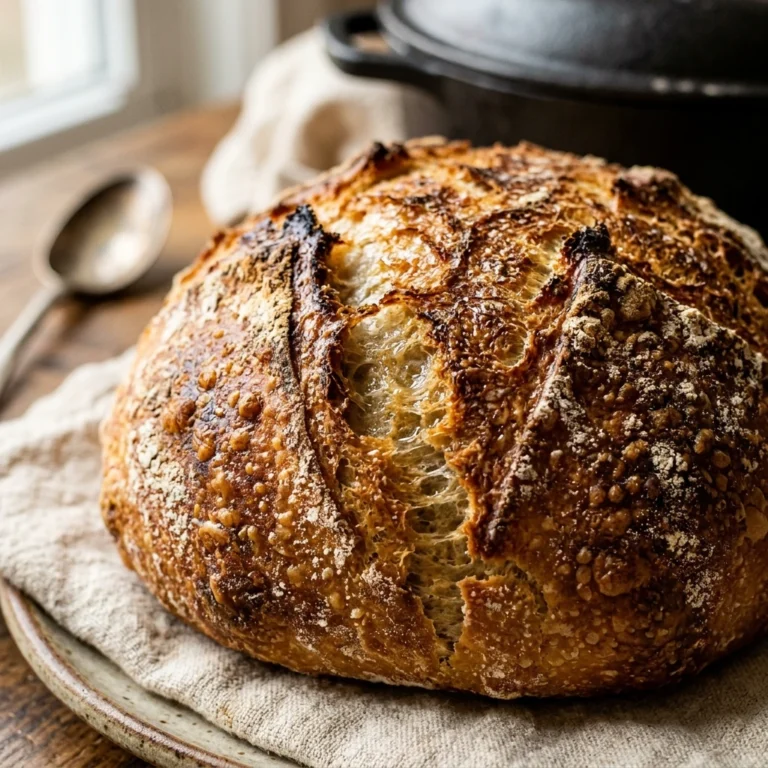
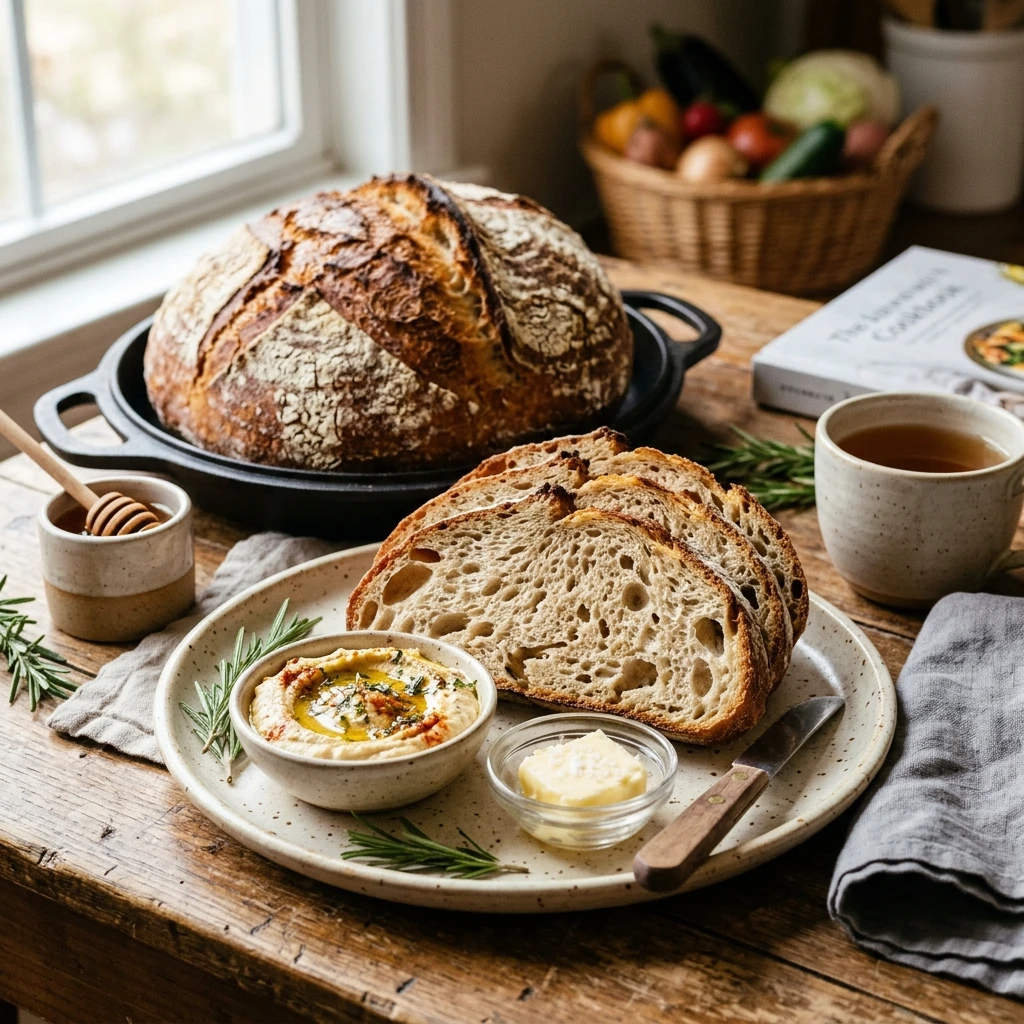
January is the perfect time to reset your kitchen habits and embrace the comfort of homemade staples. This No-Knead Dutch Oven bread is a total game-changer for your meal prep routine. Imagine waking up to the smell of a professional bakery in your own kitchen without spending hours kneading dough or mastering complex techniques. This recipe is designed for busy people who want healthy, preservative-free bread that fits perfectly into a clean-eating lifestyle. With just four ingredients and a bit of patience, you will create a loaf with a shatteringly crisp crust and a soft, airy interior that puts store-bought loaves to shame.
Recipe Information
- Prep Time: 15 minutes (plus 12-18 hours resting time)
- Cook Time: 45 minutes
- Total Time: 19 hours
- Servings: 10 slices
- Difficulty: Easy
Nutrition values
- Calories: 145 kcal per slice
- Protein: 4g
- Carbs: 31g
Why Make This No-Knead Dutch Oven January Meal Prep Bread Easy Healthy
This bread is the ultimate January meal prep hack. Since it requires zero kneading, you let time do all the hard work for you through a slow fermentation process. This slow rise not only develops a deep, complex flavor but also makes the bread easier to digest. It is incredibly budget-friendly, costing only pennies per loaf. By making it yourself, you control exactly what goes into your body—no added sugars, oils, or strange chemicals. It stays fresh for days and toasts beautifully, making it the perfect base for avocado toast, hearty winter soups, or healthy sandwiches throughout your work week.
Ingredients
- 3 cups all-purpose flour (or bread flour for extra chew)
- 1 ½ cups warm water (about 100°F)
- 1 ½ teaspoons sea salt
- ½ teaspoon active dry yeast
- Optional: 1 tablespoon honey or maple syrup for a touch of sweetness
Directions
Step 1: Mixing and Long Proofing
In a large mixing bowl, whisk together the flour, sea salt, and active dry yeast until well combined. Pour in the warm water and stir with a wooden spoon or a sturdy spatula until a shaggy, sticky dough forms. Ensure there are no dry flour streaks left. Cover the bowl tightly with plastic wrap or a damp kitchen towel. Let the dough sit at room temperature in a draft-free spot for at least 12 hours, though 18 hours is ideal for the best flavor and texture. You will know it is ready when the surface is dotted with small bubbles and the dough has doubled in size.
Step 2: Preheating and Shaping
Place your empty Dutch oven (with the lid) into your oven and preheat it to 450°F (230°C). Let the pot heat up for at least 30 minutes. While the oven preheats, turn the sticky dough out onto a well-floured surface. Using floured hands, gently fold the dough over itself a few times to form a rough ball. Place the dough onto a large piece of parchment paper. Cover it loosely and let it rest while the Dutch oven finishes heating.
Step 3: Baking to Perfection
Carefully remove the scorching hot Dutch oven from the oven. Lift the dough by the edges of the parchment paper and lower it into the pot. Cover with the lid and return it to the oven. Bake for 30 minutes with the lid on; this creates steam which gives the bread its signature crispy crust. After 30 minutes, remove the lid and bake for another 12 to 15 minutes until the crust is a deep golden brown. Carefully lift the bread out and place it on a wire rack. Wait at least 30 minutes before slicing to allow the internal structure to set.
Expert Tips for Perfect No-Knead Dutch Oven January Meal Prep Bread Easy Healthy
For the best results, use a digital scale to measure your flour for consistency. If you don’t have one, fluff your flour with a spoon before scooping it into the measuring cup to avoid packing it down. Make sure your water isn’t too hot, or you might kill the yeast; it should feel like lukewarm bath water. Don’t skip the preheating of the Dutch oven, as the initial blast of heat is what creates that incredible “oven spring” and airy texture. Finally, resist the urge to cut into the bread immediately! Slicing it while hot lets steam escape, which can lead to a gummy interior.
Delicious Variations
You can easily customize this base recipe to keep your meal prep exciting all month long. For a Whole Grain Boost, swap one cup of all-purpose flour for whole wheat or rye flour. Add a savory twist by folding in 1 tablespoon of Fresh Rosemary and a teaspoon of cracked black pepper during the initial mix. For a Seed and Nut version, add ¼ cup of pumpkin seeds, flax seeds, or chopped walnuts. If you want a Garlic Herb loaf, stir in 1 teaspoon of garlic powder and 1 tablespoon of dried Italian seasoning before adding the water.
Frequently Asked Questions
What if I don’t have a Dutch oven?
You can use a heavy oven-safe pot with a tight-fitting lid, like a cast iron pot or a ceramic casserole dish. The key is that it must be able to withstand 450°F and hold in steam.
Can I use instant yeast instead of active dry?
Yes! You can use the same amount of instant yeast. The dough may rise slightly faster, but the long 12-18 hour rest is still recommended for the best flavor development.
How should I store this bread for meal prep?
Once completely cool, store the loaf in a paper bag or a bread box for up to 2 days at room temperature. For longer storage, slice the bread and freeze it in a freezer-safe bag. You can toast the slices directly from the freezer.
Is this bread vegan-friendly?
Absolutely. The base ingredients (flour, water, salt, yeast) are naturally vegan. Just ensure you don’t add honey if you want to keep it strictly plant-based; use maple syrup instead.
Why is my dough so sticky?
This dough is meant to be very hydrated and sticky! High hydration is what creates those beautiful air pockets inside the bread. Use plenty of flour on your hands and work surface when shaping the loaf.
Conclusion
Making your own No-Knead Dutch Oven bread is a rewarding way to kick off your January healthy habits. It simplifies your morning routine and provides a wholesome, delicious source of carbohydrates that pairs with almost any meal. Once you taste the difference between this crusty, homemade loaf and the processed versions from the store, you will never go back. Enjoy the process, experiment with different flavors, and savor every bite of your fresh, handmade creation!

No-Knead Dutch Oven January Meal Prep Bread Easy Healthy
- Total Time: 19 hours
- Diet: Vegan
Ingredients
Scale
- 3 cups all-purpose flour (or bread flour for extra chew)
- 1 ½ cups warm water (about 100°F)
- 1 ½ teaspoons sea salt
- ½ teaspoon active dry yeast
- Optional: 1 tablespoon honey or maple syrup for a touch of sweetness
Instructions
- Step 1: Mixing and Long Proofing In a large mixing bowl, whisk together the flour, sea salt, and active dry yeast until well combined. Pour in the warm water and stir with a wooden spoon or a sturdy spatula until a shaggy, sticky dough forms. Ensure there are no dry flour streaks left. Cover the bowl tightly with plastic wrap or a damp kitchen towel. Let the dough sit at room temperature in a draft-free spot for at least 12 hours, though 18 hours is ideal for the best flavor and texture. You will know it is ready when the surface is dotted with small bubbles and the dough has doubled in size.
- Step 2: Preheating and Shaping Place your empty Dutch oven (with the lid) into your oven and preheat it to 450°F (230°C). Let the pot heat up for at least 30 minutes. While the oven preheats, turn the sticky dough out onto a well-floured surface. Using floured hands, gently fold the dough over itself a few times to form a rough ball. Place the dough onto a large piece of parchment paper. Cover it loosely and let it rest while the Dutch oven finishes heating.
- Step 3: Baking to Perfection Carefully remove the scorching hot Dutch oven from the oven. Lift the dough by the edges of the parchment paper and lower it into the pot. Cover with the lid and return it to the oven. Bake for 30 minutes with the lid on; this creates steam which gives the bread its signature crispy crust. After 30 minutes, remove the lid and bake for another 12 to 15 minutes until the crust is a deep golden brown. Carefully lift the bread out and place it on a wire rack. Wait at least 30 minutes before slicing to allow the internal structure to set.
- Cook Time: 19 hours