Follow Me On Pinterest!


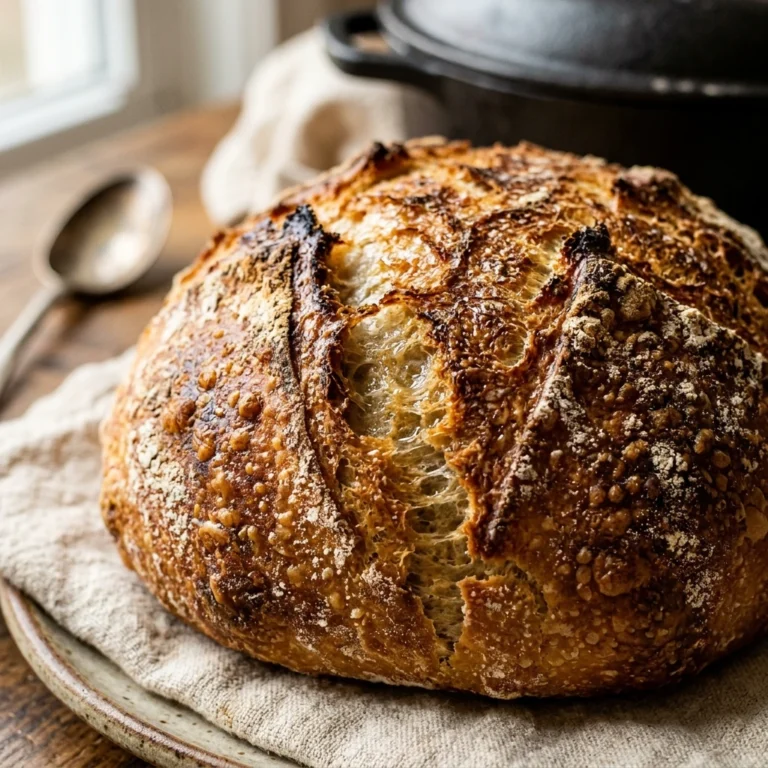
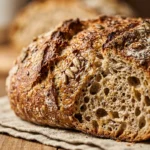
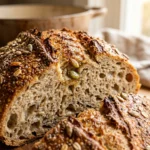
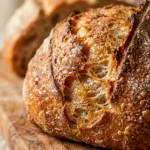
Starting the year with a tight budget doesn’t mean you have to sacrifice the comfort of artisanal, bakery-quality food. This No-Knead Dutch Oven January Budget Bread is the ultimate solution for anyone looking to save money while filling their home with the heavenly scent of fresh-baked crusty bread. With only four pantry staples and zero physical labor required, you can create a loaf that looks like it came from a high-end French boulangerie. It is the perfect companion for January soups and stews, proving that simple ingredients often yield the most impressive results.
Recipe Information
- Prep Time: 10 minutes (plus 12-18 hours rising time)
- Cook Time: 45 minutes
- Total Time: 18 hours 55 minutes
- Servings: 10 slices
- Difficulty: Easy
Nutrition values
- Calories: 155 kcal per slice
- Protein: 5g
- Carbs: 33g
Why Make This No-Knead Dutch Oven January Budget Bread Easy 4 Ingredient Cheap
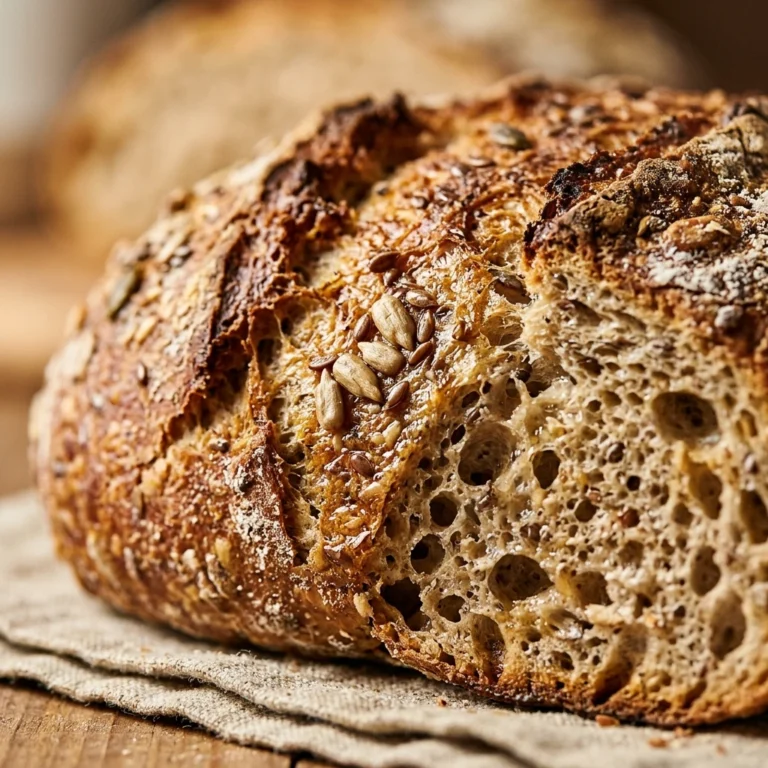
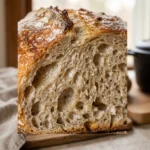
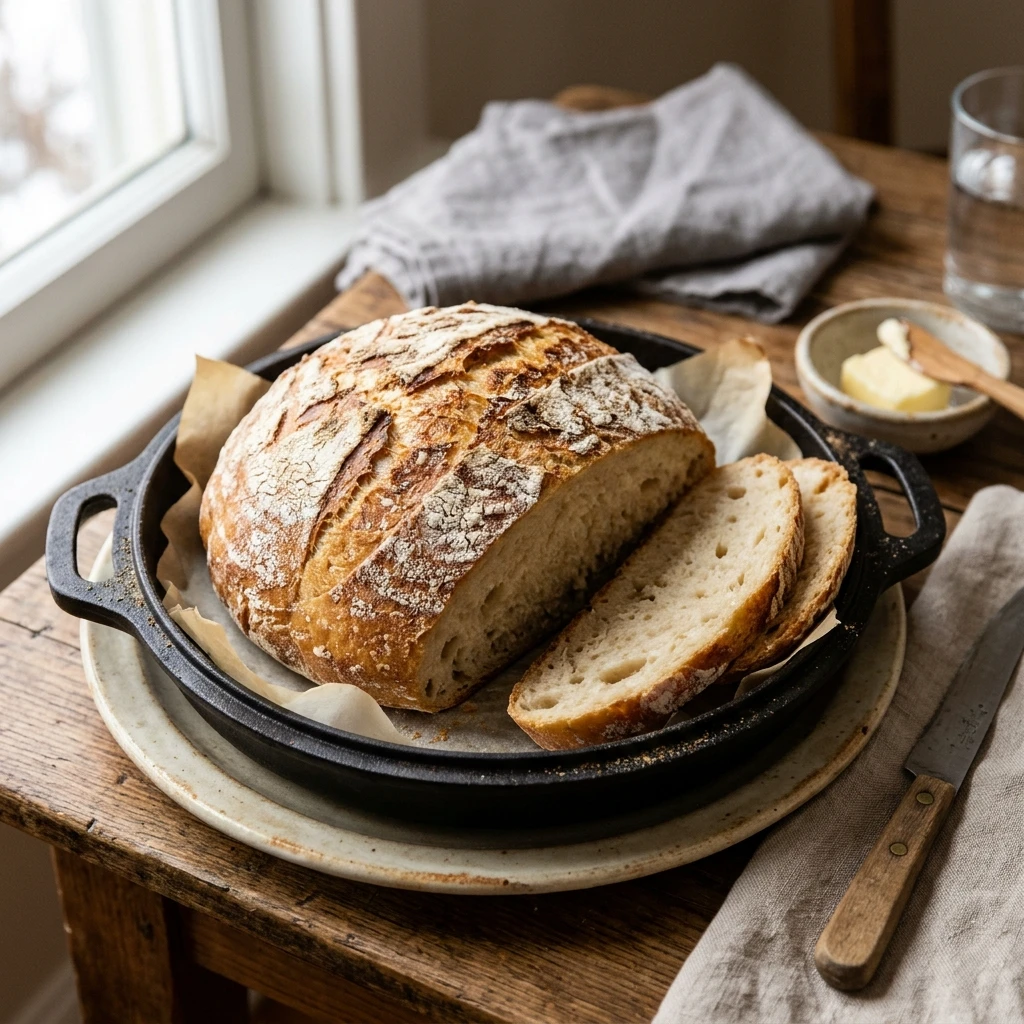
This bread is a game-changer for several reasons. First, it is incredibly cost-effective; flour, water, yeast, and salt cost pennies per serving. Second, the no-knead method relies on time rather than muscle, making it accessible for everyone regardless of baking experience. The Dutch oven creates a steam-filled environment that produces a shatteringly crisp crust and a soft, airy interior. It is the ultimate “set it and forget it” recipe that fits perfectly into a busy schedule.
Ingredients
- 3 cups all-purpose flour (or bread flour)
- 1.5 teaspoons salt
- 1/2 teaspoon active dry yeast
- 1.5 cups warm water (about 100°F)
Directions
Step 1: Mix the Dough
In a large mixing bowl, whisk together the flour, salt, and active dry yeast until well combined. Pour in the warm water and use a sturdy spoon or spatula to stir until a shaggy, sticky ball forms. You do not need to knead the dough; just ensure all the flour is hydrated and no dry pockets remain.
Step 2: The Long Rise
Cover the bowl tightly with plastic wrap or a clean kitchen towel. Place the bowl in a warm, draft-free spot and let it sit for at least 12 hours, though 18 hours is ideal for the best flavor. The dough is ready when it has doubled in size and the surface is dotted with tiny bubbles.
Step 3: Preheating the Pot
Place your empty Dutch oven (with the lid on) into the oven and preheat it to 450°F (230°C). Let the pot heat for at least 30 minutes. While the pot heats, gently scrape the dough onto a piece of parchment paper lightly dusted with flour. Shape it into a rough ball, but do not overwork it.
Step 4: Baking the Bread
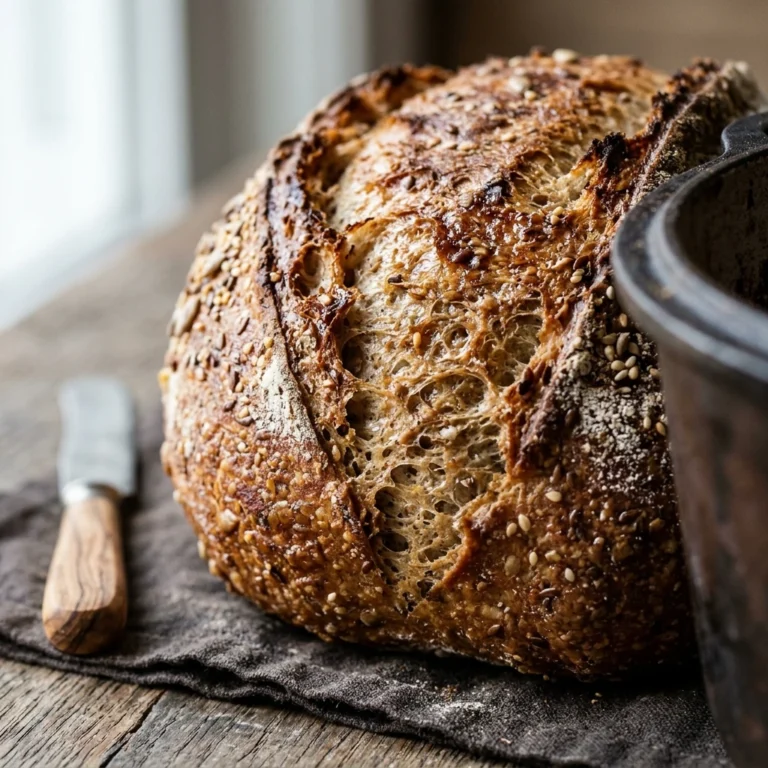
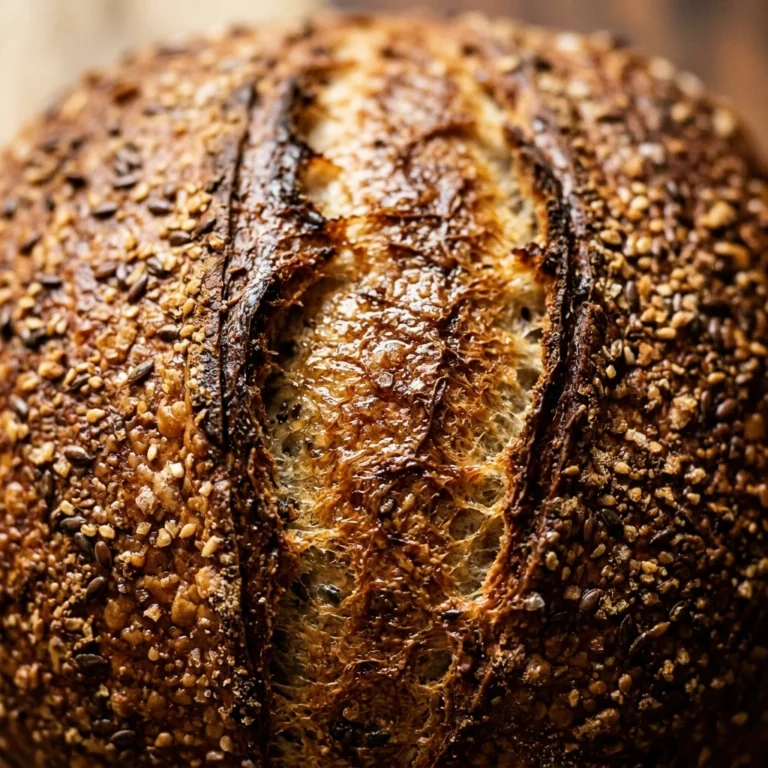
Carefully remove the hot Dutch oven from the oven. Lift the parchment paper by the corners and lower the dough into the pot. Cover with the lid and bake for 30 minutes. After 30 minutes, remove the lid and bake for an additional 15 minutes to allow the crust to turn a deep golden brown. Let the bread cool on a wire rack for at least 30 minutes before slicing.
Expert Tips for Perfect No-Knead Dutch Oven January Budget Bread Easy 4 Ingredient Cheap
For the best results, use a digital scale to measure your flour precisely, as too much flour can make the bread dense. If your kitchen is cold, you can let the dough rise inside an oven that is turned off with the oven light on. Don’t skip the preheating step for the Dutch oven; the heat shock is what creates that signature crust. If you want a more sourdough-like flavor, let the dough sit for the full 18 or even 24 hours in the refrigerator after the initial room-temperature rise.
Delicious Variations
Once you master the base recipe, you can easily customize it. Add a tablespoon of dried rosemary and a teaspoon of cracked black pepper for a savory twist. For a “cheesy” version, fold in half a cup of shredded sharp cheddar during the initial mixing phase. You can also swap half a cup of white flour for whole wheat flour to add a nuttier flavor and more fiber, though you may need an extra tablespoon of water.
Frequently Asked Questions
Can I make this without a Dutch oven?
Yes, you can use any heavy, oven-safe pot with a tight-fitting lid, such as a ceramic casserole dish. If you don’t have a lid, you can use a baking sheet and place a pan of water on the rack below to create steam, though the crust may not be as thick.
What if I only have instant yeast?
You can use instant yeast instead of active dry yeast in the same quantity. The rise time might be slightly faster, but the long fermentation will still work perfectly for developing flavor.
How do I store this bread?
Store the bread cut-side down on a wooden cutting board for the first 24 hours to maintain the crust. After that, wrap it in a paper bag or a linen bread bag. Avoid plastic bags, as they will make the crust soft and rubbery.
Why is my dough so sticky?
This dough is supposed to be sticky! High hydration is the secret to those beautiful air pockets inside the loaf. Use floured hands or a dough scraper when transferring it to the parchment paper.
Can I freeze the baked loaf?
Absolutely. Let the loaf cool completely, slice it, and freeze the slices in a freezer-safe bag. You can toast individual slices directly from the freezer whenever you need a quick snack or side dish.
Conclusion
This No-Knead Dutch Oven January Budget Bread is proof that you don’t need expensive equipment or artisanal skills to enjoy gourmet food at home. It is the perfect project for a rainy afternoon or a quiet weekend. By using time as your main ingredient, you transform simple flour and water into a masterpiece. Give this recipe a try today and enjoy the incredible satisfaction of slicing into your very own homemade loaf.

No-Knead Dutch Oven January Budget Bread Easy 4 Ingredient Cheap
- Total Time: 18 hours 55 minutes
- Diet: Vegan, Vegetarian
Ingredients
Scale
- 3 cups all-purpose flour (or bread flour)
- 1.5 teaspoons salt
- 1/2 teaspoon active dry yeast
- 1.5 cups warm water (about 100°F)
Instructions
- In a large mixing bowl, whisk together the flour, salt, and active dry yeast until well combined. Pour in the warm water and use a sturdy spoon or spatula to stir until a shaggy, sticky ball forms. You do not need to knead the dough; just ensure all the flour is hydrated and no dry pockets remain.
- Cover the bowl tightly with plastic wrap or a clean kitchen towel. Place the bowl in a warm, draft-free spot and let it sit for at least 12 hours, though 18 hours is ideal for the best flavor. The dough is ready when it has doubled in size and the surface is dotted with tiny bubbles.
- Place your empty Dutch oven (with the lid on) into the oven and preheat it to 450°F (230°C). Let the pot heat for at least 30 minutes. While the pot heats, gently scrape the dough onto a piece of parchment paper lightly dusted with flour. Shape it into a rough ball, but do not overwork it.
- Carefully remove the hot Dutch oven from the oven. Lift the parchment paper by the corners and lower the dough into the pot. Cover with the lid and bake for 30 minutes. After 30 minutes, remove the lid and bake for an additional 15 minutes to allow the crust to turn a deep golden brown. Let the bread cool on a wire rack for at least 30 minutes before slicing.
- Cook Time: 18 hours 55 minutes