Follow Me On Pinterest!


January is the perfect time to reset your kitchen habits without sacrificing the comfort of a warm, crusty loaf of bread. This No-Knead Dutch Oven January High Protein Bread is a total game-changer for anyone looking to boost their protein intake while keeping things incredibly simple. You do not need a stand mixer, a bread machine, or even strong forearms. By combining the classic no-knead technique with high-protein ingredients like Greek yogurt and vital wheat gluten, you get a loaf that is nutritious, filling, and bakery-quality. Imagine waking up to the smell of fresh bread that actually supports your fitness goals. This recipe is designed for busy mornings and healthy starts, proving that “healthy” and “bread” belong in the same sentence.
Recipe Information
- Prep Time: 15 minutes (plus 3 hours rising time)
- Cook Time: 45 minutes
- Total Time: 4 hours
- Servings: 10 slices
- Difficulty: Easy
Nutrition values
- Calories: 165 kcal per slice
- Protein: 11g per slice
- Carbs: 28g per slice
Why Make This No-Knead Dutch Oven January High Protein Bread Easy Healthy
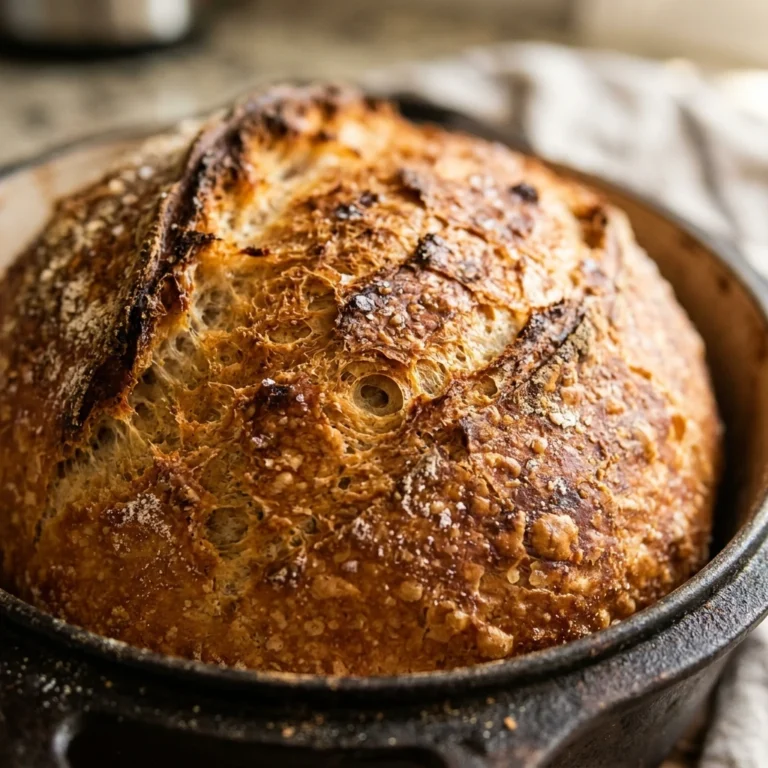
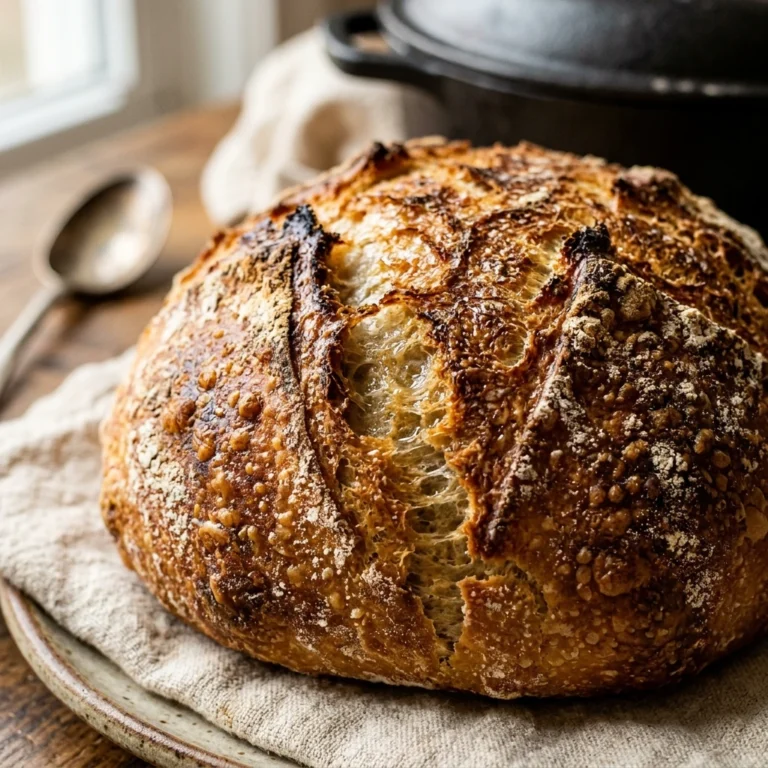
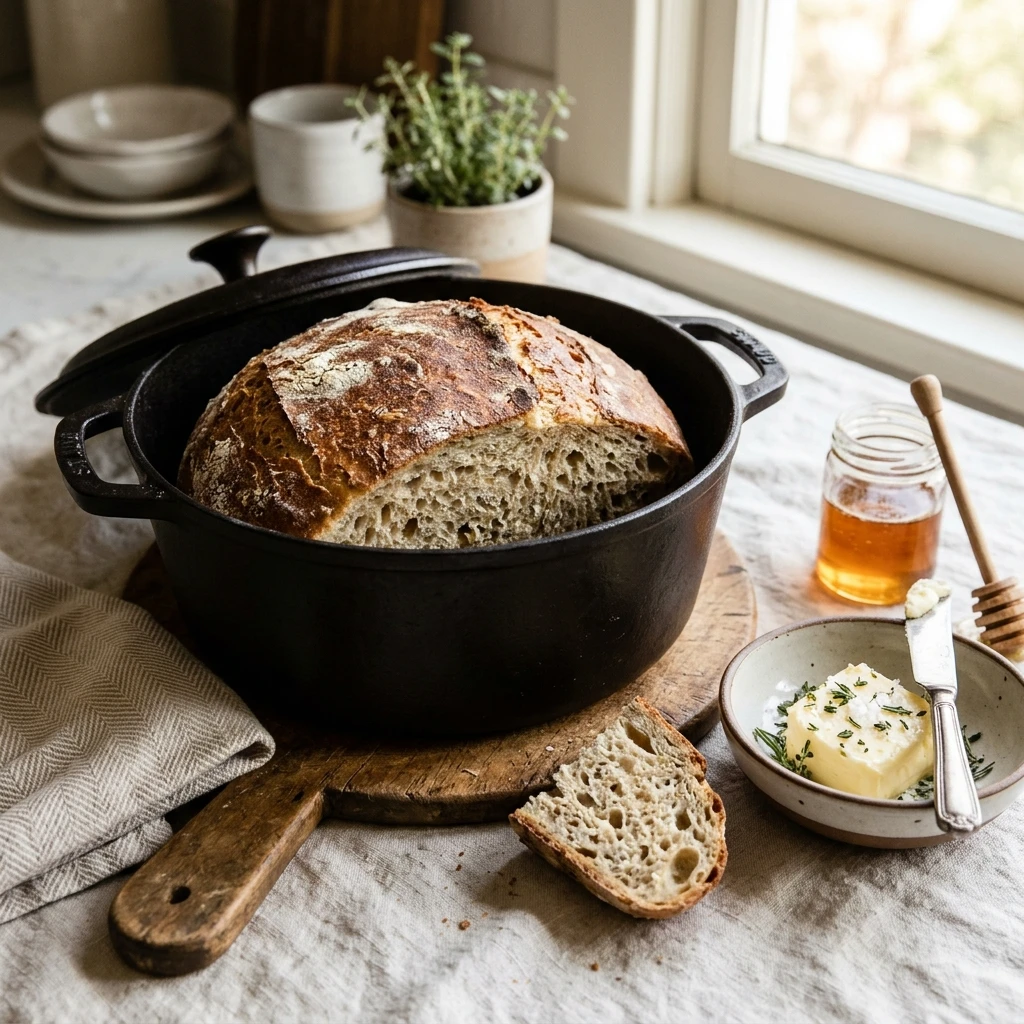
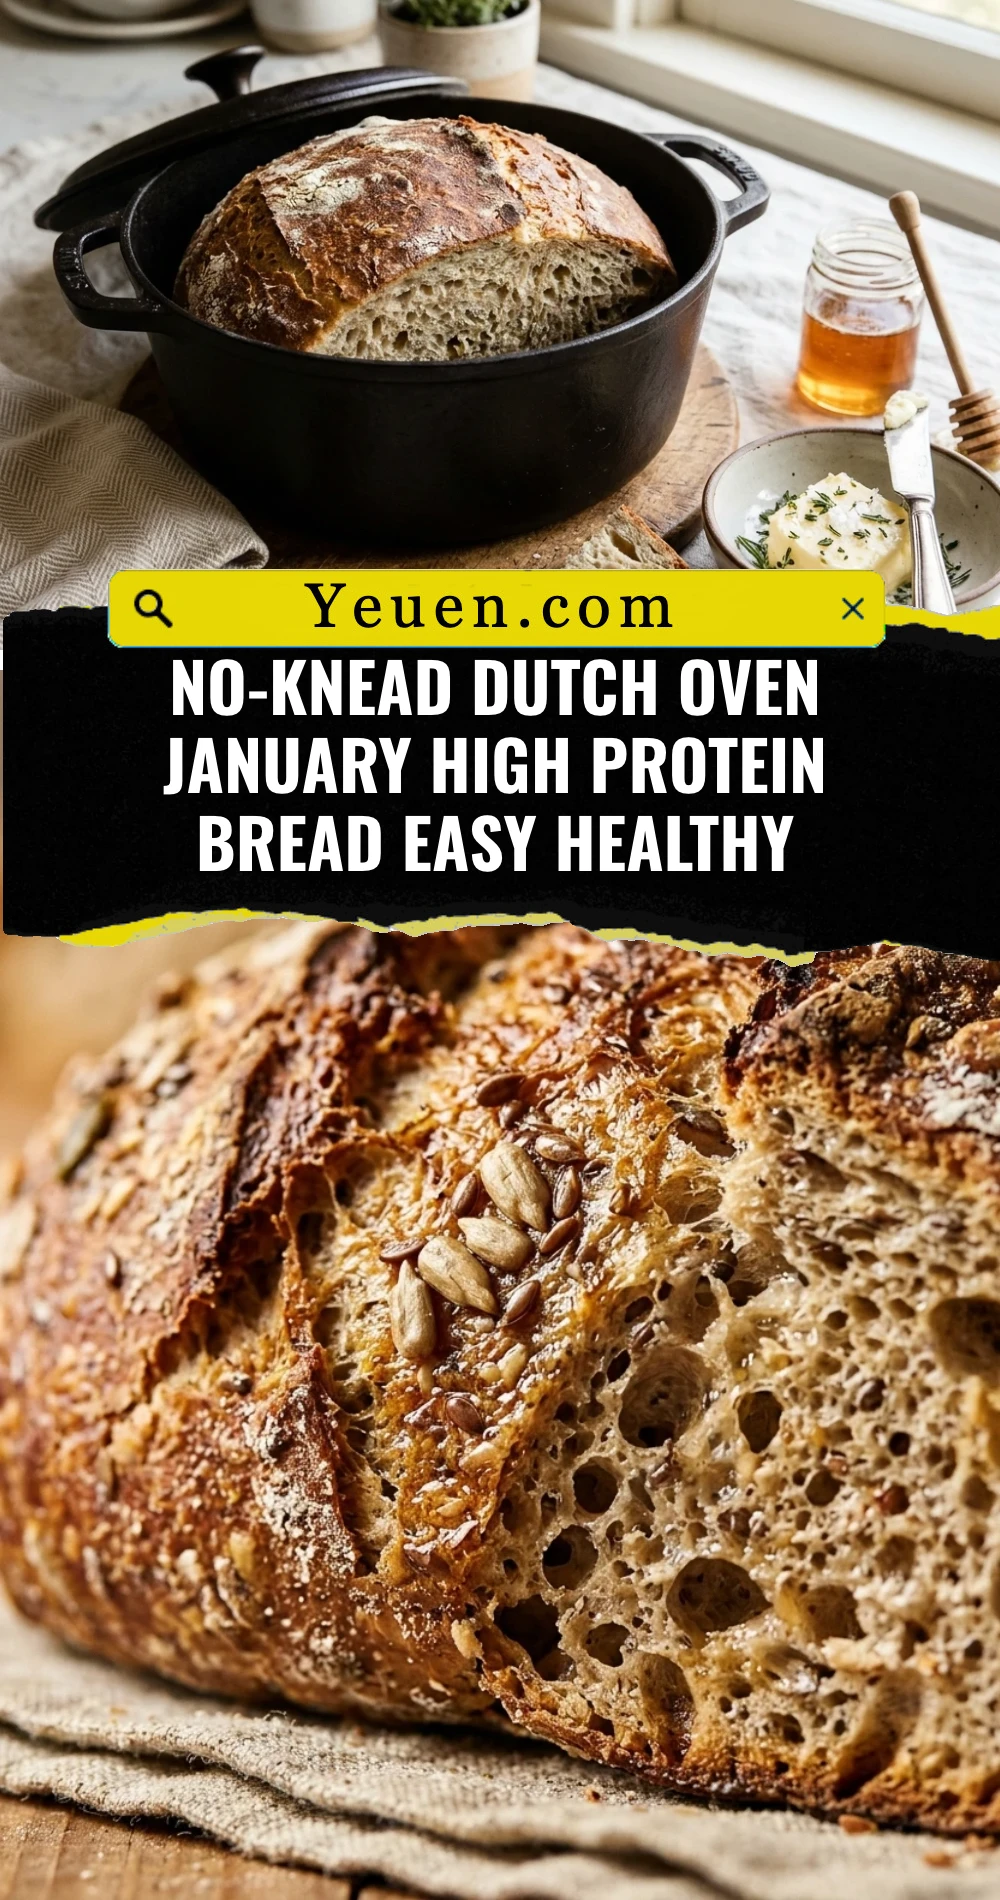
Most high-protein breads on the market are dry, dense, and expensive. This homemade version uses the Dutch oven method to create a crispy, golden-brown crust and a soft, airy interior. Because it is a “no-knead” recipe, the gluten develops naturally over time, saving you the physical labor. It is the perfect meal-prep staple for January because it pairs beautifully with eggs for breakfast or lean turkey for a post-workout sandwich. Plus, making your own bread allows you to control the salt and sugar levels, ensuring your January health kick stays on track.
Ingredients
- 3 cups high-protein bread flour (or all-purpose flour)
- 1/4 cup vital wheat gluten (adds extra protein and structure)
- 1/2 cup non-fat plain Greek yogurt
- 1 1/2 teaspoons sea salt
- 1/2 teaspoon instant yeast
- 1 1/2 cups warm water (about 110°F)
- Optional: 1 tablespoon honey or maple syrup for a touch of sweetness
Directions
Step 1: Mix the Dry Ingredients
In a large mixing bowl, whisk together the bread flour, vital wheat gluten, sea salt, and instant yeast. Make sure the yeast is evenly distributed throughout the flour mixture to ensure an even rise later on.
Step 2: Incorporate the Wet Ingredients
Create a well in the center of the dry ingredients. Add the Greek yogurt, warm water, and honey (if using). Use a sturdy wooden spoon or a spatula to stir the mixture until a shaggy, sticky dough forms. Do not worry if it looks messy; that is exactly how it should look. Ensure there are no dry flour pockets left at the bottom of the bowl.
Step 3: The First Rise
Cover the bowl tightly with plastic wrap or a damp kitchen towel. Place it in a warm, draft-free spot. Let the dough rise for at least 3 hours. During this time, the dough should double in size and develop small bubbles on the surface. For even better flavor, you can let it sit for up to 12 hours in the refrigerator.
Step 4: Preheat the Dutch Oven
Place an empty 5 to 6-quart Dutch oven (with the lid) into your oven. Preheat the oven to 450°F (230°C). Let the pot heat up for at least 30 minutes. This high heat is what creates that signature artisanal crust.
Step 5: Shape and Bake
Carefully turn the dough out onto a piece of parchment paper lightly dusted with flour. Use floured hands to quickly shape it into a round loaf. Carefully lift the parchment paper and drop the dough (paper and all) into the hot Dutch oven. Cover with the lid and bake for 30 minutes. Remove the lid and bake for another 15 minutes until the top is deep golden brown and the internal temperature reaches 190-200°F.
Step 6: Cool and Slice
Lift the bread out of the pot and place it on a wire cooling rack. Resist the urge to slice it immediately! Let the bread cool for at least 30 minutes. This allows the internal structure to set, preventing a gummy texture.
Expert Tips for Perfect No-Knead Dutch Oven January High Protein Bread Easy Healthy
- Check Your Yeast: Ensure your instant yeast is fresh. If the water doesn’t bubble slightly when mixed, your yeast might be dead.
- Do Not Overmix: Just stir until combined. Overworking no-knead dough can actually make the bread tougher.
- Use Vital Wheat Gluten: This is the secret to the “high protein” label. It provides the protein punch and helps the bread rise despite the heavy Greek yogurt.
- The Steam Secret: Keeping the lid on for the first 30 minutes traps steam, which allows the bread to expand fully before the crust sets.
- Room Temp Yogurt: Try to let your Greek yogurt sit out for 10 minutes so it isn’t ice-cold when hitting the yeast.
Delicious Variations
- Everything Bagel Bread: Add 2 tablespoons of everything bagel seasoning to the dough before rising.
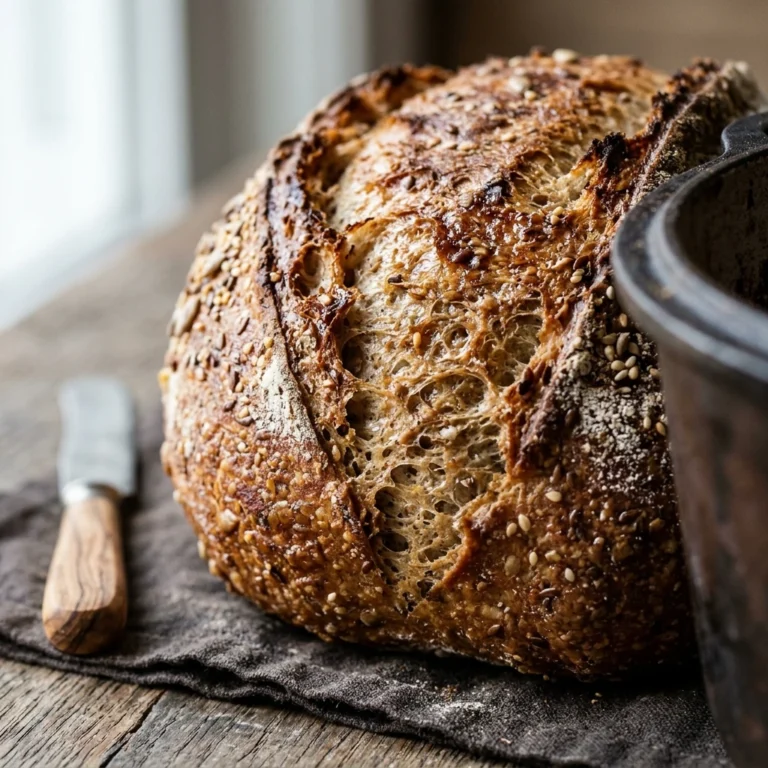
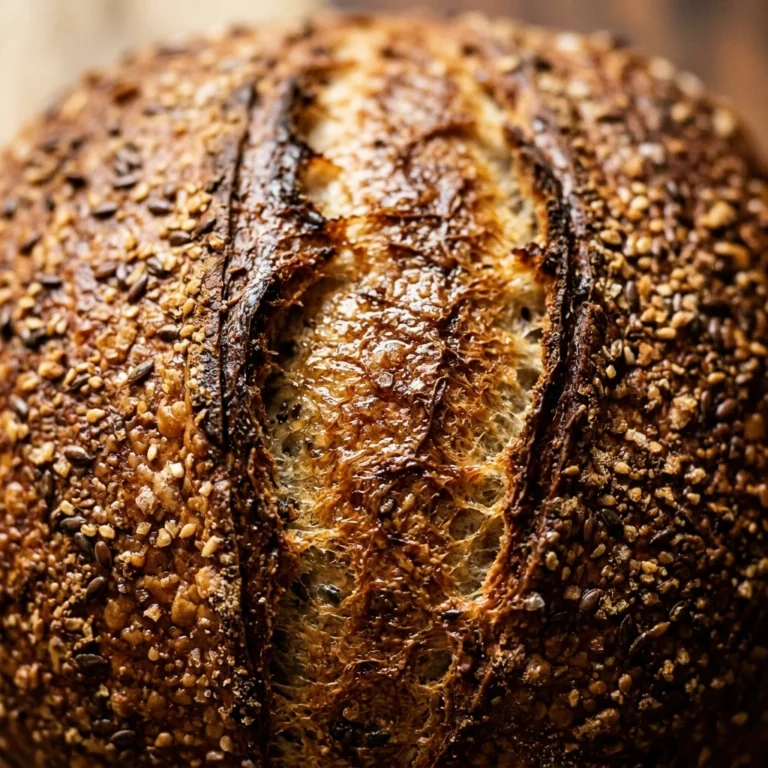
- Seed and Nut Power: Fold in 1/4 cup of chia seeds, flax seeds, or chopped walnuts for extra healthy fats.
- Cheesy Protein Bread: Add 1/2 cup of shredded sharp cheddar cheese for a savory twist.
- Herb and Garlic: Mix in 1 teaspoon of dried rosemary and 1/2 teaspoon of garlic powder.
Frequently Asked Questions
Can I make this bread without a Dutch oven?
Yes, you can bake it on a preheated baking sheet or in a loaf pan, but you will lose that thick, crispy crust. To mimic the Dutch oven effect, place a pan of water on the bottom rack of the oven to create steam.
What if I don’t have vital wheat gluten?
You can omit it, but the protein count per slice will drop. Replace the 1/4 cup of gluten with an extra 1/4 cup of bread flour. The bread will still be delicious but slightly less airy.
How do I store this high-protein bread?
Store the bread in a paper bag at room temperature for up to 2 days. For longer storage, slice the bread and freeze it in a sealed bag. Toast the slices directly from the freezer for a quick meal.
Is Greek yogurt necessary for the recipe?
The Greek yogurt adds significant protein and moisture. If you need a substitute, you can use cottage cheese blended until smooth, or plain Skyr. These options keep the protein high.
Can I use whole wheat flour instead?
You can replace up to 50% of the white bread flour with whole wheat flour. Note that whole wheat flour absorbs more liquid, so you may need to add an extra tablespoon or two of water to keep the dough shaggy.
Conclusion
Building healthy habits in January doesn’t mean giving up the foods you love. This No-Knead Dutch Oven January High Protein Bread proves that you can enjoy a warm, comforting slice of toast while fueling your body with the protein it needs. It is simple enough for a beginner baker and impressive enough to share with friends. Give this recipe a try this week and transform your breakfast routine into something truly nourishing and delicious. Happy baking!
No-Knead Dutch Oven January High Protein Bread Easy Healthy
- Total Time: 4 hours
- Diet: Vegetarian
Ingredients
Scale
- 3 cups high-protein bread flour (or all-purpose flour)
- 1/4 cup vital wheat gluten (adds extra protein and structure)
- 1/2 cup non-fat plain Greek yogurt
- 1 1/2 teaspoons sea salt
- 1/2 teaspoon instant yeast
- 1 1/2 cups warm water (about 110°F)
- Optional: 1 tablespoon honey or maple syrup for a touch of sweetness
Instructions
- In a large mixing bowl, whisk together the bread flour, vital wheat gluten, sea salt, and instant yeast. Make sure the yeast is evenly distributed throughout the flour mixture to ensure an even rise later on.
- Create a well in the center of the dry ingredients. Add the Greek yogurt, warm water, and honey (if using). Use a sturdy wooden spoon or a spatula to stir the mixture until a shaggy, sticky dough forms. Do not worry if it looks messy; that is exactly how it should look. Ensure there are no dry flour pockets left at the bottom of the bowl.
- Cover the bowl tightly with plastic wrap or a damp kitchen towel. Place it in a warm, draft-free spot. Let the dough rise for at least 3 hours. During this time, the dough should double in size and develop small bubbles on the surface. For even better flavor, you can let it sit for up to 12 hours in the refrigerator.
- Place an empty 5 to 6-quart Dutch oven (with the lid) into your oven. Preheat the oven to 450°F (230°C). Let the pot heat up for at least 30 minutes. This high heat is what creates that signature artisanal crust.
- Carefully turn the dough out onto a piece of parchment paper lightly dusted with flour. Use floured hands to quickly shape it into a round loaf. Carefully lift the parchment paper and drop the dough (paper and all) into the hot Dutch oven. Cover with the lid and bake for 30 minutes. Remove the lid and bake for another 15 minutes until the top is deep golden brown and the internal temperature reaches 190-200°F.
- Lift the bread out of the pot and place it on a wire cooling rack. Resist the urge to slice it immediately! Let the bread cool for at least 30 minutes. This allows the internal structure to set, preventing a gummy texture.
- Cook Time: 4 hours