Follow Me On Pinterest!


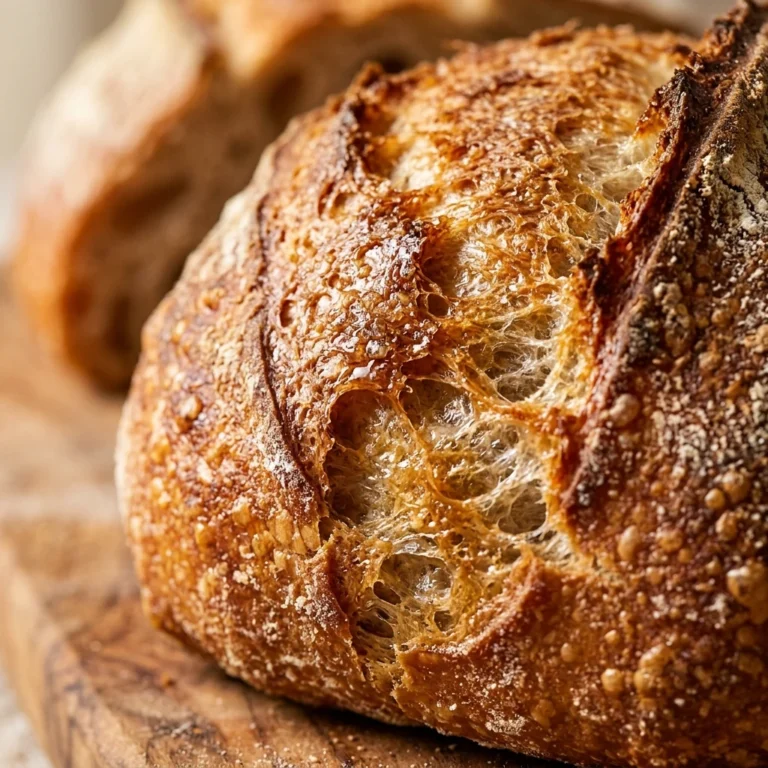
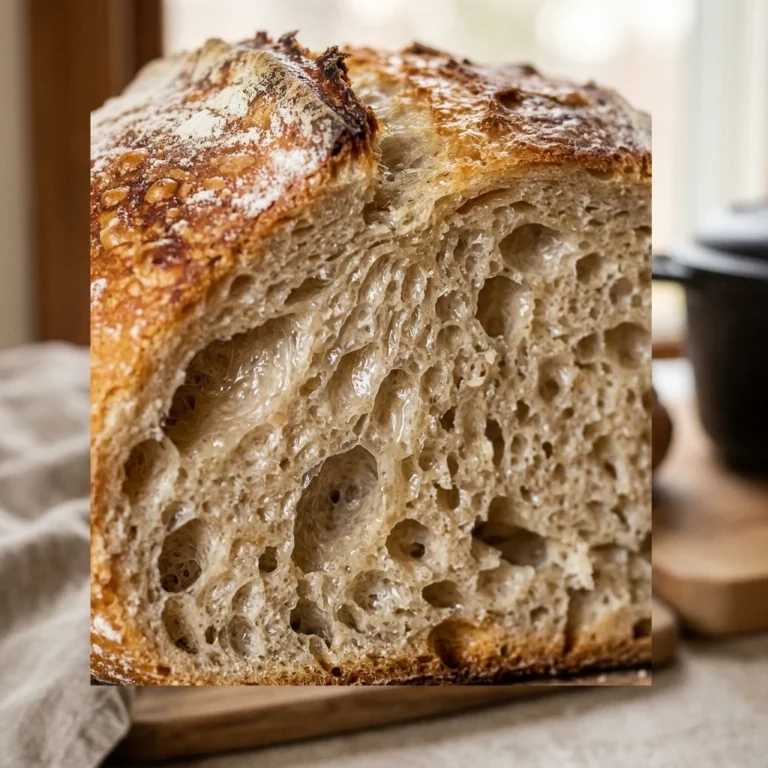
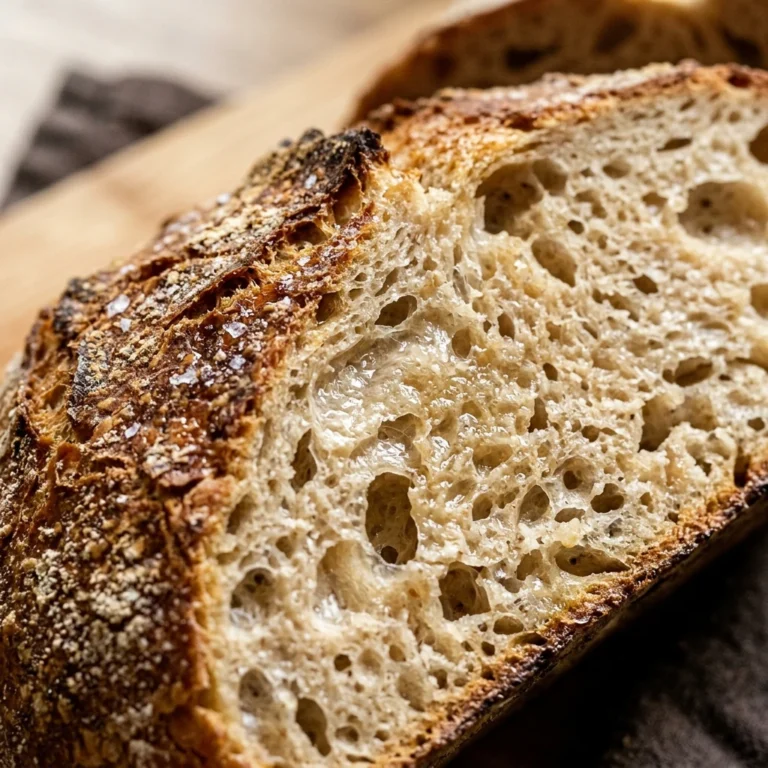
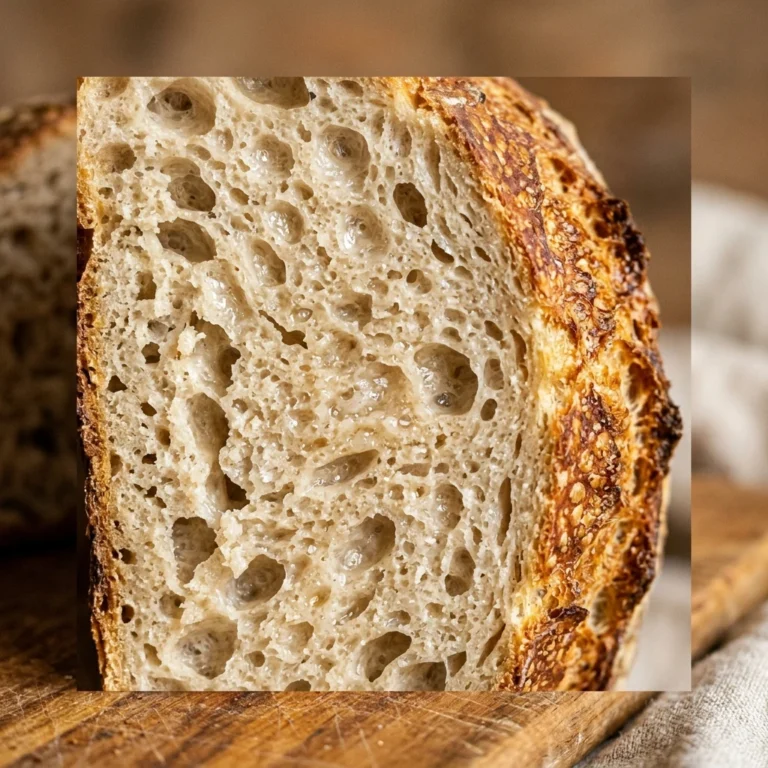
Imagine the smell of freshly baked bread filling your kitchen in less than an hour, without the hassle of proofing or kneading. If you have been intimidated by yeast or simply don’t have any in your pantry, this recipe is your new best friend. This No-Knead Dutch Oven Bread uses simple pantry staples to create a loaf with a shatteringly crisp crust and a soft, tender interior. It is the perfect solution for busy weeknights or lazy Sunday mornings when you want that bakery-quality experience without the day-long commitment. Grab your Dutch oven and let’s get baking!
Recipe Information
- Prep Time: 10 minutes
- Cook Time: 45 minutes
- Total Time: 55 minutes
- Servings: 8 servings
- Difficulty: Easy
Nutrition values
- Calories: 195 kcal
- Protein: 5g
- Carbs: 41g
Why Make This No-Knead Dutch Oven Bread No Yeast Easy Beginner Quick
This recipe is a game-changer for anyone who loves fresh bread but lacks the time for traditional methods. Because it uses baking powder instead of yeast, you skip the hours of waiting for the dough to rise. The Dutch oven does the heavy lifting by trapping steam, which gives you that signature artisan crust that is usually hard to achieve at home. It is incredibly beginner-friendly, requires zero technical skills, and cleanup is a breeze since you only need one bowl.
Ingredients
- 3 cups all-purpose flour (plus extra for dusting)
- 1.5 tablespoons baking powder
- 1 teaspoon fine sea salt
- 1.5 cups buttermilk (or 1.5 cups milk mixed with 1 tablespoon lemon juice)
- 2 tablespoons honey or maple syrup (optional)
- 2 tablespoons melted butter (for the top)
Directions
Step 1: Preheat the Oven and Dutch Oven
Place your empty Dutch oven with its lid into the oven. Preheat the oven to 450°F (230°C). Letting the pot heat up for at least 20-30 minutes ensures the bread starts cooking the moment it hits the surface, which helps create a better crust.
Step 2: Mix the Dry and Wet Ingredients
In a large mixing bowl, whisk together the all-purpose flour, baking powder, and salt. Make a well in the center and pour in the buttermilk and honey. Use a sturdy wooden spoon or spatula to stir until a shaggy, sticky dough forms. Do not overmix; stop as soon as the flour is incorporated to keep the bread tender.
Step 3: Shape the Dough
Turn the dough out onto a lightly floured surface. With floured hands, gently pat it into a round disc about 2 inches thick. You do not need to knead it. Use a sharp knife to score a large “X” across the top, about half an inch deep. This allows the bread to expand without cracking.
Step 4: Bake the Bread
Carefully remove the hot Dutch oven from the oven. Place a piece of parchment paper inside, then drop the dough onto the paper. Cover with the lid and bake for 30 minutes. Remove the lid and bake for another 10 to 15 minutes until the crust is deep golden brown and the bread sounds hollow when tapped.
Step 5: Cool and Serve
Lift the bread out using the parchment paper and place it on a wire rack. Brush the top with melted butter for a softer crust and added flavor. Allow the loaf to cool for at least 15 minutes before slicing. This prevents the interior from becoming gummy.
Expert Tips for Perfect No-Knead Dutch Oven Bread No Yeast Easy Beginner Quick
For the best results, use fresh baking powder. Since this bread relies entirely on chemical leavening, old powder will result in a dense loaf. When measuring your flour, use the “spoon and level” method rather than scooping directly with the measuring cup to avoid packing too much flour. If you don’t have buttermilk, you can make a quick substitute by adding a tablespoon of vinegar or lemon juice to regular milk and letting it sit for five minutes. Finally, make sure your Dutch oven is truly hot before adding the dough to get that perfect “oven spring.”
Delicious Variations
You can easily customize this loaf to match your meal. Add a tablespoon of dried rosemary and a half-cup of grated parmesan for a savory Italian version. For a bit of spice, fold in chopped jalapeños and sharp cheddar cheese. If you prefer something sweeter, add a teaspoon of cinnamon and half a cup of raisins to the dry ingredients. You can also swap one cup of all-purpose flour for whole wheat flour for a nuttier flavor and heartier texture.

Frequently Asked Questions
Can I make this without a Dutch oven?
Yes, you can use a heavy oven-safe pot with a lid or even a cast-iron skillet covered tightly with foil. However, the Dutch oven provides the best steam circulation for a crunchy crust.
Why did my bread come out dense?
Density usually happens if you overmix the dough or if your baking powder is expired. Stir only until the flour disappears to keep the texture light and airy.
Do I have to use buttermilk?
Buttermilk is preferred because the acid reacts with the baking powder to help the bread rise. If you use regular milk, the bread will be denser and won’t rise as well.
How do I store this bread?
Store the bread in an airtight bag at room temperature for up to 3 days. To restore the crust’s crunch, toast the slices or pop the loaf back into a 350°F oven for a few minutes.
Can I freeze this loaf?
Absolutely. Once fully cooled, wrap the loaf tightly in plastic wrap and then foil. It will stay fresh in the freezer for up to 3 months. Thaw at room temperature before serving.
Conclusion
This No-Knead Dutch Oven Bread is the ultimate shortcut to homemade bliss. It proves that you don’t need fancy equipment or hours of patience to enjoy a warm, crusty loaf of bread. Whether you serve it alongside a hearty stew or slathered in salted butter for breakfast, this quick and easy recipe is sure to become a staple in your kitchen. Enjoy the simplicity of baking from scratch with results that taste like they came straight from a professional bakery!


No-Knead Dutch Oven Bread No Yeast Easy Beginner Quick
- Total Time: 55 minutes
- Diet: Vegetarian
Ingredients
Scale
- 3 cups all-purpose flour (plus extra for dusting)
- 1.5 tablespoons baking powder
- 1 teaspoon fine sea salt
- 1.5 cups buttermilk (or 1.5 cups milk mixed with 1 tablespoon lemon juice)
- 2 tablespoons honey or maple syrup (optional)
- 2 tablespoons melted butter (for the top)
Instructions
- Step 1: Preheat the Oven and Dutch Oven: Place your empty Dutch oven with its lid into the oven. Preheat the oven to 450°F (230°C). Letting the pot heat up for at least 20-30 minutes ensures the bread starts cooking the moment it hits the surface, which helps create a better crust.
- Step 2: Mix the Dry and Wet Ingredients: In a large mixing bowl, whisk together the all-purpose flour, baking powder, and salt. Make a well in the center and pour in the buttermilk and honey. Use a sturdy wooden spoon or spatula to stir until a shaggy, sticky dough forms. Do not overmix; stop as soon as the flour is incorporated to keep the bread tender.
- Step 3: Shape the Dough: Turn the dough out onto a lightly floured surface. With floured hands, gently pat it into a round disc about 2 inches thick. You do not need to knead it. Use a sharp knife to score a large “X” across the top, about half an inch deep. This allows the bread to expand without cracking.
- Step 4: Bake the Bread: Carefully remove the hot Dutch oven from the oven. Place a piece of parchment paper inside, then drop the dough onto the paper. Cover with the lid and bake for 30 minutes. Remove the lid and bake for another 10 to 15 minutes until the crust is deep golden brown and the bread sounds hollow when tapped.
- Step 5: Cool and Serve: Lift the bread out using the parchment paper and place it on a wire rack. Brush the top with melted butter for a softer crust and added flavor. Allow the loaf to cool for at least 15 minutes before slicing. This prevents the interior from becoming gummy.
- Cook Time: 55 minutes