Follow Me On Pinterest!


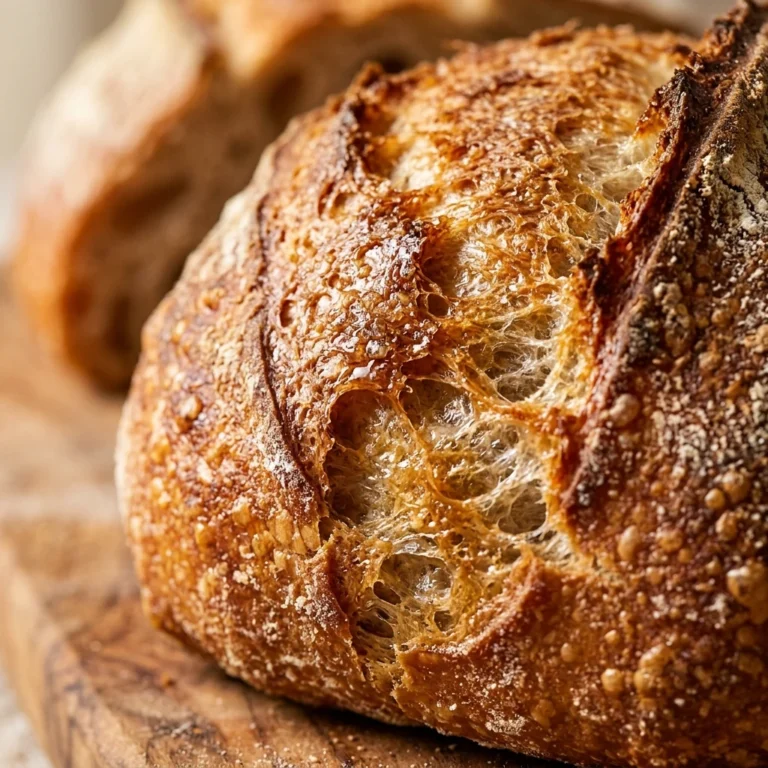
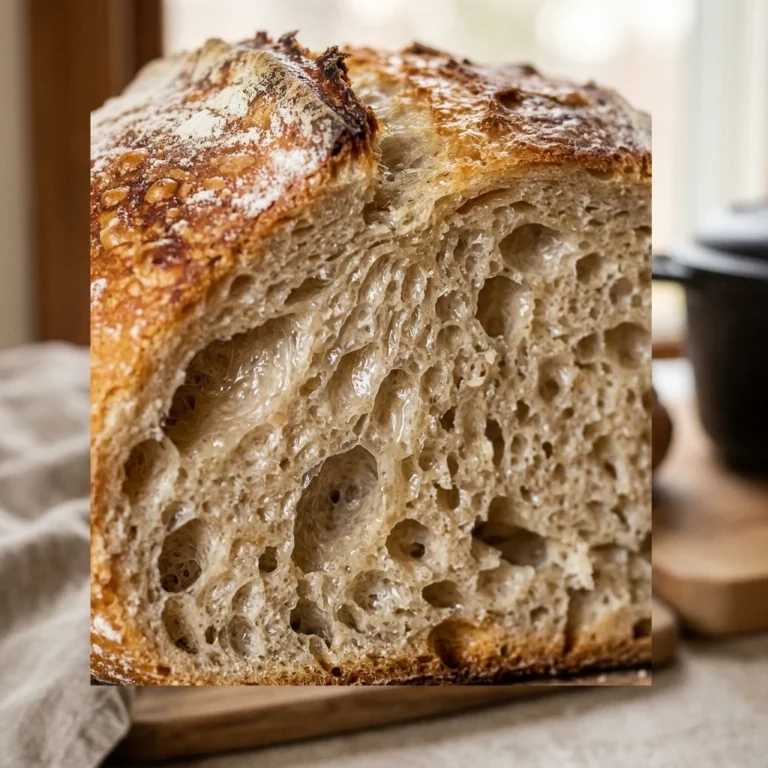
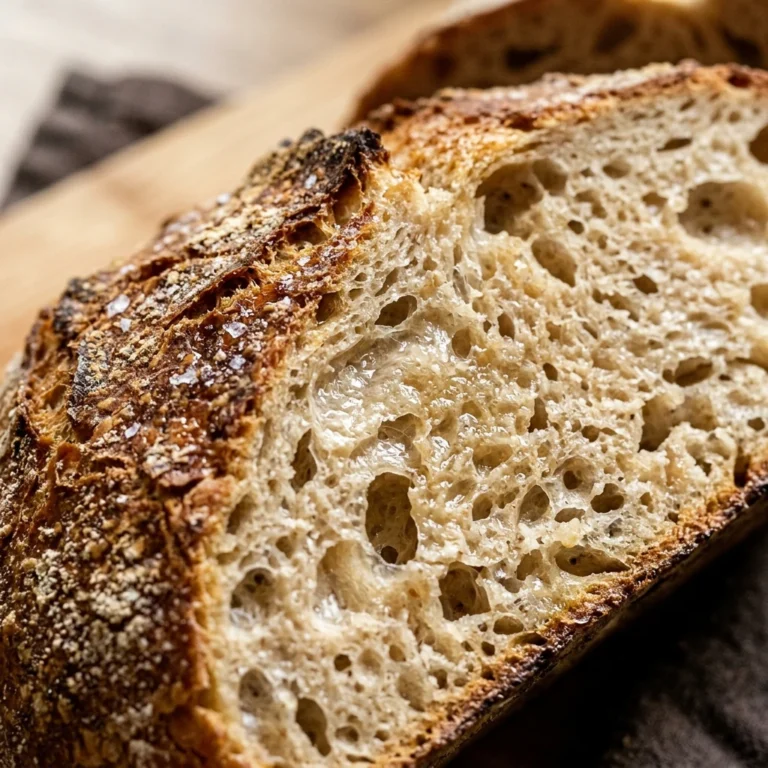
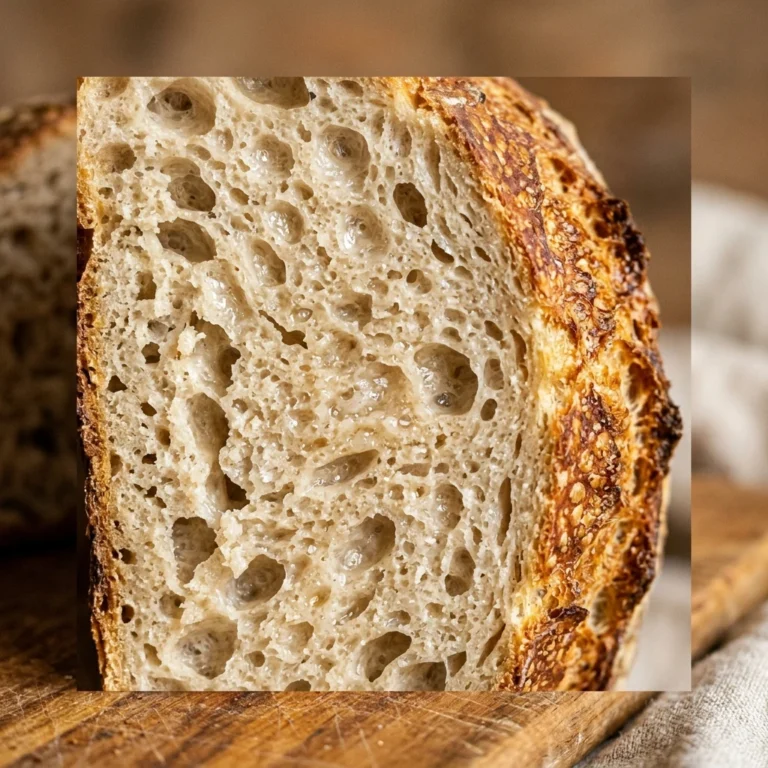
There is something magical about the aroma of fresh bread wafting through the house during the holidays. This no-knead Dutch oven holiday bread takes all the stress out of baking while delivering that professional artisan look. You do not need a fancy mixer or strong arm muscles—just a little patience and a hot pot. Whether you are hosting a festive dinner or looking for the perfect homemade gift, this loaf is your secret weapon for the season. Its crispy, golden crust and airy interior, studded with festive flavors, will make everyone think you spent years mastering the craft of a bakery.
Recipe Information
- Prep Time: 15 minutes (plus 12-18 hours rise time)
- Cook Time: 45 minutes
- Total Time: 13 hours 0 minutes
- Servings: 8 servings
- Difficulty: Easy
Nutrition values
- Calories: 195 kcal per serving
- Protein: 5g
- Carbs: 42g
Why Make This No-Knead Dutch Oven Holiday Bread Easy Festive Artisan Beginner
This recipe is perfect for beginners because it eliminates the most intimidating part of bread making: the kneading. By using a long fermentation process, the gluten develops naturally on its own. The Dutch oven acts as a mini steam oven, creating that signature thick, crunchy crust that usually requires expensive industrial equipment. We also infuse this loaf with festive ingredients like rosemary and dried cranberries to make it stand out on your holiday table. It is inexpensive to make, requires only a few pantry staples, and tastes significantly better than any store-bought loaf.
Ingredients
- 3 cups all-purpose flour (or bread flour for extra chew)
- 1 ½ cups warm water (about 100°F)
- ¼ teaspoon instant yeast
- 1 ½ teaspoons salt
- ½ cup dried cranberries
- 1 tablespoon fresh rosemary, finely chopped
- 1 tablespoon orange zest (optional for extra holiday aroma)
- Cornmeal or extra flour for dusting
Directions
Step 1: Mixing the Dough
In a large mixing bowl, whisk together the flour, salt, instant yeast, rosemary, and orange zest. Add the dried cranberries and toss to coat them in flour. Pour the warm water into the bowl. Use a wooden spoon or a spatula to stir the mixture until a shaggy, sticky ball of dough forms. Make sure there are no dry flour patches left at the bottom of the bowl. Do not worry if the dough looks messy; it is supposed to be wet and lumpy.
Step 2: The Long Rise
Cover the bowl tightly with plastic wrap or a clean kitchen towel. Place the bowl in a draft-free spot at room temperature. Let the dough rest for at least 12 hours, though 18 hours is even better for flavor development. During this time, the dough will double in size and become covered in tiny bubbles. This slow fermentation is the secret to the artisan texture and flavor.
Step 3: Preheating the Dutch Oven
Place your empty Dutch oven (with the lid) into the oven. Preheat the oven to 450°F (230°C). Let the pot heat up for at least 30 minutes. While the pot preheats, turn the dough out onto a well-floured surface. Gently fold the dough over itself a few times to form a rough ball. Place the dough on a piece of parchment paper, cover it with a towel, and let it rest for another 30 minutes while the oven finishes heating.
Step 4: Baking the Bread
Carefully remove the hot Dutch oven from the oven. Using the parchment paper as a sling, lift the dough and drop it into the hot pot. Be very careful as the pot is extremely hot. Put the lid back on and place the pot in the oven. Bake for 30 minutes. After 30 minutes, remove the lid and bake for an additional 12–15 minutes until the crust is deep golden brown and sounds hollow when tapped.
Step 5: Cooling and Slicing
Lift the bread out of the Dutch oven using the parchment paper. Transfer it to a wire cooling rack immediately. This prevents the bottom from becoming soggy. Resist the urge to cut into the bread right away! Let it cool for at least 30 minutes to allow the internal structure to set. Slice with a serrated knife and serve with salted butter.
Expert Tips for Perfect No-Knead Dutch Oven Holiday Bread Easy Festive Artisan Beginner
- Check Your Yeast: Ensure your instant yeast is fresh. If it is expired, your bread will not rise and will result in a dense brick.
- Use a Hot Pot: Do not skip preheating the Dutch oven. The sudden burst of heat is what creates the “oven spring,” making the bread rise rapidly.
- Do Not Over-Flour: The dough should be sticky. If you add too much flour during the shaping stage, the bread will be dry.
- Wet Your Hands: If the dough is too sticky to handle, lightly wet your hands with water instead of using more flour.
- Listen for the Crackle: As the bread cools on the rack, you might hear a faint “singing” or crackling sound. This is a sign of a perfectly baked crust.
Delicious Variations
- Savory Garlic and Herb: Omit the cranberries and orange zest. Add 3 cloves of minced garlic and 1 teaspoon of dried thyme or oregano.
- Walnut and Fig: Replace the cranberries with chopped dried figs and add ½ cup of toasted walnut pieces for a crunchy, earthy flavor.
- Cheese and Jalapeño: Fold in 1 cup of cubed sharp cheddar cheese and 2 tablespoons of diced pickled jalapeños for a spicy holiday kick.
- Everything Bagel Style: Sprinkle the top of the loaf with “everything” seasoning just before putting the lid on for the bake.
Frequently Asked Questions
Can I use Active Dry Yeast instead of Instant Yeast?
Yes, you can. However, you should dissolve the active dry yeast in the warm water for 5 minutes until it becomes foamy before adding it to the dry ingredients.
What if I do not have a Dutch oven?
You can use any heavy, oven-safe pot with a tight-fitting lid, such as a cast-iron skillet with a lid or a ceramic casserole dish. The lid is essential for trapping steam.
Can I make the dough ahead of time?
Absolutely. You can let the dough rise in the refrigerator for up to 3 days. The cold fermentation actually improves the flavor. Just let it sit at room temperature for 2 hours before baking.
Why is my bread flat?
This usually happens if the yeast was old or if the oven and pot were not hot enough when you put the dough in. Ensure your oven reaches the full 450°F.
How do I store this bread?
Store the bread at room temperature in a paper bag for up to 2 days to keep the crust crispy. For longer storage, slice the bread and freeze it in a sealed plastic bag.
Conclusion
Mastering artisan bread does not have to be a chore. This no-knead Dutch oven holiday bread proves that with simple ingredients and a little time, you can create something truly extraordinary. It is the perfect centerpiece for your holiday celebrations, offering a rustic charm that store-bought loaves simply cannot match. Once you see how easy it is to pull a golden, steaming loaf out of your own oven, you will never want to go back to the bakery aisle again. Happy baking!
No-Knead Dutch Oven Holiday Bread Easy Festive Artisan Beginner
- Total Time: 13 hours
- Diet: Vegetarian
Ingredients
Scale
- 3 cups all-purpose flour (or bread flour for extra chew)
- 1 ½ cups warm water (about 100°F)
- ¼ teaspoon instant yeast
- 1 ½ teaspoons salt
- ½ cup dried cranberries
- 1 tablespoon fresh rosemary, finely chopped
- 1 tablespoon orange zest (optional for extra holiday aroma)
- Cornmeal or extra flour for dusting
Instructions
- In a large mixing bowl, whisk together the flour, salt, instant yeast, rosemary, and orange zest. Add the dried cranberries and toss to coat them in flour. Pour the warm water into the bowl. Use a wooden spoon or a spatula to stir the mixture until a shaggy, sticky ball of dough forms. Make sure there are no dry flour patches left at the bottom of the bowl. Do not worry if the dough looks messy; it is supposed to be wet and lumpy.
- Cover the bowl tightly with plastic wrap or a clean kitchen towel. Place the bowl in a draft-free spot at room temperature. Let the dough rest for at least 12 hours, though 18 hours is even better for flavor development. During this time, the dough will double in size and become covered in tiny bubbles. This slow fermentation is the secret to the artisan texture and flavor.
- Place your empty Dutch oven (with the lid) into the oven. Preheat the oven to 450°F (230°C). Let the pot heat up for at least 30 minutes. While the pot preheats, turn the dough out onto a well-floured surface. Gently fold the dough over itself a few times to form a rough ball. Place the dough on a piece of parchment paper, cover it with a towel, and let it rest for another 30 minutes while the oven finishes heating.
- Carefully remove the hot Dutch oven from the oven. Using the parchment paper as a sling, lift the dough and drop it into the hot pot. Be very careful as the pot is extremely hot. Put the lid back on and place the pot in the oven. Bake for 30 minutes. After 30 minutes, remove the lid and bake for an additional 12–15 minutes until the crust is deep golden brown and sounds hollow when tapped.
- Lift the bread out of the Dutch oven using the parchment paper. Transfer it to a wire cooling rack immediately. This prevents the bottom from becoming soggy. Resist the urge to cut into the bread right away! Let it cool for at least 30 minutes to allow the internal structure to set. Slice with a serrated knife and serve with salted butter.
- Cook Time: 13 hours 0 minutes