Follow Me On Pinterest!


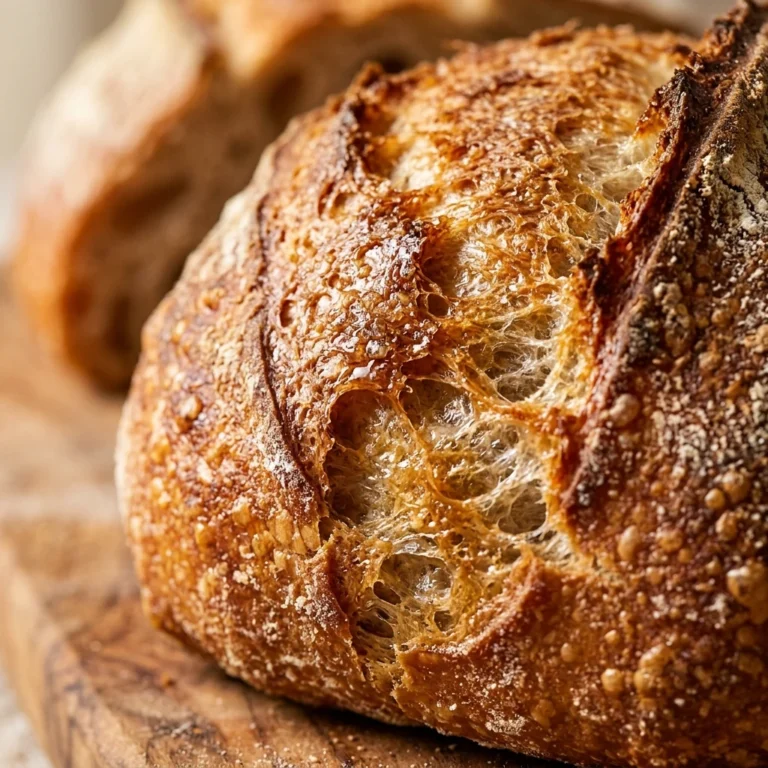
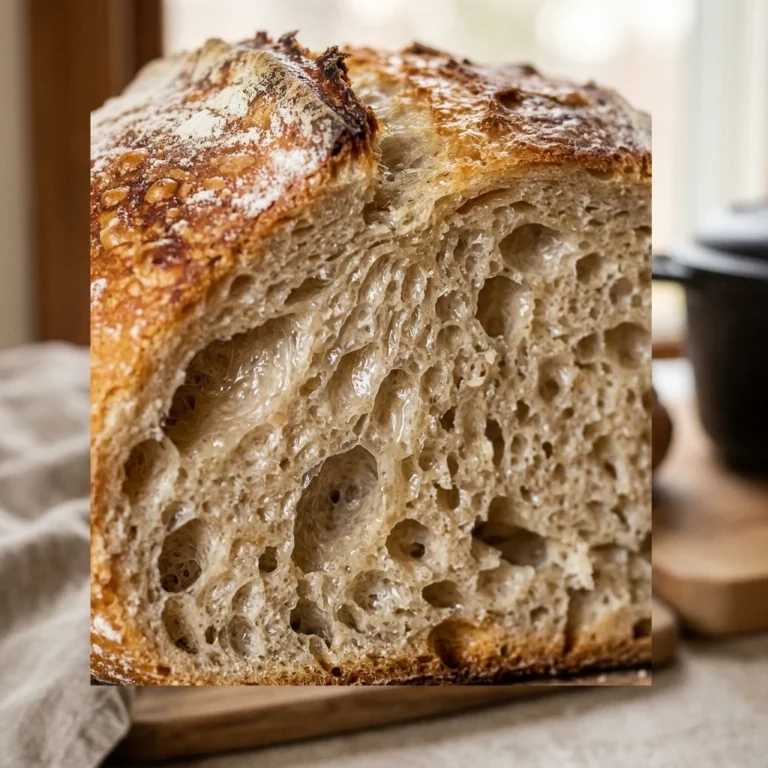
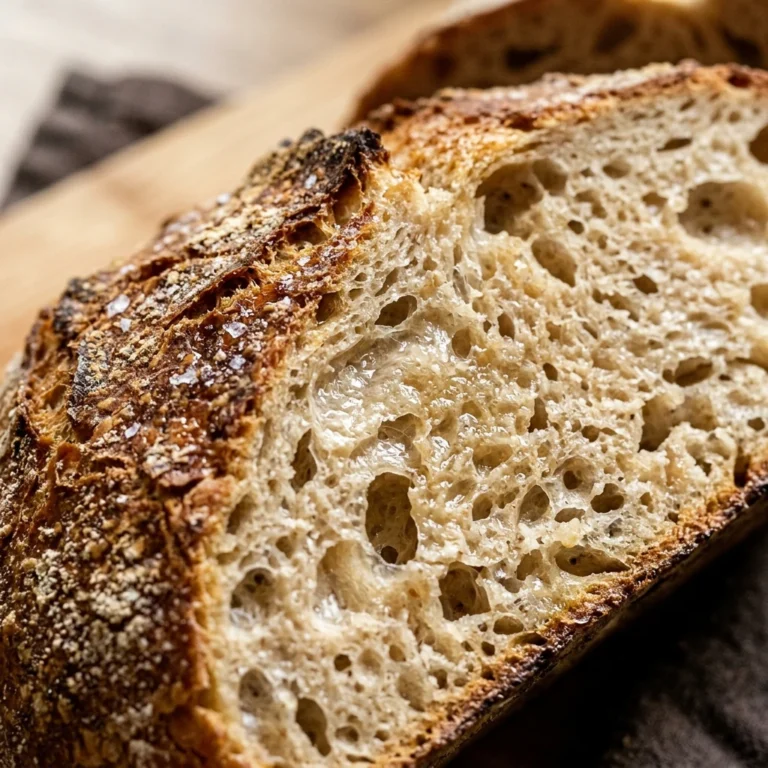
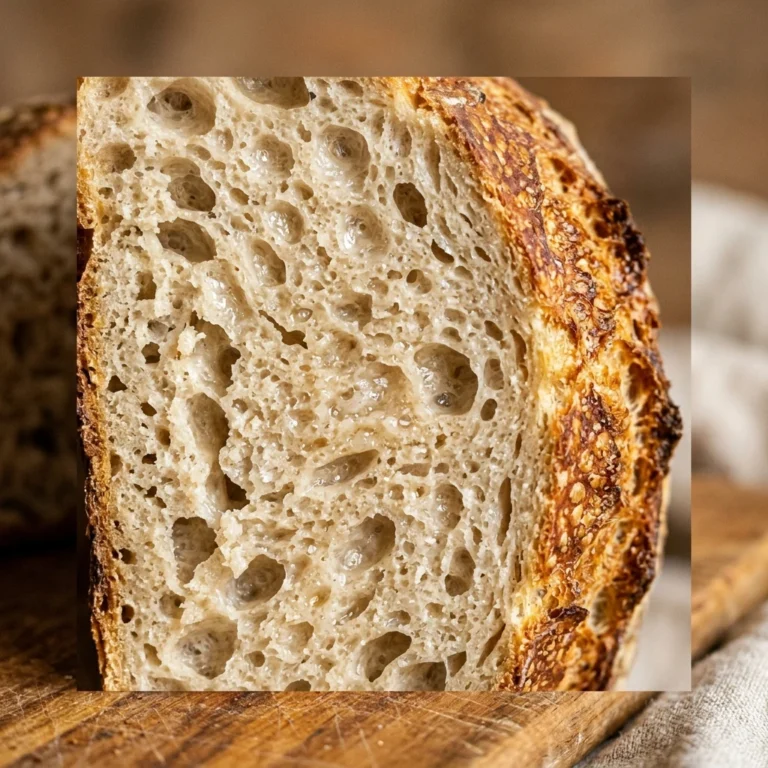
Imagine walking into your kitchen and smelling the intoxicating aroma of a professional artisan bakery. You might think baking bread is a complex science reserved for experts, but this no-knead Dutch oven bread proves otherwise. This recipe is the ultimate “no-fail” method designed specifically for beginners taking their first step into the world of yeast and flour. With just four basic pantry ingredients and absolutely zero kneading required, you will create a loaf with a shatteringly crisp crust and a soft, airy crumb. It is time to banish your bread-baking fears and embrace the easiest, most rewarding loaf you will ever make in your own home.
Recipe Information
- Prep Time: 15 minutes (plus 12-18 hours rising time)
- Cook Time: 45 minutes
- Total Time: 19 hours
- Servings: 8 slices
- Difficulty: Easy
Nutrition values
- Calories: 185 kcal
- Protein: 6g
- Carbs: 38g
Why Make This No-Knead Dutch Oven No Fail Bread Easy Beginner First Loaf
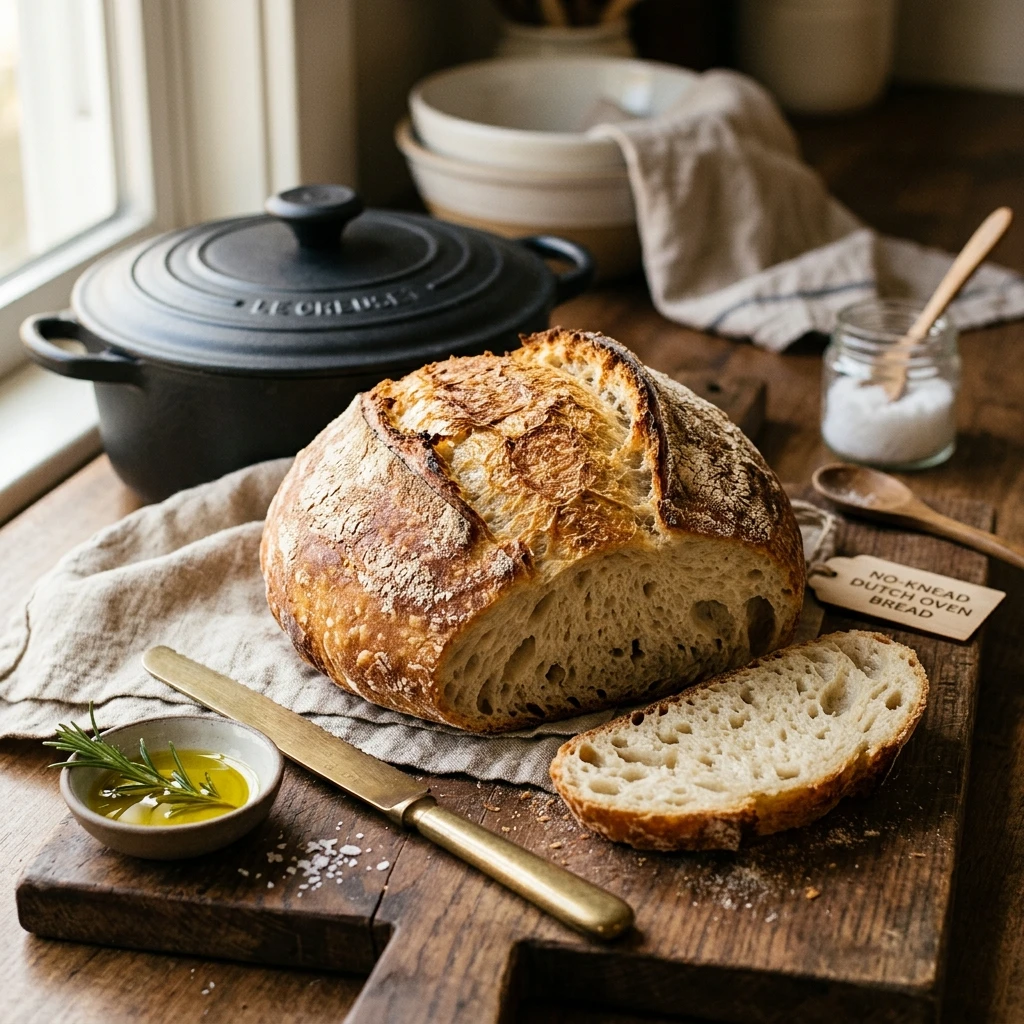
This recipe is a game-changer because it relies on time rather than physical labor to develop gluten and flavor. By letting the dough sit overnight, the enzymes break down the starches, resulting in a complex, sourdough-like taste without the need for a starter. The Dutch oven acts as a mini-steam oven, trapping the moisture released by the dough to create that signature crackly crust that is usually impossible to achieve in a standard home oven. It is cost-effective, requires no special equipment other than a heavy pot, and is virtually impossible to mess up, making it the perfect confidence booster for any new baker.
Ingredients
- 3 cups all-purpose flour or bread flour (plus extra for dusting)
- 1 1/2 teaspoons salt
- 1/2 teaspoon active dry yeast or instant yeast
- 1 1/2 cups warm water (roughly 100°F to 110°F)
- Optional: 1 tablespoon olive oil for the bowl
Directions
Step 1: Mixing the Dough
In a large mixing bowl, whisk together the flour, salt, and yeast until well combined. Pour the warm water into the center of the dry ingredients. Use a sturdy wooden spoon or your hands to mix until a shaggy, sticky ball forms and no dry flour remains. Do not worry about the appearance; it should look messy and uneven at this stage.
Step 2: The Long Rise
Cover the bowl tightly with plastic wrap or a clean, damp kitchen towel. Place the bowl in a warm, draft-free spot in your kitchen. Let the dough rest for at least 12 hours, though 18 hours is ideal for the best flavor and texture. During this time, the dough will double in size and become dotted with bubbles on the surface.
Step 3: Preheating the Dutch Oven
Once the dough has finished rising, place your empty Dutch oven (with the lid) into your oven. Preheat the oven to 450°F (230°C). Allow the pot to heat up inside the oven for at least 30 minutes. This intense heat is crucial for the “oven spring” that makes the bread rise rapidly when it hits the pot.
Step 4: Shaping the Loaf
While the pot preheats, turn the sticky dough out onto a well-floured surface. Using floured hands, gently fold the edges of the dough toward the center to form a rough ball. Place the dough onto a piece of parchment paper, seam-side down. Cover it loosely with a towel and let it rest for about 30 minutes while the Dutch oven finishes heating.
Step 5: The Baking Process
Carefully remove the hot Dutch oven from the oven. Using the edges of the parchment paper as handles, lift the dough and lower it into the hot pot. Place the lid back on and return the pot to the oven. Bake for 30 minutes with the lid on to trap the steam. After 30 minutes, remove the lid and bake for an additional 12 to 15 minutes until the crust is deep golden brown and sounds hollow when tapped.
Step 6: Cooling and Slicing
Lift the bread out of the Dutch oven using the parchment paper and transfer it to a wire cooling rack. This is the hardest part: wait at least 30 to 60 minutes before slicing. Cutting into hot bread lets the steam escape too quickly, which can make the inside of the loaf gummy. Once cooled, slice and enjoy with salted butter.
Expert Tips for Perfect No-Knead Dutch Oven No Fail Bread Easy Beginner First Loaf
First, always measure your flour using the “spoon and level” method rather than scooping directly with the measuring cup to avoid packing too much flour. Second, ensure your yeast is fresh; if it doesn’t foam slightly in the warm water, it may be dead. Third, if you want an extra-crispy crust, you can spray a little water into the Dutch oven right before closing the lid. Finally, do not skip the parchment paper, as it makes transferring the sticky dough into a screaming-hot pot much safer and prevents sticking.
Delicious Variations
- Rosemary and Garlic: Add 2 tablespoons of chopped fresh rosemary and 1 teaspoon of garlic powder to the dry ingredients.
- Cheddar Jalapeño: Fold in 1 cup of shredded sharp cheddar and 1/4 cup of diced pickled jalapeños during the shaping phase.
- Everything Bagel: Sprinkle two tablespoons of everything bagel seasoning over the top of the loaf just before putting the lid on to bake.
- Honey Wheat: Substitute 1 cup of the white flour with whole wheat flour and add 1 tablespoon of honey to the warm water.
Frequently Asked Questions
What if I don’t have a Dutch oven?
You can use any heavy, oven-safe pot with a tight-fitting lid, such as a ceramic casserole dish or a cast-iron skillet covered with a stainless steel bowl. The key is to trap the steam.
Can I use active dry yeast instead of instant?
Yes! Both work perfectly in this recipe. Since the rise time is so long, the active dry yeast has plenty of time to hydrate and activate even without proofing it in water first.
Why is my dough so sticky and hard to handle?
No-knead dough is naturally high-hydration, which means it will be very sticky. Use plenty of flour on your hands and work surface, or use a bench scraper to move the dough without it clinging to your skin.
Can I let the dough rise for longer than 18 hours?
You can push it to 24 hours, but beyond that, the yeast may run out of sugar to consume, causing the dough to collapse and lose its structure. If you need more time, move the dough to the refrigerator after the initial 12 hours.
How do I store the leftovers?
Store the bread cut-side down on a cutting board at room temperature for up to 2 days. For longer storage, slice the loaf and freeze it in a zip-top bag. Toast the frozen slices directly for a “just-baked” taste.
Conclusion
Mastering the art of bread making doesn’t require years of practice or expensive machinery. With this No-Knead Dutch Oven recipe, you have the power to create a stunning, professional-quality loaf on your very first try. The combination of a long fermentation and the steam-trapping power of the Dutch oven does all the heavy lifting for you. Whether you serve it alongside a hearty soup or simply toast it for breakfast, this bread is sure to become a staple in your kitchen. Happy baking!

No-Knead Dutch Oven No Fail Bread Easy Beginner First Loaf
- Total Time: 19 hours
- Diet: Vegetarian
Ingredients
Scale
- 3 cups all-purpose flour or bread flour (plus extra for dusting)
- 1 1/2 teaspoons salt
- 1/2 teaspoon active dry yeast or instant yeast
- 1 1/2 cups warm water (roughly 100°F to 110°F)
- Optional: 1 tablespoon olive oil for the bowl
Instructions
- In a large mixing bowl, whisk together the flour, salt, and yeast until well combined. Pour the warm water into the center of the dry ingredients. Use a sturdy wooden spoon or your hands to mix until a shaggy, sticky ball forms and no dry flour remains. Do not worry about the appearance; it should look messy and uneven at this stage.
- Cover the bowl tightly with plastic wrap or a clean, damp kitchen towel. Place the bowl in a warm, draft-free spot in your kitchen. Let the dough rest for at least 12 hours, though 18 hours is ideal for the best flavor and texture. During this time, the dough will double in size and become dotted with bubbles on the surface.
- Once the dough has finished rising, place your empty Dutch oven (with the lid) into your oven. Preheat the oven to 450°F (230°C). Allow the pot to heat up inside the oven for at least 30 minutes. This intense heat is crucial for the “oven spring” that makes the bread rise rapidly when it hits the pot.
- While the pot preheats, turn the sticky dough out onto a well-floured surface. Using floured hands, gently fold the edges of the dough toward the center to form a rough ball. Place the dough onto a piece of parchment paper, seam-side down. Cover it loosely with a towel and let it rest for about 30 minutes while the Dutch oven finishes heating.
- Carefully remove the hot Dutch oven from the oven. Using the edges of the parchment paper as handles, lift the dough and lower it into the hot pot. Place the lid back on and return the pot to the oven. Bake for 30 minutes with the lid on to trap the steam. After 30 minutes, remove the lid and bake for an additional 12 to 15 minutes until the crust is deep golden brown and sounds hollow when tapped.
- Lift the bread out of the Dutch oven using the parchment paper and transfer it to a wire cooling rack. This is the hardest part: wait at least 30 to 60 minutes before slicing. Cutting into hot bread lets the steam escape too quickly, which can make the inside of the loaf gummy. Once cooled, slice and enjoy with salted butter.
- Cook Time: 19 hours