Follow Me On Pinterest!


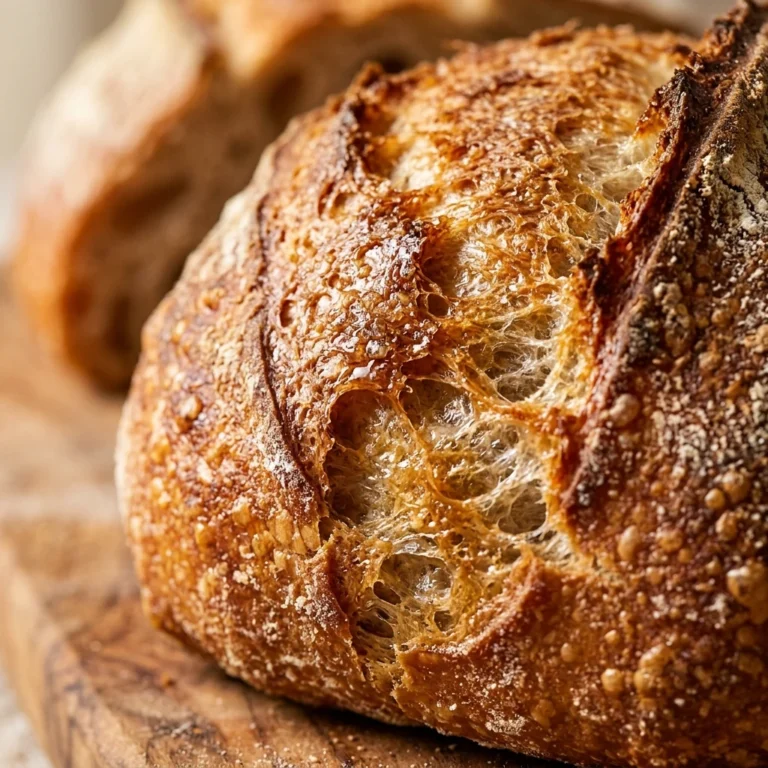
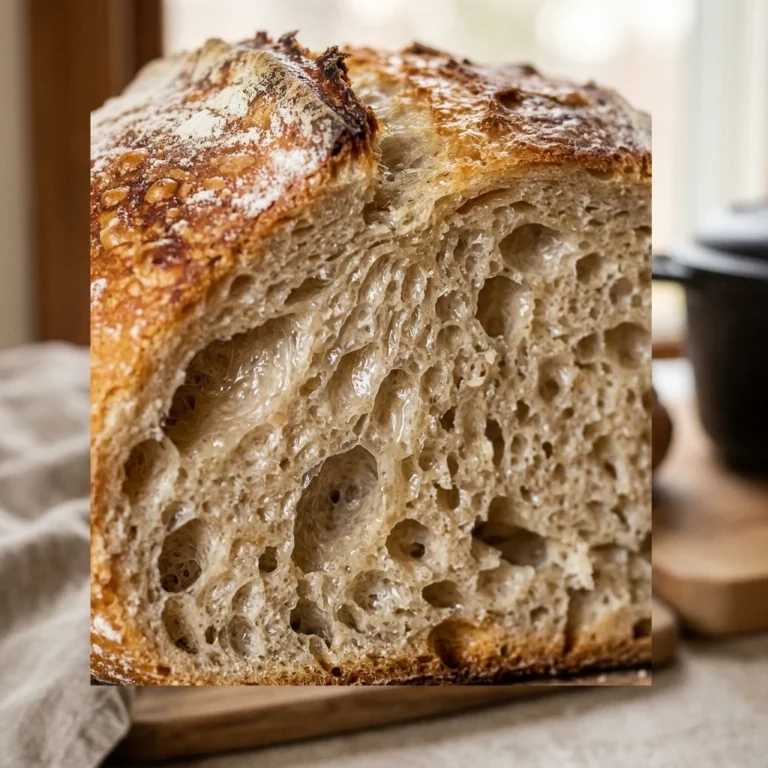
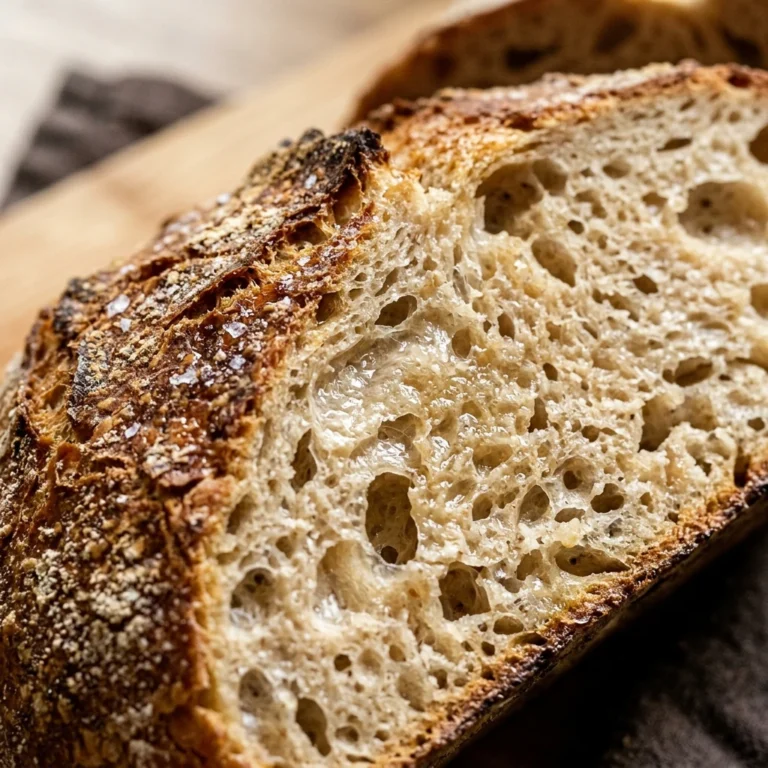
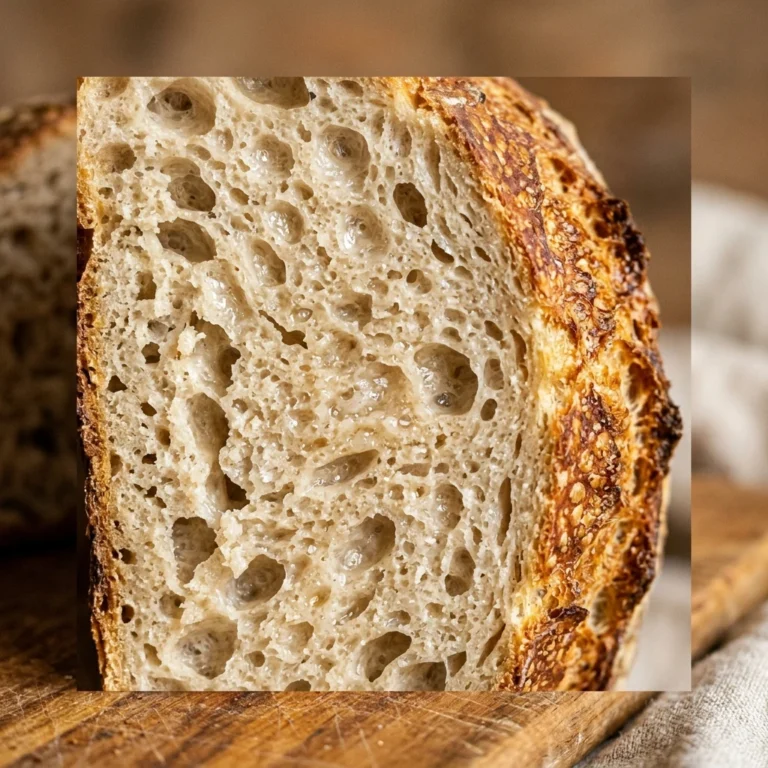
There is nothing quite like the smell of fresh, artisanal bread wafting through your home. If you have always been intimidated by the thought of yeast, kneading, and proofing, this No-Knead Dutch Oven Overnight Bread Easy No Knead Beginner recipe is your ultimate game-changer. It requires only four pantry staples and about five minutes of actual work. By letting time do the heavy lifting, you achieve a crispy, golden-brown crust and a soft, airy interior that rivals any high-end bakery. Whether you are a complete novice or a seasoned cook looking for a hands-off side dish, this loaf will become your new kitchen obsession.
Recipe Information
- Prep Time: 10 minutes (plus 12-18 hours rising time)
- Cook Time: 45 minutes
- Total Time: 18 hours 55 minutes
- Servings: 8 slices
- Difficulty: Easy
Nutrition values
- Calories: 185 kcal
- Protein: 5g
- Carbs: 39g
Why Make This No-Knead Dutch Oven Overnight Bread Easy No Knead Beginner
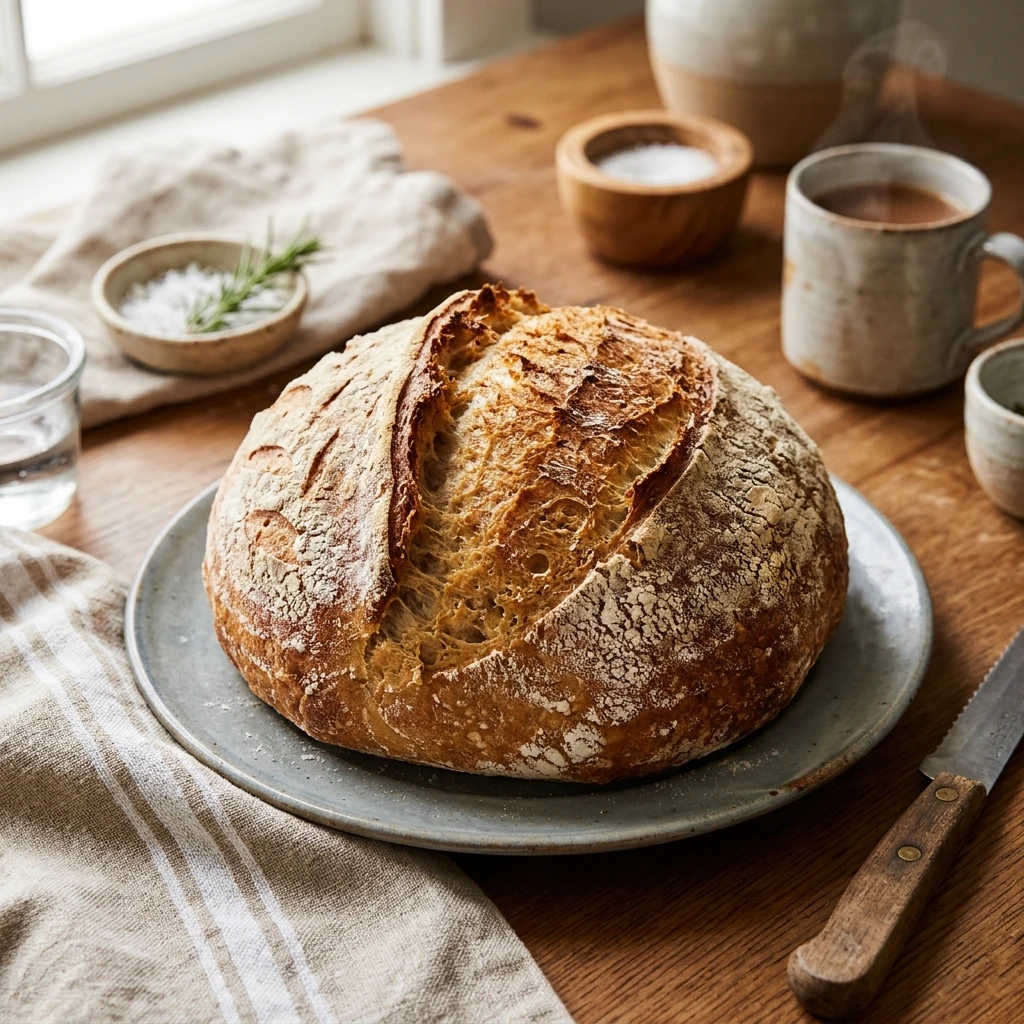
This recipe is the perfect entry point into bread making because it removes the most stressful part: kneading. Instead of working the dough by hand, a long fermentation process develops the gluten naturally. This “slow and low” approach creates a complex flavor that quick-rise breads simply cannot match. Additionally, using a Dutch oven mimics a professional steam oven, trapping moisture to create that iconic crackly crust. It is budget-friendly, incredibly impressive to serve, and fits perfectly into a busy schedule—just mix it before bed and bake it the next day.
Ingredients
- 3 cups All-Purpose Flour (or Bread Flour for extra chew)
- 1 ½ cups Warm Water (about 100°F)
- 1 ½ teaspoons Salt
- ½ teaspoon Active Dry Yeast or Instant Yeast
- Extra flour for dusting
Directions
Step 1: Mix the Dough
In a large mixing bowl, whisk together the flour, salt, and yeast until well combined. Pour in the warm water. Use a sturdy spatula or a wooden spoon to stir the mixture until a shaggy, sticky ball forms. Ensure there are no dry pockets of flour left at the bottom of the bowl. You do not need to smooth it out; a rough texture is exactly what you want at this stage.
Step 2: The Overnight Rise
Cover the bowl tightly with plastic wrap or a beeswax wrap. Place the bowl in a draft-free spot at room temperature (about 70°F). Let the dough rest for at least 12 hours, though 18 hours is ideal for the best flavor. During this time, the dough will double in size and become covered in tiny bubbles, signaling that the yeast has done its job.
Step 3: Preheat the Dutch Oven
Place your empty 4-to-6-quart Dutch oven (with the lid on) into the oven. Preheat the oven to 450°F (230°C). Let the pot heat up for at least 30 minutes. This step is crucial because the hot cast iron provides the initial “oven spring” that makes the bread rise beautifully.
Step 4: Shape and Final Proof
While the pot is preheating, turn the sticky dough out onto a well-floured surface. Dust the top with a little more flour and gently fold the edges toward the center to form a rough ball. Place the dough onto a piece of parchment paper. Cover it loosely with a clean kitchen towel and let it rest for 30 minutes while the oven finishes heating.
Step 5: Baking to Perfection
Carefully remove the scorching hot Dutch oven from the oven. Use the parchment paper to lift the dough and lower it into the pot. Place the lid back on and bake for 30 minutes. After 30 minutes, remove the lid and bake for another 12 to 15 minutes until the crust is a deep golden brown. Carefully remove the bread from the pot and let it cool on a wire rack for at least 30 minutes before slicing. Resisting the urge to cut it immediately ensures the interior sets properly!
Expert Tips for Perfect No-Knead Dutch Oven Overnight Bread Easy No Knead Beginner
To ensure success every time, make sure your yeast is fresh; if it doesn’t foam when mixed with a little warm water, it is likely dead. When measuring your flour, use the “spoon and level” method rather than scooping directly with the cup, which can pack the flour and lead to a dense loaf. If your kitchen is particularly cold, you can let the dough rise inside an oven that is turned off with the light on. Finally, always use a Dutch oven with a tight-fitting lid, as the steam released from the dough is what creates that thin, crispy crust.
Delicious Variations
- Rosemary and Roasted Garlic: Fold in two tablespoons of fresh chopped rosemary and a head of roasted garlic cloves during Step 1.
- Cheddar and Jalapeño: Add one cup of cubed sharp cheddar and 1/4 cup of diced pickled jalapeños for a spicy, cheesy kick.
- Everything Bagel: Sprinkle two tablespoons of everything bagel seasoning over the top of the loaf just before putting the lid on to bake.
- Honey Walnut: Replace two tablespoons of water with honey and add 1/2 cup of toasted chopped walnuts to the dry mix.
Frequently Asked Questions
Can I use Whole Wheat flour?
Yes, but whole wheat flour is heavier. For the best texture, use a 50/50 mix of whole wheat and all-purpose flour and add an extra tablespoon of water.
What if I don’t have a Dutch oven?
You can use a heavy oven-safe pot with a lid, like a Pyrex casserole dish. However, cast iron provides the most consistent heat for a professional-grade crust.
Can I let the dough rise for more than 18 hours?
If the dough rises for too long (over 24 hours), it may exhaust the yeast and collapse. If you aren’t ready to bake at 18 hours, move the bowl to the refrigerator to slow down the fermentation.
Does the water temperature matter?
Yes. It should be lukewarm (about 100°F). If it is too hot, it will kill the yeast; if it is too cold, the yeast will take much longer to activate.
How do I store this bread?
Store the cooled bread in a paper bag at room temperature for up to 2 days. To keep it longer, slice it and freeze it in a zip-top bag, then toast individual slices as needed.
Conclusion
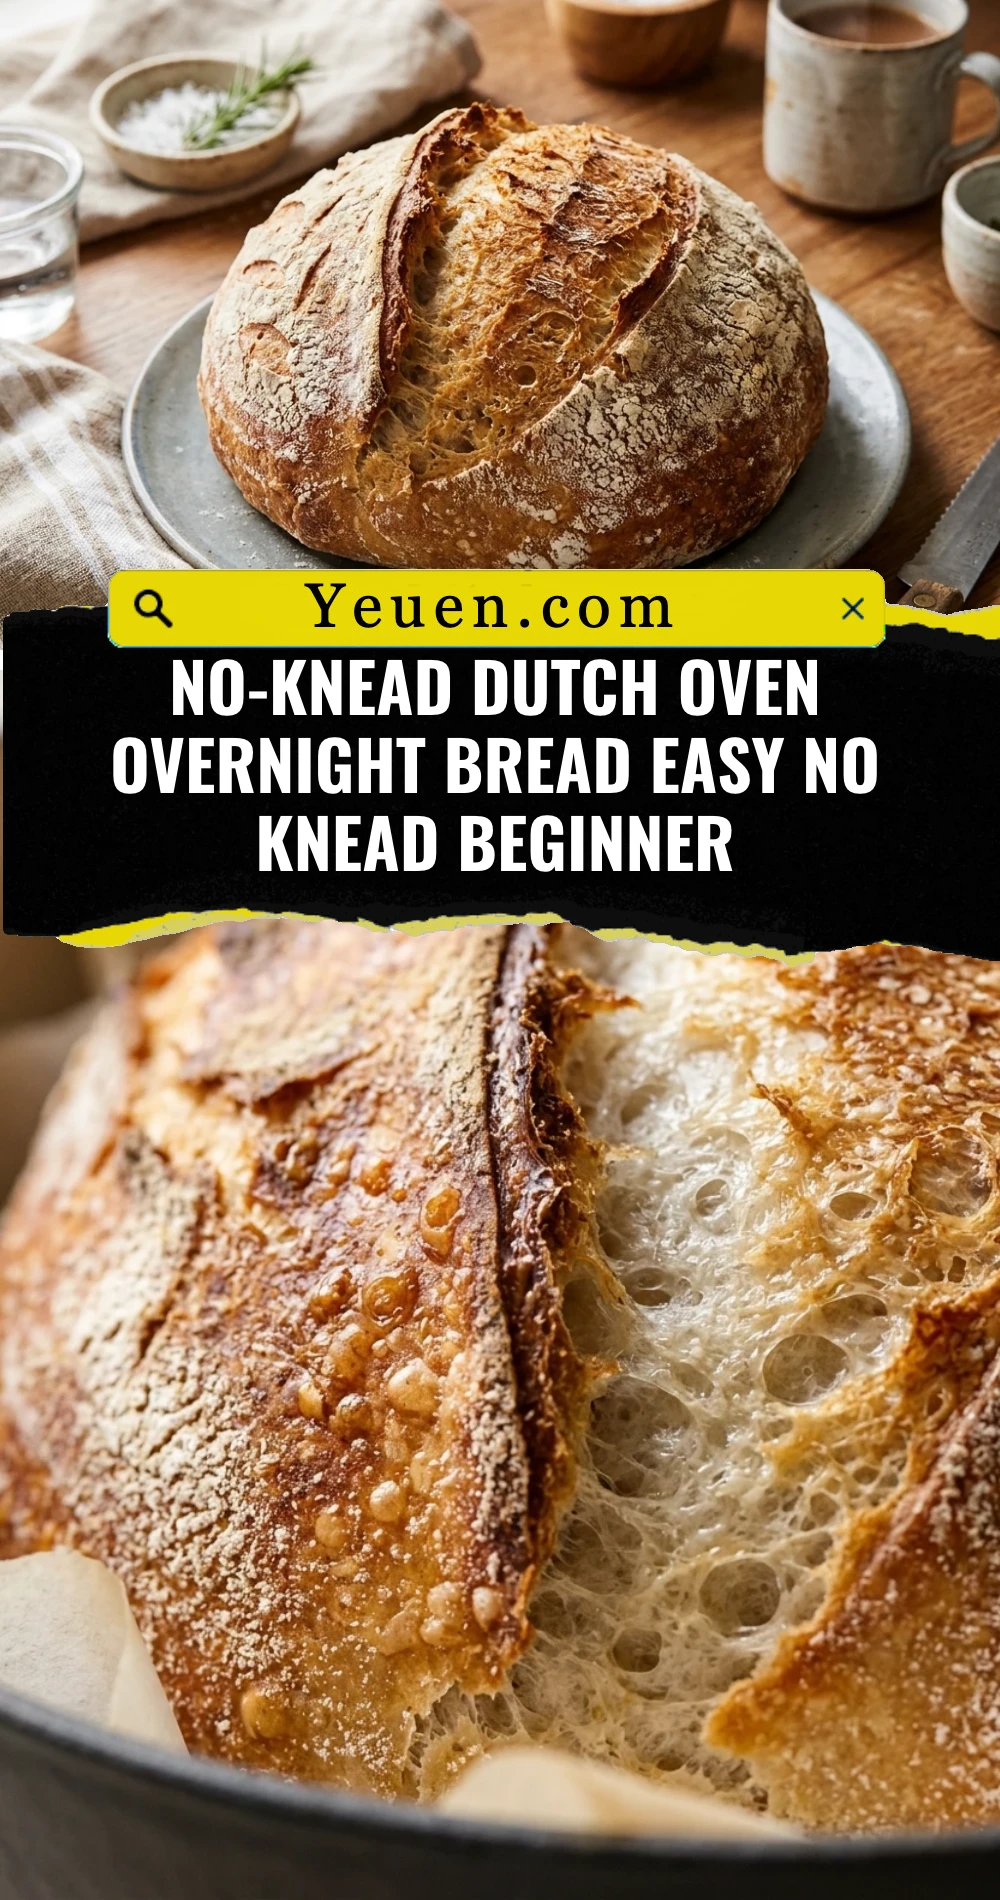
The No-Knead Dutch Oven Overnight Bread Easy No Knead Beginner method proves that you don’t need a fancy bakery or professional skills to enjoy incredible bread. By embracing the power of patience, you can create a loaf that looks and tastes like a masterpiece. Once you hear that first “crunch” of the crust and see the beautiful crumb inside, you will never want to go back to store-bought loaves again. Happy baking!
No-Knead Dutch Oven Overnight Bread Easy No Knead Beginner
- Total Time: 18 hours 55 minutes
- Diet: Vegetarian
Ingredients
Scale
- 3 cups All-Purpose Flour (or Bread Flour for extra chew)
- 1 ½ cups Warm Water (about 100°F)
- 1 ½ teaspoons Salt
- ½ teaspoon Active Dry Yeast or Instant Yeast
- Extra flour for dusting
Instructions
- In a large mixing bowl, whisk together the flour, salt, and yeast until well combined. Pour in the warm water. Use a sturdy spatula or a wooden spoon to stir the mixture until a shaggy, sticky ball forms. Ensure there are no dry pockets of flour left at the bottom of the bowl. You do not need to smooth it out; a rough texture is exactly what you want at this stage.
- Cover the bowl tightly with plastic wrap or a beeswax wrap. Place the bowl in a draft-free spot at room temperature (about 70°F). Let the dough rest for at least 12 hours, though 18 hours is ideal for the best flavor. During this time, the dough will double in size and become covered in tiny bubbles, signaling that the yeast has done its job.
- Place your empty 4-to-6-quart Dutch oven (with the lid on) into the oven. Preheat the oven to 450°F (230°C). Let the pot heat up for at least 30 minutes. This step is crucial because the hot cast iron provides the initial “oven spring” that makes the bread rise beautifully.
- While the pot is preheating, turn the sticky dough out onto a well-floured surface. Dust the top with a little more flour and gently fold the edges toward the center to form a rough ball. Place the dough onto a piece of parchment paper. Cover it loosely with a clean kitchen towel and let it rest for 30 minutes while the oven finishes heating.
- Carefully remove the scorching hot Dutch oven from the oven. Use the parchment paper to lift the dough and lower it into the pot. Place the lid back on and bake for 30 minutes. After 30 minutes, remove the lid and bake for another 12 to 15 minutes until the crust is a deep golden brown. Carefully remove the bread from the pot and let it cool on a wire rack for at least 30 minutes before slicing. Resisting the urge to cut it immediately ensures the interior sets properly!
- Cook Time: 18 hours 55 minutes