Follow Me On Pinterest!


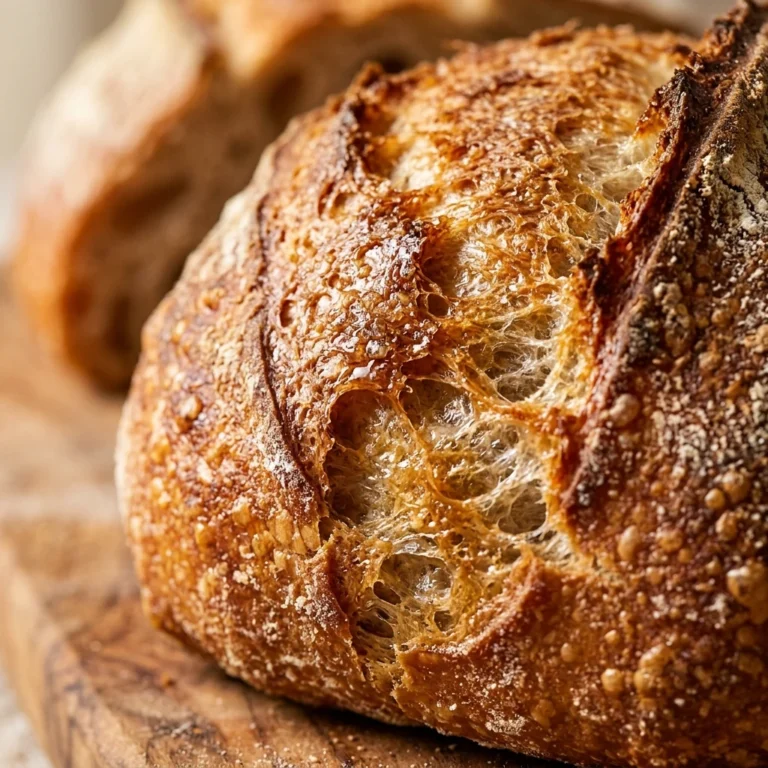
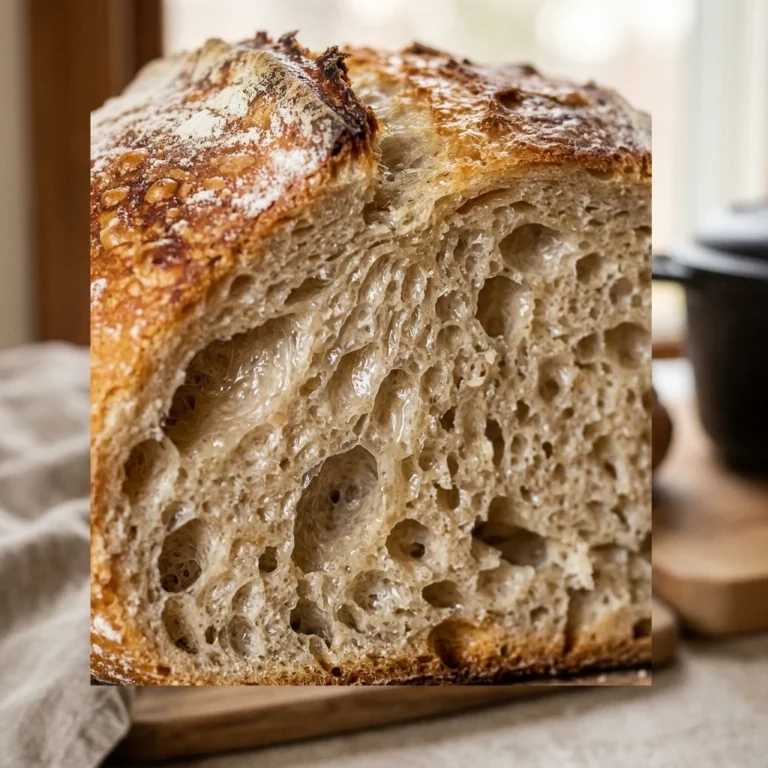
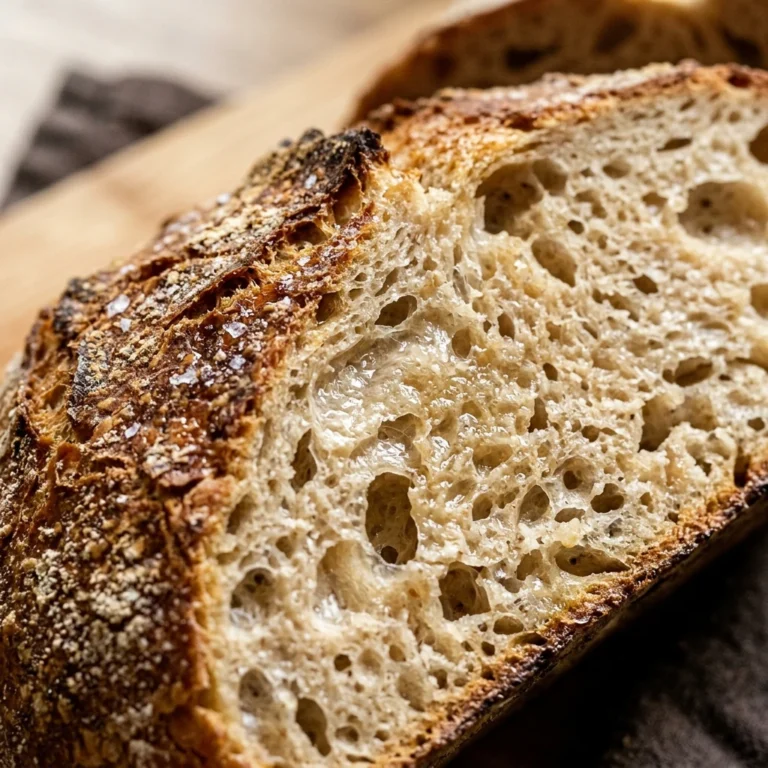
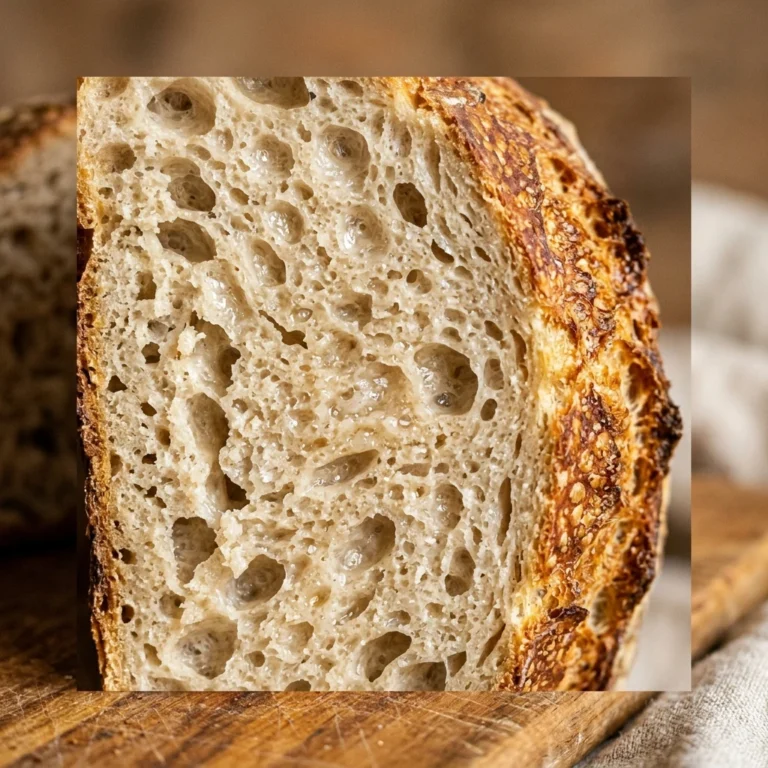
There is nothing quite like the smell of fresh, artisan bread wafting through your home. If you have always wanted to bake sourdough but felt intimidated by complex stretching and folding techniques, this recipe is your golden ticket. This no-knead method takes the stress out of bread making, relying on time and a hot Dutch oven to do the heavy lifting for you. You will achieve that coveted crispy, crackly crust and a soft, airy interior with almost zero physical effort. Whether you are a total beginner or a seasoned baker looking for a low-maintenance loaf, this simple guide will help you master the art of the sourdough boule.
Recipe Information
- Prep Time: 20 minutes (plus 12–18 hours fermentation)
- Cook Time: 45 minutes
- Total Time: 18 hours 45 minutes
- Servings: 1 loaf (approximately 10 slices)
- Difficulty: Easy
Nutrition values
- Calories: 185 kcal per slice
- Protein: 6g
- Carbs: 38g
Why Make This No-Knead Dutch Oven Sourdough Bread Easy Artisan Beginner
This recipe removes the barrier to entry for artisan baking. By eliminating the kneading process, you avoid the messy countertop struggle and the guesswork of gluten development. The Dutch oven acts as a mini steam chamber, mimicking professional ovens to produce a superior crust and excellent spring. It is incredibly forgiving, making it the perfect “set it and forget it” bread for busy schedules. Plus, using a long fermentation period enhances the natural flavor of the sourdough and makes the bread easier to digest.
Ingredients
- 100g active, bubbly sourdough starter (fed within 4–12 hours)
- 350g warm filtered water (about 80°F)
- 500g unbleached bread flour (high protein is best)
- 10g fine sea salt
Directions
Step 1: Mixing the Dough
In a large glass bowl, whisk together the active sourdough starter and warm water until the starter mostly dissolves. Add the bread flour and sea salt to the liquid. Use a sturdy spatula or a dough whisk to mix until no dry flour remains and a shaggy ball forms. Cover the bowl with a damp cloth or plastic wrap and let it rest for 30 minutes to allow the flour to hydrate.
Step 2: Bulk Fermentation
Once rested, give the dough a few quick folds by pulling the edges toward the center to ensure everything is well incorporated. Cover the bowl tightly and leave it on your counter at room temperature (around 70°F) for 12 to 15 hours. The dough is ready when it has doubled in size, looks bubbly on top, and has a slight wobble when you shake the bowl.
Step 3: Shaping the Loaf
Gently tip the fermented dough onto a lightly floured surface. Do not degas it aggressively; you want to keep those lovely air bubbles. Fold the edges of the dough into the center to create a round shape. Flip the dough over so the seam side is down. Use your hands to gently tension the surface by pulling the dough toward you on the counter until it forms a tight, smooth ball.
Step 4: Final Proof
Place the shaped dough into a proofing basket (banneton) or a bowl lined with a well-floured kitchen towel. Cover it and let it rise for about 1 to 2 hours at room temperature. The dough should look slightly puffy. While the dough proofs, place your Dutch oven (with the lid on) into the oven and preheat it to 450°F (230°C).
Step 5: Scoring and Loading
Carefully turn the dough out onto a piece of parchment paper. Use a sharp knife or a bread lame to cut a deep slash across the top of the dough; this controls where the bread expands. Carefully remove the hot Dutch oven from the oven, lift the dough using the parchment paper, and lower it into the pot. Be extremely careful as the pot will be very hot.
Step 6: Baking
Place the lid back on the Dutch oven and bake for 20 minutes. The steam trapped inside will help the bread rise. After 20 minutes, remove the lid to reveal the pale loaf. Continue baking uncovered for another 20 to 25 minutes until the crust is a deep golden brown. Remove the bread from the pot and let it cool completely on a wire rack for at least 2 hours before slicing.
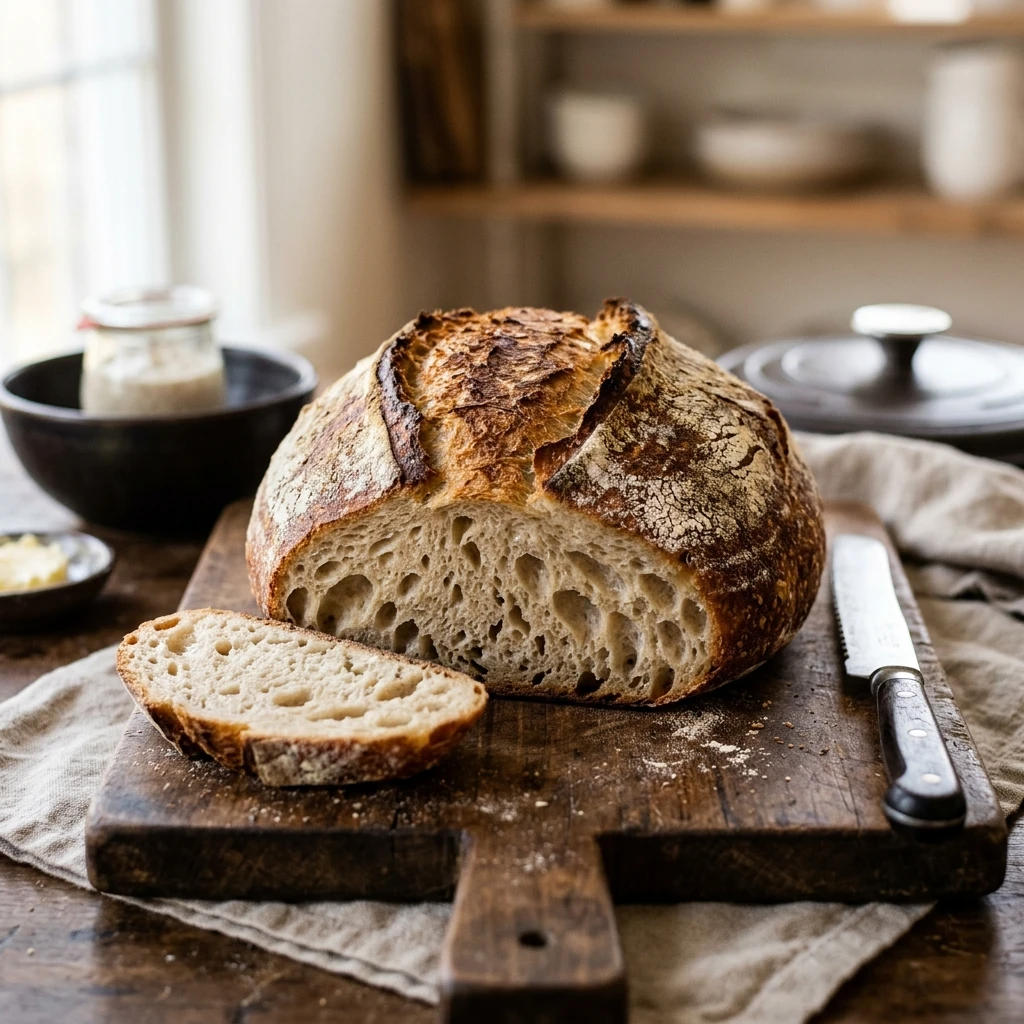
Expert Tips for Perfect No-Knead Dutch Oven Sourdough Bread Easy Artisan Beginner
- Check Your Starter: Ensure your starter is “active” by seeing if it passes the float test (a small spoonful should float in water).
- Use a Scale: Baking is a science. Measuring ingredients in grams ensures consistency that measuring cups cannot provide.
- Don’t Rush the Cooling: Sourdough continues to cook internally as it cools. Slicing too early can result in a gummy texture.
- Temperature Matters: If your house is cold, the bulk fermentation might take longer. If it is hot, the dough will rise much faster.
- Parchment Paper is Key: It makes transferring the sticky dough into the scorching hot Dutch oven safe and easy.
Delicious Variations
- Rosemary and Garlic: Mix in 2 tablespoons of chopped fresh rosemary and 3 cloves of minced roasted garlic during the initial mixing phase.
- Everything Bagel Sourdough: Sprinkle two tablespoons of everything bagel seasoning over the top of the loaf just before baking.
- Cheddar Jalapeño: Fold in 1/2 cup of cubed sharp cheddar and 2 tablespoons of diced jalapeños during the final shaping.
- Whole Wheat Blend: Swap 100g of the bread flour for 100g of whole wheat flour for a nuttier flavor and denser crumb.
Frequently Asked Questions
What if I don’t have a Dutch oven?
While a Dutch oven is ideal for trapping steam, you can use a heavy oven-safe pot with a tight lid or bake on a pizza stone with a tray of hot water on the rack below to create steam.
Why is my dough so sticky?
Sourdough dough is naturally higher hydration than standard bread dough. Avoid adding too much extra flour; instead, use wet hands or a bench scraper to handle the dough more easily.
Can I proof the dough in the fridge?
Yes! After the initial bulk fermentation on the counter, you can shape the loaf and put it in the fridge for 12–24 hours. This “cold retard” develops a deeper, tangier flavor.
My bread didn’t rise much in the oven. What happened?
This is usually due to an underactive starter or over-proofing the dough. Ensure your starter is at its peak and the dough still has some “spring” left when you poke it before baking.
How do I store my sourdough bread?
Store the bread cut-side down on a wooden board for the first day. For longer storage, keep it in a paper bag or a bread box. Avoid plastic bags, as they make the crust soft and rubbery.
Conclusion
Baking a beautiful loaf of sourdough doesn’t have to be a complicated chore. By following this no-knead Dutch oven method, you tap into a timeless tradition that rewards patience over physical labor. The result is a stunning, artisan-quality loaf that looks like it came from an expensive bakery but was made right in your kitchen. Once you taste the difference of homemade sourdough, you will never want to go back to store-bought bread again. Happy baking!
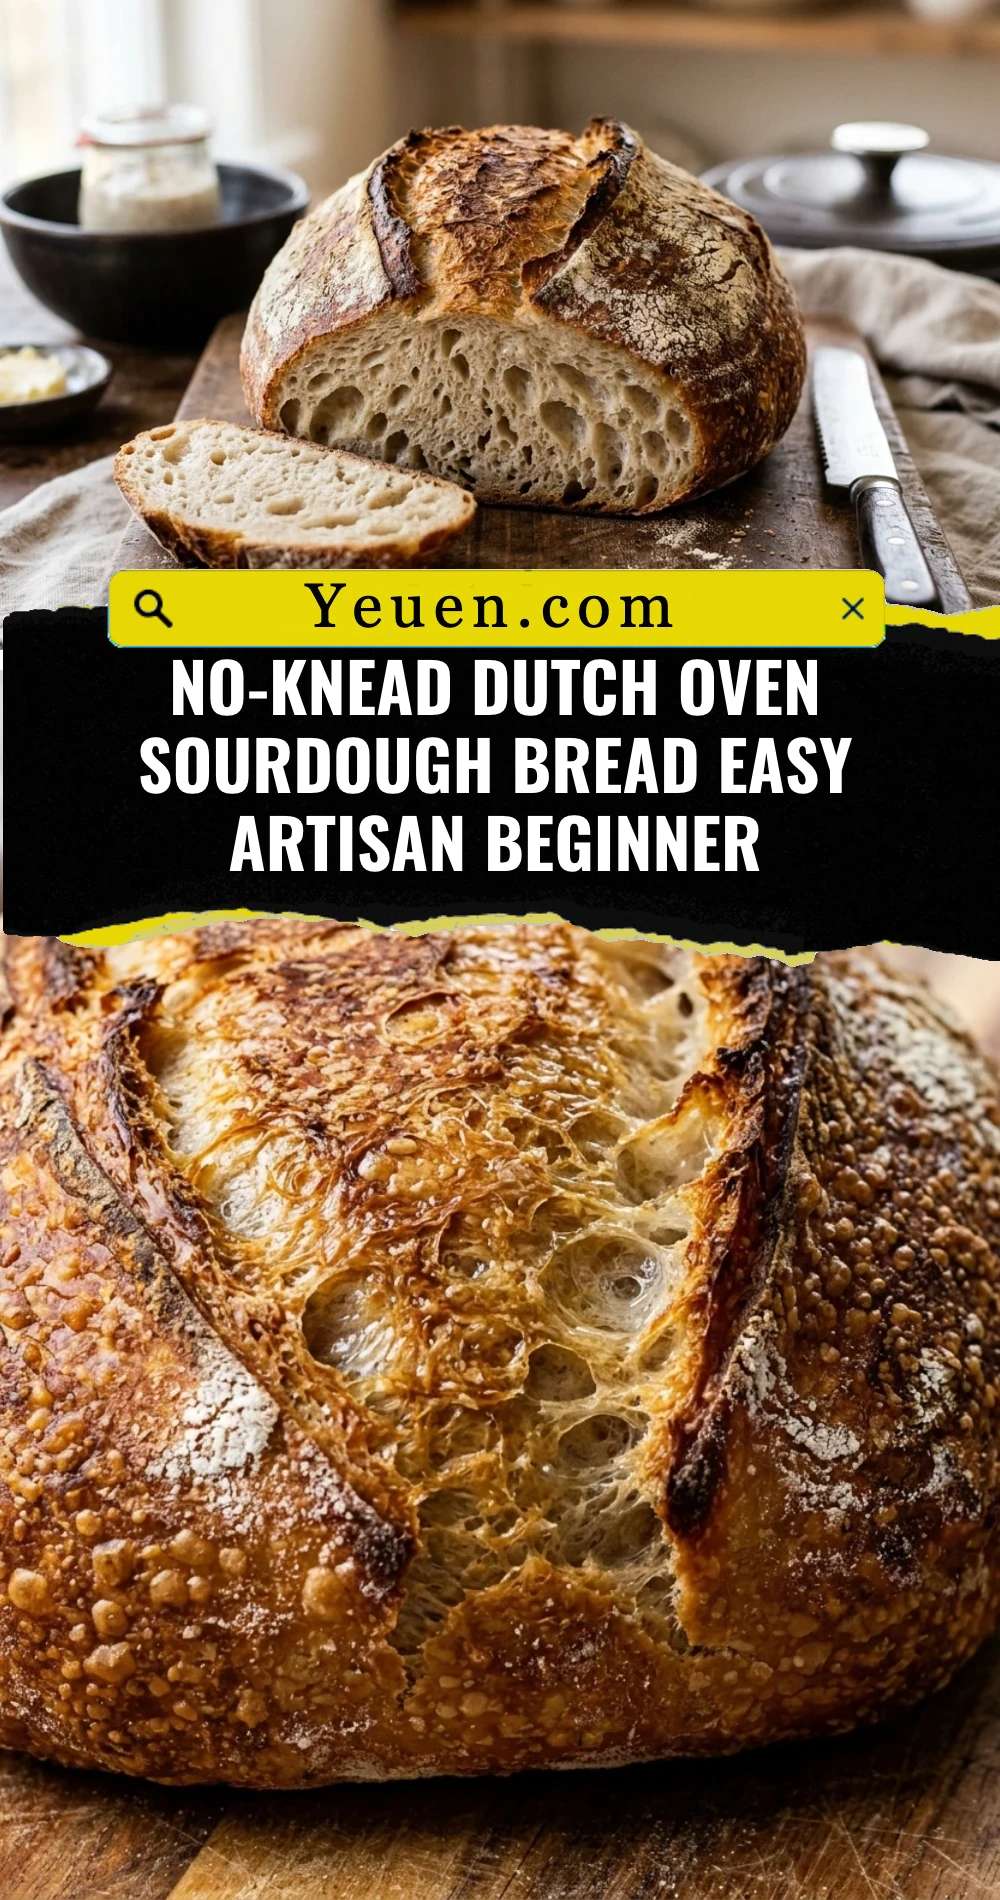
No-Knead Dutch Oven Sourdough Bread Easy Artisan Beginner
- Total Time: 18 hours 45 minutes
- Diet: Vegetarian, Vegan
Ingredients
Scale
- 100g active, bubbly sourdough starter (fed within 4–12 hours)
- 350g warm filtered water (about 80°F)
- 500g unbleached bread flour (high protein is best)
- 10g fine sea salt
Instructions
- In a large glass bowl, whisk together the active sourdough starter and warm water until the starter mostly dissolves. Add the bread flour and sea salt to the liquid. Use a sturdy spatula or a dough whisk to mix until no dry flour remains and a shaggy ball forms. Cover the bowl with a damp cloth or plastic wrap and let it rest for 30 minutes to allow the flour to hydrate.
- Once rested, give the dough a few quick folds by pulling the edges toward the center to ensure everything is well incorporated. Cover the bowl tightly and leave it on your counter at room temperature (around 70°F) for 12 to 15 hours. The dough is ready when it has doubled in size, looks bubbly on top, and has a slight wobble when you shake the bowl.
- Gently tip the fermented dough onto a lightly floured surface. Do not degas it aggressively; you want to keep those lovely air bubbles. Fold the edges of the dough into the center to create a round shape. Flip the dough over so the seam side is down. Use your hands to gently tension the surface by pulling the dough toward you on the counter until it forms a tight, smooth ball.
- Place the shaped dough into a proofing basket (banneton) or a bowl lined with a well-floured kitchen towel. Cover it and let it rise for about 1 to 2 hours at room temperature. The dough should look slightly puffy. While the dough proofs, place your Dutch oven (with the lid on) into the oven and preheat it to 450°F (230°C).
- Carefully turn the dough out onto a piece of parchment paper. Use a sharp knife or a bread lame to cut a deep slash across the top of the dough; this controls where the bread expands. Carefully remove the hot Dutch oven from the oven, lift the dough using the parchment paper, and lower it into the pot. Be extremely careful as the pot will be very hot.
- Place the lid back on the Dutch oven and bake for 20 minutes. The steam trapped inside will help the bread rise. After 20 minutes, remove the lid to reveal the pale loaf. Continue baking uncovered for another 20 to 25 minutes until the crust is a deep golden brown. Remove the bread from the pot and let it cool completely on a wire rack for at least 2 hours before slicing.
- Cook Time: 18 hours 45 minutes