Follow Me On Pinterest!


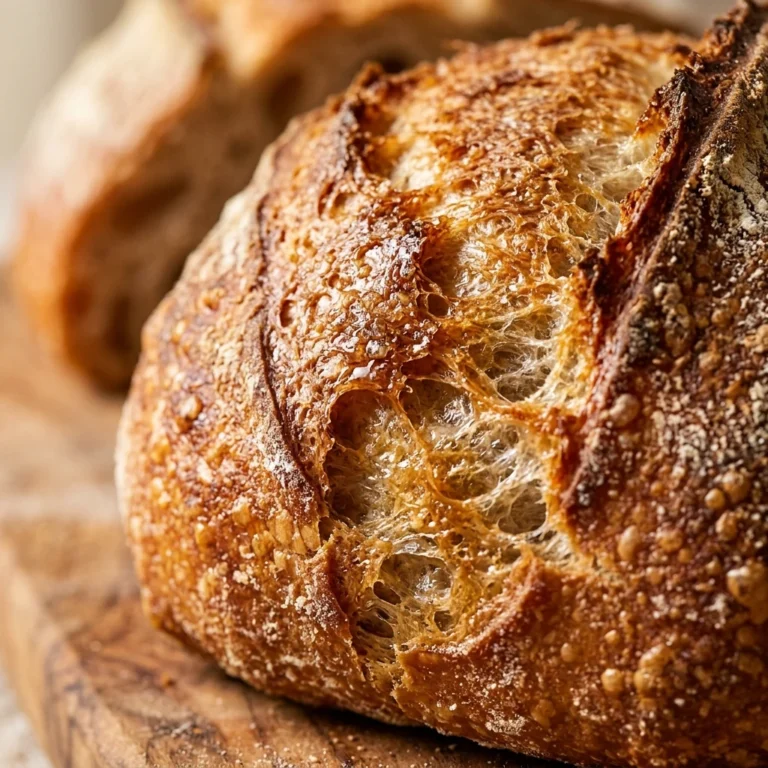
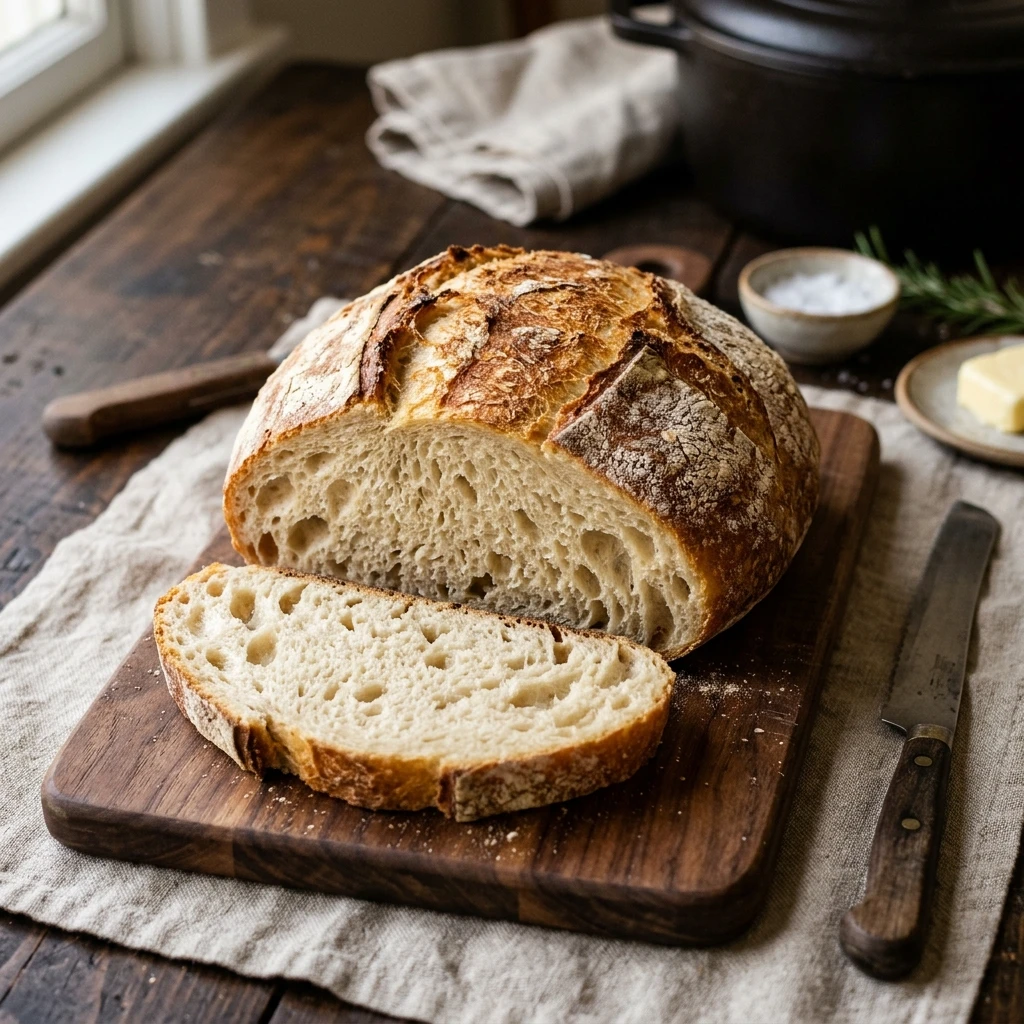
Imagine waking up to the scent of a professional bakery wafting through your home without ever having to break a sweat. This No-Knead Dutch Oven Toast Bread is a total game-changer for anyone who loves artisan quality but hates the labor-intensive process of traditional bread making. By letting time do the heavy lifting, you create a loaf with a beautifully thin, golden crust and a pillowy-soft interior that is perfect for your morning toast. You don’t need a fancy stand mixer or incredible arm strength; just a few basic ingredients, a Dutch oven, and a little bit of patience will yield a loaf that rivals any gourmet shop.
Recipe Information
- Prep Time: 15 minutes (plus 12-18 hours rising time)
- Cook Time: 45 minutes
- Total Time: 13 hours 0 minutes (minimum)
- Servings: 12 slices
- Difficulty: Easy
Nutrition values
- Calories: 165 kcal per slice
- Protein: 5g
- Carbs: 34g
Why Make This No-Knead Dutch Oven Toast Bread Easy Soft Artisan
This recipe is the ultimate “set it and forget it” bread. Unlike traditional recipes that require 20 minutes of intense kneading, this method relies on a long fermentation period to develop gluten naturally. The Dutch oven acts as a mini steam oven, trapping moisture to ensure the bread rises perfectly while maintaining a soft, sandwich-friendly texture. It is incredibly budget-friendly, uses only four main ingredients, and contains no preservatives, making it a much healthier alternative to store-bought white bread.
Ingredients
- 3 cups Bread Flour (plus extra for dusting)
- 1 ½ cups Warm Water (about 100°F)
- 1 teaspoon Active Dry Yeast
- 1 ½ teaspoons Sea Salt
- 1 tablespoon Honey (optional, for a softer crumb)
- 2 tablespoons Melted Butter (for brushing the crust)
Directions
Step 1: Mixing the Dough
In a large glass bowl, whisk together the bread flour, salt, and active dry yeast. If you are using honey, dissolve it into the warm water first. Pour the water into the dry ingredients and stir with a wooden spoon or spatula until a shaggy, sticky dough forms and no dry flour remains. Do not overmix; you just want the ingredients incorporated.
Step 2: The Long Rise
Cover the bowl tightly with plastic wrap or a beeswax wrap. Place the bowl in a draft-free spot at room temperature. Let the dough sit for at least 12 hours, though 18 hours is even better for flavor development. The dough is ready when it has doubled in size and the surface is dotted with tiny bubbles.
Step 3: Shaping and Second Rise
Turn the dough out onto a well-floured surface. It will be sticky, so use floured hands to gently fold the edges toward the center to form a round ball. Place a piece of parchment paper in a clean bowl and set the dough ball on top. Cover with a kitchen towel and let it rise for another 45 to 60 minutes.
Step 4: Preheating the Dutch Oven
While the dough undergoes its second rise, place your empty Dutch oven (with the lid) into the oven. Preheat your oven to 450°F (230°C). Heating the pot is crucial for achieving that signature artisan lift and a delicate crust.
Step 5: Baking the Bread
Carefully remove the hot Dutch oven from the oven. Use the edges of the parchment paper to lift the dough and lower it into the pot. Place the lid back on and bake for 30 minutes. After 30 minutes, remove the lid and bake for an additional 10-15 minutes until the top is golden brown.
Step 6: Softening and Cooling
Immediately after removing the bread from the oven, brush the top crust generously with melted butter. This step is what turns a hard artisan loaf into a soft “toast bread.” Transfer the loaf to a wire rack and let it cool completely for at least one hour before slicing. Slicing too early will let the steam escape and result in a gummy texture.
Expert Tips for Perfect No-Knead Dutch Oven Toast Bread Easy Soft Artisan
Always use a kitchen scale for the most accurate results, as flour density can vary wildly by cup. If your kitchen is particularly cold, the dough may need a few extra hours to rise; look for those surface bubbles as your visual cue. To keep the bottom of the bread from burning, you can place a baking sheet on the rack directly below the Dutch oven to deflect some of the heat. Finally, ensure your yeast is fresh; if it doesn’t foam when mixed with a little warm water, it is likely dead and your bread will not rise.
Delicious Variations
- Garlic and Herb: Fold in 2 teaspoons of dried rosemary and 1 teaspoon of garlic powder during the initial mixing phase.
- Cinnamon Raisin: Add ½ cup of raisins and 1 tablespoon of cinnamon to the dough for a sweet breakfast toast.
- Cheesy Jalapeño: Incorporate 1 cup of shredded sharp cheddar and ¼ cup of diced pickled jalapeños before the long rise.
- Whole Wheat: Swap 1 cup of the bread flour for whole wheat flour for a nuttier flavor and extra fiber.
Frequently Asked Questions
Can I make this bread in a regular loaf pan?
Yes, you can, but you will lose the steam-trapping benefits of the Dutch oven. If using a loaf pan, place a pan of water on the bottom rack of your oven to create steam, and the crust will be slightly different.
Why is my dough so sticky?
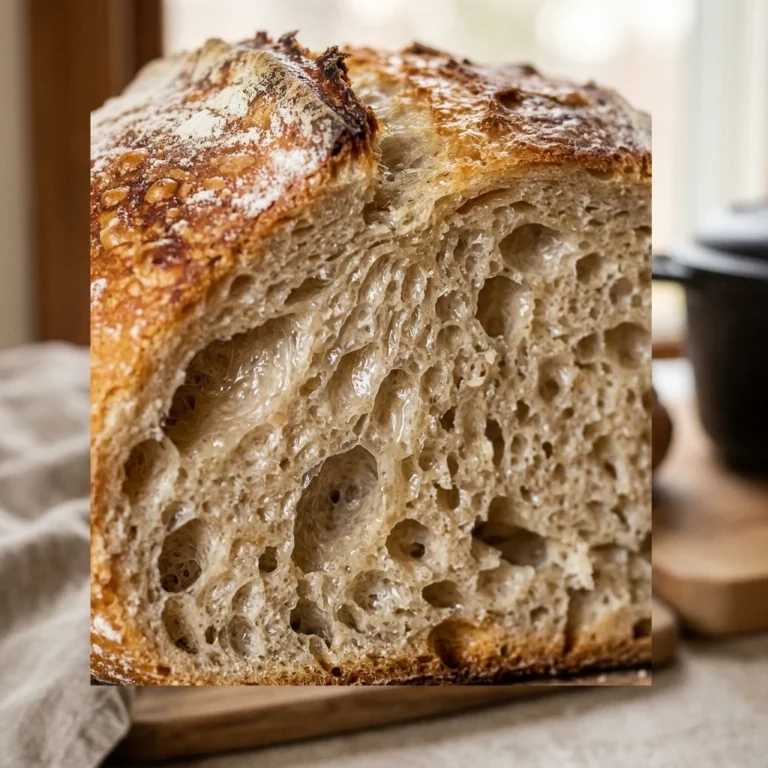
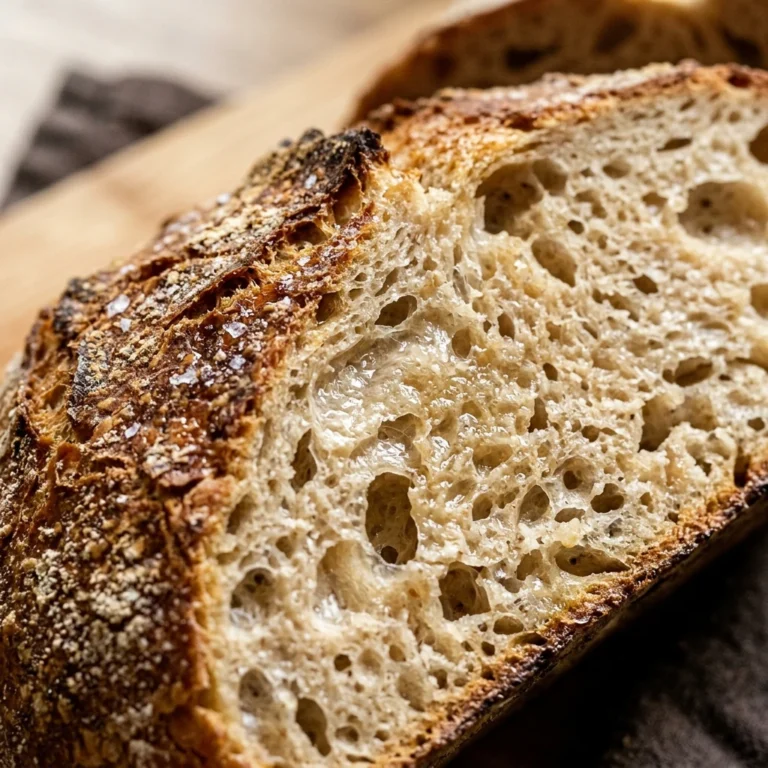
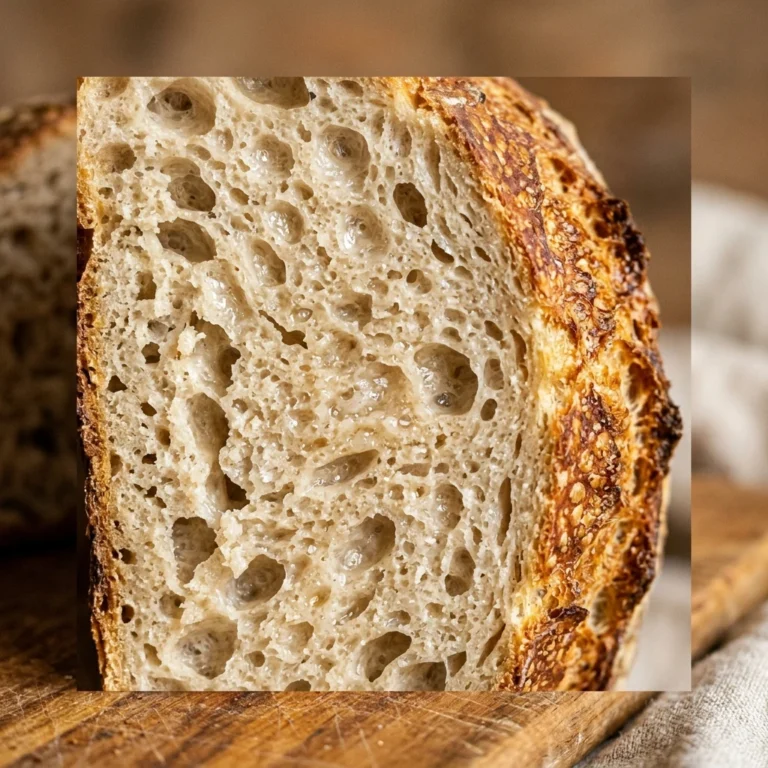
No-knead dough is naturally high-hydration, which means it should be very sticky. This high moisture content is what creates the soft “crumb” and the air pockets inside the bread. Use plenty of flour on your hands when shaping.
Do I have to preheat the Dutch oven?
Preheating is highly recommended. The thermal shock when the dough hits the hot pot causes “oven spring,” which makes the bread rise rapidly and gives it a better structure.
How do I store this bread to keep it soft?
Once completely cooled, store the bread in an airtight plastic bag or a bread box at room temperature. Because it has no preservatives, it will stay fresh for about 3-4 days.
Can I freeze this loaf?
Absolutely. This bread freezes beautifully. Slice the loaf first, then place the slices in a freezer-safe bag. You can pop a frozen slice directly into the toaster whenever you need it.
Conclusion
Mastering the art of bread making doesn’t require years of training or expensive equipment. This No-Knead Dutch Oven Toast Bread proves that with just a few minutes of active work and the magic of fermentation, you can create a soft, delicious, and versatile loaf right in your own kitchen. Whether you use it for avocado toast, a classic grilled cheese, or just enjoy it warm with a smear of butter, this recipe will quickly become a staple in your home. Give it a try this weekend and enjoy the incomparable taste of homemade artisan bread!

No-Knead Dutch Oven Toast Bread Easy Soft Artisan
- Total Time: 13 hours
- Diet: Vegetarian
Ingredients
Scale
- 3 cups Bread Flour (plus extra for dusting)
- 1 ½ cups Warm Water (about 100°F)
- 1 teaspoon Active Dry Yeast
- 1 ½ teaspoons Sea Salt
- 1 tablespoon Honey (optional, for a softer crumb)
- 2 tablespoons Melted Butter (for brushing the crust)
Instructions
- In a large glass bowl, whisk together the bread flour, salt, and active dry yeast. If you are using honey, dissolve it into the warm water first. Pour the water into the dry ingredients and stir with a wooden spoon or spatula until a shaggy, sticky dough forms and no dry flour remains. Do not overmix; you just want the ingredients incorporated.
- Cover the bowl tightly with plastic wrap or a beeswax wrap. Place the bowl in a draft-free spot at room temperature. Let the dough sit for at least 12 hours, though 18 hours is even better for flavor development. The dough is ready when it has doubled in size and the surface is dotted with tiny bubbles.
- Turn the dough out onto a well-floured surface. It will be sticky, so use floured hands to gently fold the edges toward the center to form a round ball. Place a piece of parchment paper in a clean bowl and set the dough ball on top. Cover with a kitchen towel and let it rise for another 45 to 60 minutes.
- While the dough undergoes its second rise, place your empty Dutch oven (with the lid) into the oven. Preheat your oven to 450°F (230°C). Heating the pot is crucial for achieving that signature artisan lift and a delicate crust.
- Carefully remove the hot Dutch oven from the oven. Use the edges of the parchment paper to lift the dough and lower it into the pot. Place the lid back on and bake for 30 minutes. After 30 minutes, remove the lid and bake for an additional 10-15 minutes until the top is golden brown.
- Immediately after removing the bread from the oven, brush the top crust generously with melted butter. This step is what turns a hard artisan loaf into a soft “toast bread.” Transfer the loaf to a wire rack and let it cool completely for at least one hour before slicing. Slicing too early will let the steam escape and result in a gummy texture.
- Cook Time: 13 hours 0 minutes (minimum)