Follow Me On Pinterest!


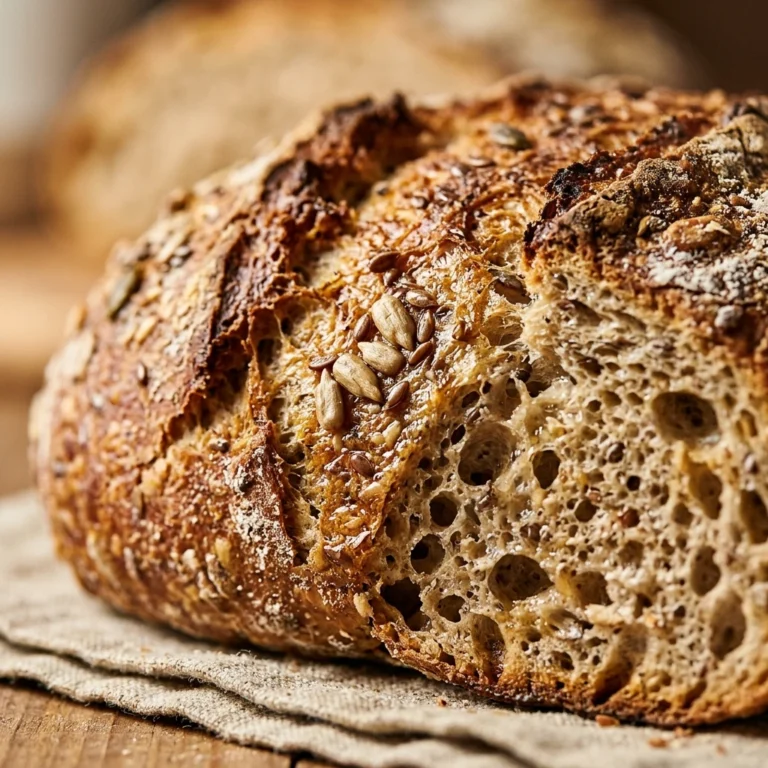
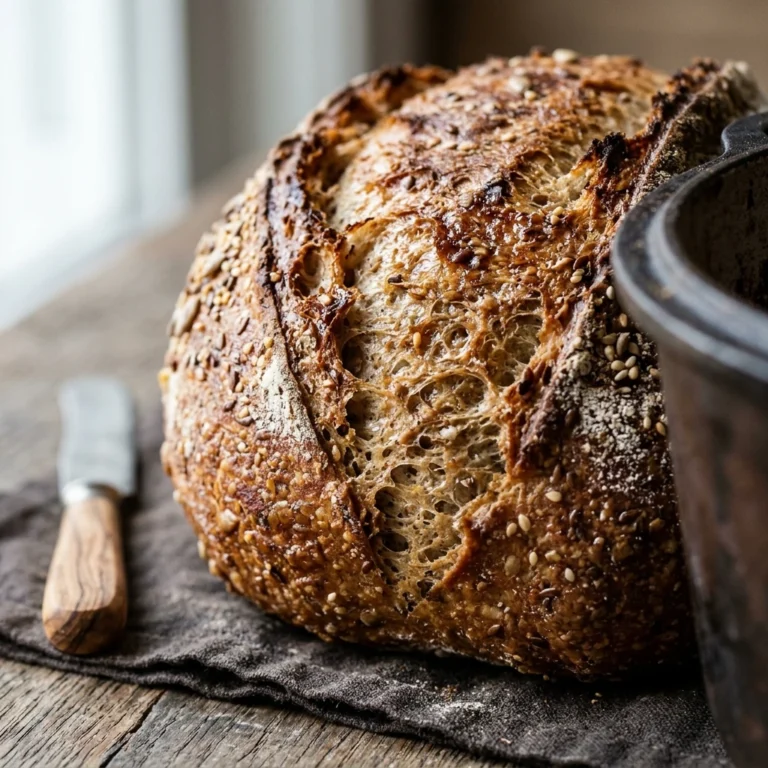
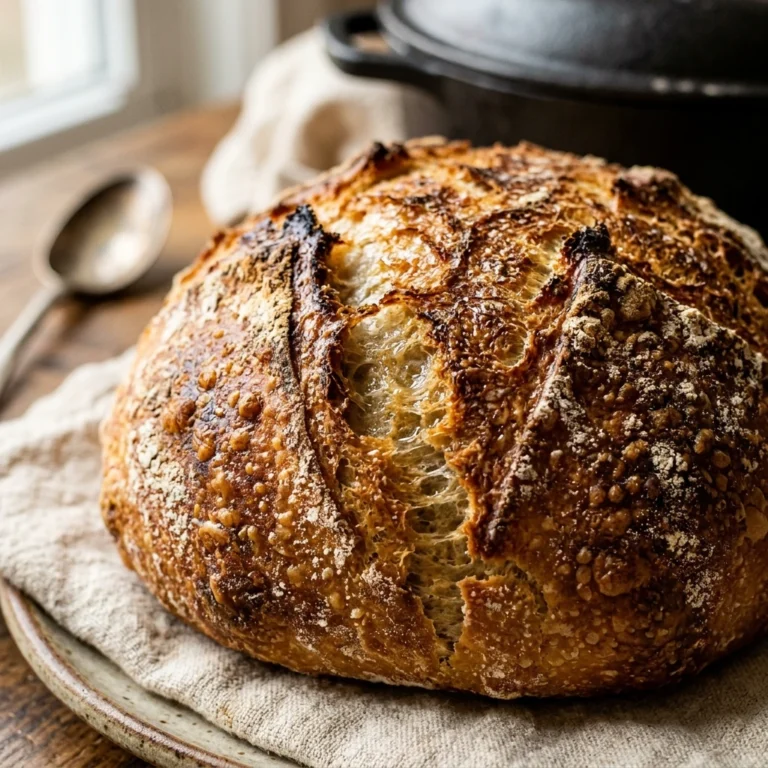
There is nothing quite like the aroma of fresh bread wafting through a home during the holiday season. If you have always been intimidated by the thought of yeast and kneading, this No-Knead Dutch Oven Holiday Bread is your ticket to artisan glory. It requires zero special skills, no fancy stand mixer, and just a few minutes of actual hands-on work. By letting time do the heavy lifting, you create a loaf with a crackly, golden crust and a tender, airy interior studded with festive flavors. This recipe turns any beginner into a master baker, making it the perfect centerpiece for your holiday table or a heartfelt gift for neighbors.
Recipe Information
- Prep Time: 15 minutes (plus 12-18 hours rising time)
- Cook Time: 45 minutes
- Total Time: 19 hours
- Servings: 12 slices
- Difficulty: Easy
Nutrition values
- Calories: 185 kcal
- Protein: 5g
- Carbs: 38g
Why Make This No-Knead Dutch Oven Holiday Bread Easy Festive Artisan Beginner
This bread is a game-changer for busy holiday hosts. Because there is no kneading involved, you avoid the messy flour-covered counters and tired arms. The Dutch oven acts as a mini steam oven, trapping moisture to give you that professional “artisan” crust that is usually hard to achieve at home. It is incredibly forgiving, allowing the flavors of citrus, herbs, and dried fruits to shine through. Plus, the slow fermentation process develops a deep, complex flavor that quick-rise breads simply cannot match.
Ingredients
- 3 cups all-purpose flour or bread flour (plus extra for dusting)
- 1 ½ teaspoons sea salt
- ½ teaspoon active dry yeast
- 1 ½ cups warm water (about 100°F)
- ½ cup dried cranberries
- 1 tablespoon fresh rosemary, finely chopped
- 1 tablespoon orange zest
- 1 tablespoon honey (optional)
Directions
Step 1: Mix the Dough
In a large glass bowl, whisk together the flour, sea salt, and active dry yeast. Add the dried cranberries, chopped rosemary, and orange zest, tossing them to coat in the flour. Pour in the warm water and honey. Use a sturdy wooden spoon or a spatula to stir until a shaggy, sticky ball forms. Ensure there are no dry flour streaks remaining at the bottom of the bowl.
Step 2: The Long Rise
Cover the bowl tightly with plastic wrap or a beeswax wrap. Place the bowl in a draft-free spot at room temperature. Let the dough rest for at least 12 hours, though 18 hours is ideal for the best flavor. During this time, the dough will double in size and become dotted with tiny bubbles. This slow fermentation is what replaces the need for kneading.
Step 3: Preheat and Shape
Place your empty Dutch oven (with the lid) into the oven and preheat it to 450°F (230°C). While the oven heats, turn the dough out onto a well-floured surface. It will be very sticky, so use a dough scraper or floured hands to gently fold it over itself a few times. Shape it into a rough ball. Place the dough on a piece of parchment paper, cover it with a clean kitchen towel, and let it rest for 30 minutes while the pot gets screaming hot.
Step 4: The Dutch Oven Bake
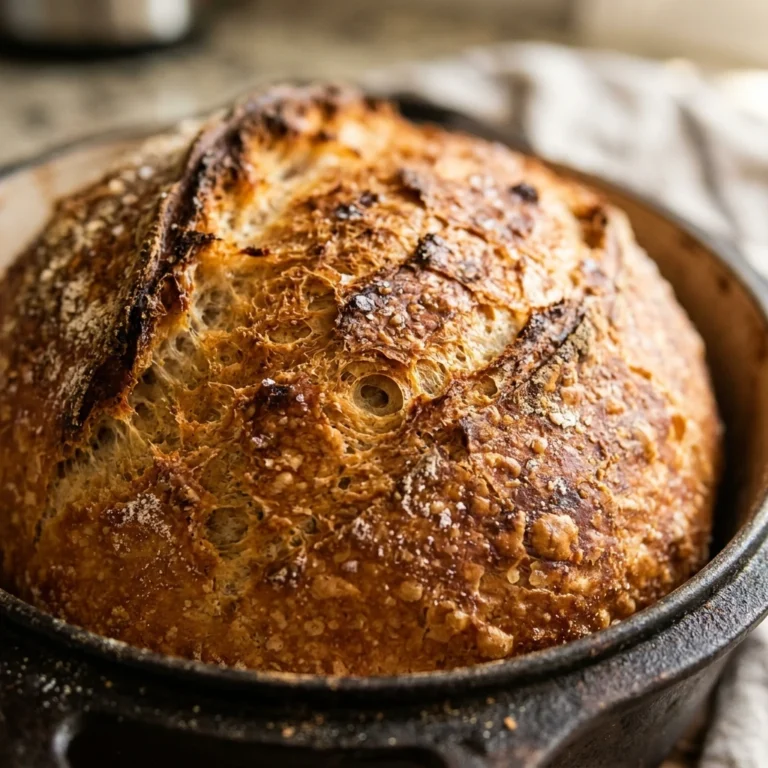
Carefully remove the hot Dutch oven from the oven. Lift the parchment paper by the edges and drop the dough (paper and all) into the pot. Use a sharp knife or kitchen shears to score a shallow “X” on the top of the loaf. Cover with the lid and bake for 30 minutes. The lid traps steam, which allows the bread to rise fully before the crust sets.
Step 5: The Final Crisp
Remove the lid from the Dutch oven. You will see a pale, risen loaf. Bake for an additional 12 to 15 minutes without the lid until the crust is a deep golden brown and sounds hollow when tapped. Carefully lift the bread out of the pot and place it on a wire rack. Wait at least one hour before slicing; this prevents the inside from becoming gummy.
Expert Tips for Perfect No-Knead Dutch Oven Holiday Bread Easy Festive Artisan Beginner
- Use a Scale: For the most consistent results, weigh your flour. If using measuring cups, spoon the flour into the cup and level it off rather than scooping directly from the bag.
- Check Your Yeast: Ensure your yeast is fresh. If the water doesn’t look slightly cloudy after mixing, your yeast might be expired.
- Don’t Skip the Preheat: A cold pot will result in a heavy, dense loaf. The thermal shock of the dough hitting the hot pot is essential for a good rise.
- Parchment Paper is Key: Using parchment paper makes it much easier and safer to transfer the sticky dough into the scorching hot Dutch oven.
Delicious Variations
- Savory Garlic and Herb: Swap the cranberries and zest for 3 cloves of minced garlic and a teaspoon of dried thyme.
- Sweet Cinnamon Raisin: Replace the rosemary and orange zest with 1 tablespoon of cinnamon and ½ cup of raisins.
- Walnut and Honey: Add ½ cup of chopped toasted walnuts and an extra tablespoon of honey for a nutty, earthy loaf.
- Cheesy Jalapeño: Fold in ½ cup of cubed sharp cheddar and 1 chopped jalapeño for a spicy holiday kick.
Frequently Asked Questions
Do I really not have to knead this bread?
That is correct! The long rising time allows the gluten strands to align naturally. This process mimics the effect of kneading without any physical effort on your part.

Can I use a different pot if I don’t have a Dutch oven?
You need a heavy-bottomed pot with a tight-fitting lid that is oven-safe to 450°F. A heavy ceramic casserole dish or a cast-iron pot works well. If your lid isn’t tight, you can cover the pot with foil before putting the lid on.
How do I store this bread?
Store the bread at room temperature in a paper bag for up to two days to keep the crust crisp. For longer storage, slice the bread and freeze it in a sealed bag for up to three months.
What if my dough doesn’t rise?
Usually, this is due to expired yeast or water that was too hot (which kills the yeast). Ensure your water is “baby bath” warm, not boiling. If your house is very cold, the rise may take longer than 12 hours.
Can I use whole wheat flour?
You can replace up to 1 cup of the all-purpose flour with whole wheat flour. Note that the bread will be denser and may require a few extra tablespoons of water, as whole wheat flour absorbs more moisture.
Conclusion
Mastering the art of artisan baking is simpler than you ever imagined. This No-Knead Dutch Oven Holiday Bread proves that with just four basic ingredients and a little patience, you can create a masterpiece. Whether you serve it alongside a hearty holiday stew or toast it with a smear of salted butter for breakfast, this festive loaf will surely impress everyone at your table. Embrace the slow pace of bread making and enjoy the delicious, crispy rewards!
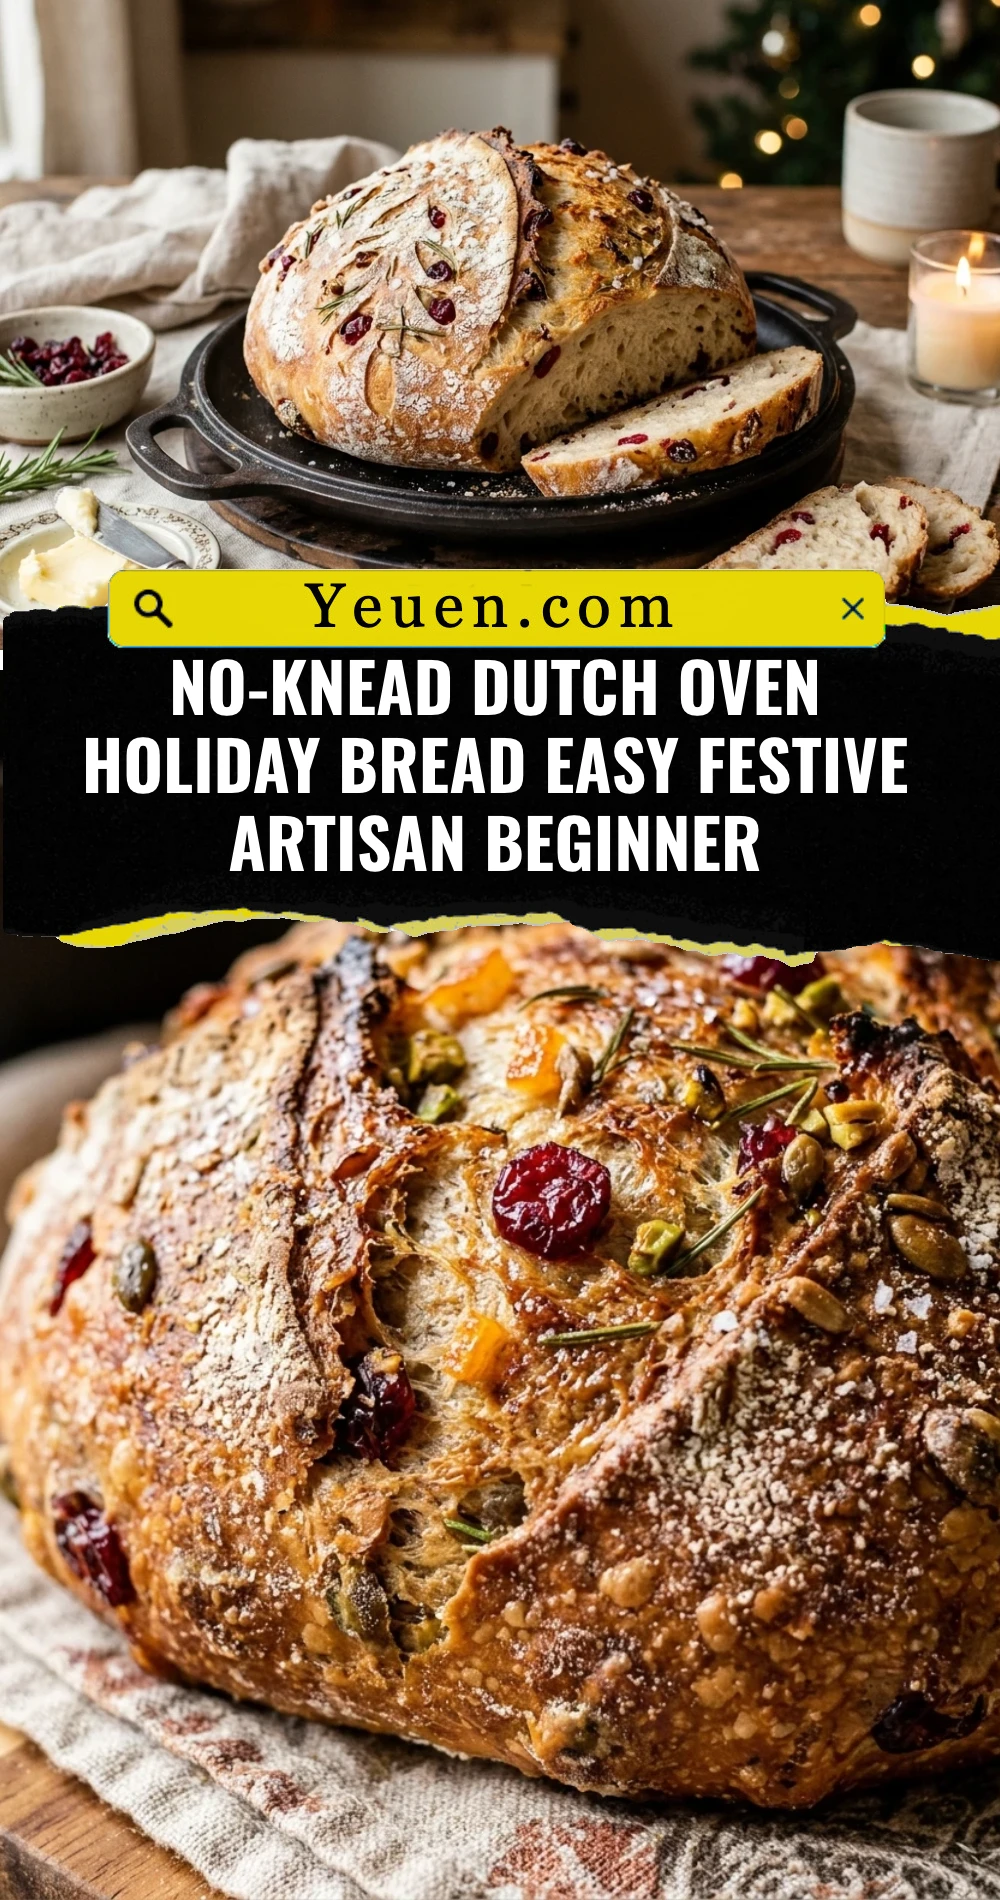

No-Knead Dutch Oven Holiday Bread Easy Festive Artisan Beginner
- Total Time: 19 hours
- Diet: Vegetarian
Ingredients
Scale
- 3 cups all-purpose flour or bread flour (plus extra for dusting)
- 1 ½ teaspoons sea salt
- ½ teaspoon active dry yeast
- 1 ½ cups warm water (about 100°F)
- ½ cup dried cranberries
- 1 tablespoon fresh rosemary, finely chopped
- 1 tablespoon orange zest
- 1 tablespoon honey (optional)
Instructions
- In a large glass bowl, whisk together the flour, sea salt, and active dry yeast. Add the dried cranberries, chopped rosemary, and orange zest, tossing them to coat in the flour. Pour in the warm water and honey. Use a sturdy wooden spoon or a spatula to stir until a shaggy, sticky ball forms. Ensure there are no dry flour streaks remaining at the bottom of the bowl.
- Cover the bowl tightly with plastic wrap or a beeswax wrap. Place the bowl in a draft-free spot at room temperature. Let the dough rest for at least 12 hours, though 18 hours is ideal for the best flavor. During this time, the dough will double in size and become dotted with tiny bubbles. This slow fermentation is what replaces the need for kneading.
- Place your empty Dutch oven (with the lid) into the oven and preheat it to 450°F (230°C). While the oven heats, turn the dough out onto a well-floured surface. It will be very sticky, so use a dough scraper or floured hands to gently fold it over itself a few times. Shape it into a rough ball. Place the dough on a piece of parchment paper, cover it with a clean kitchen towel, and let it rest for 30 minutes while the pot gets screaming hot.
- Carefully remove the hot Dutch oven from the oven. Lift the parchment paper by the edges and drop the dough (paper and all) into the pot. Use a sharp knife or kitchen shears to score a shallow “X” on the top of the loaf. Cover with the lid and bake for 30 minutes. The lid traps steam, which allows the bread to rise fully before the crust sets.
- Remove the lid from the Dutch oven. You will see a pale, risen loaf. Bake for an additional 12 to 15 minutes without the lid until the crust is a deep golden brown and sounds hollow when tapped. Carefully lift the bread out of the pot and place it on a wire rack. Wait at least one hour before slicing; this prevents the inside from becoming gummy.
- Cook Time: 19 hours