Follow Me On Pinterest!


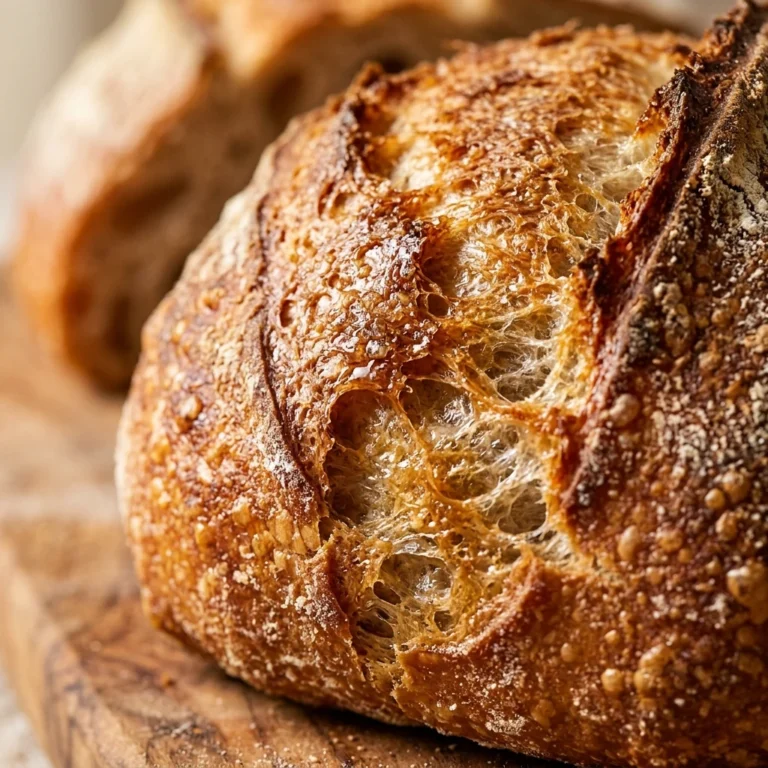
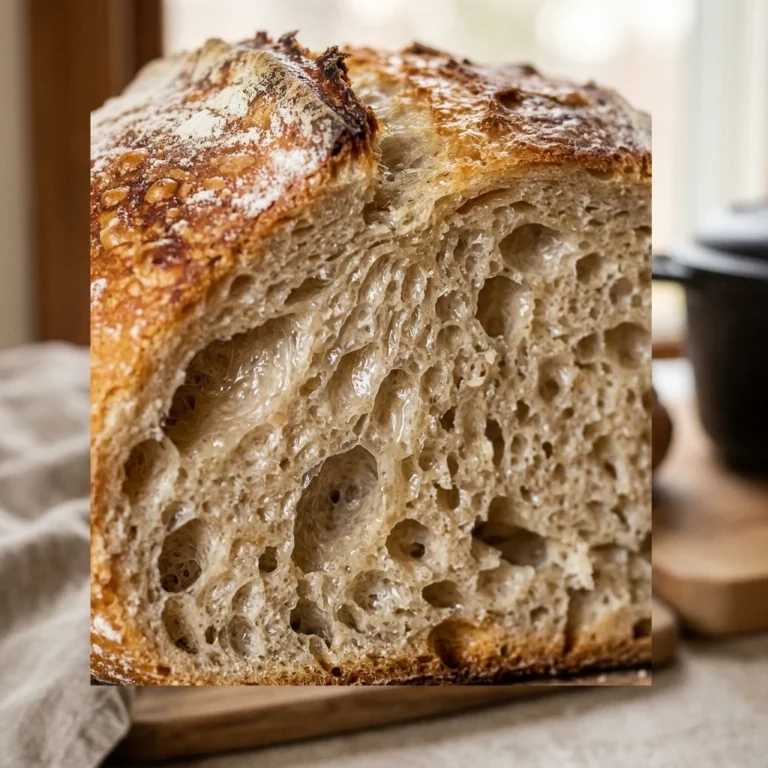
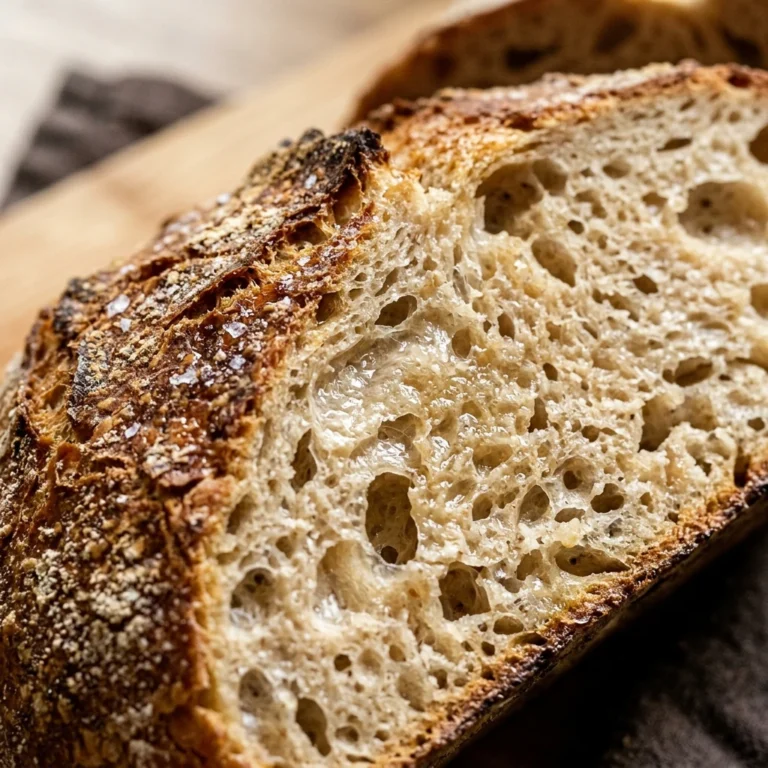
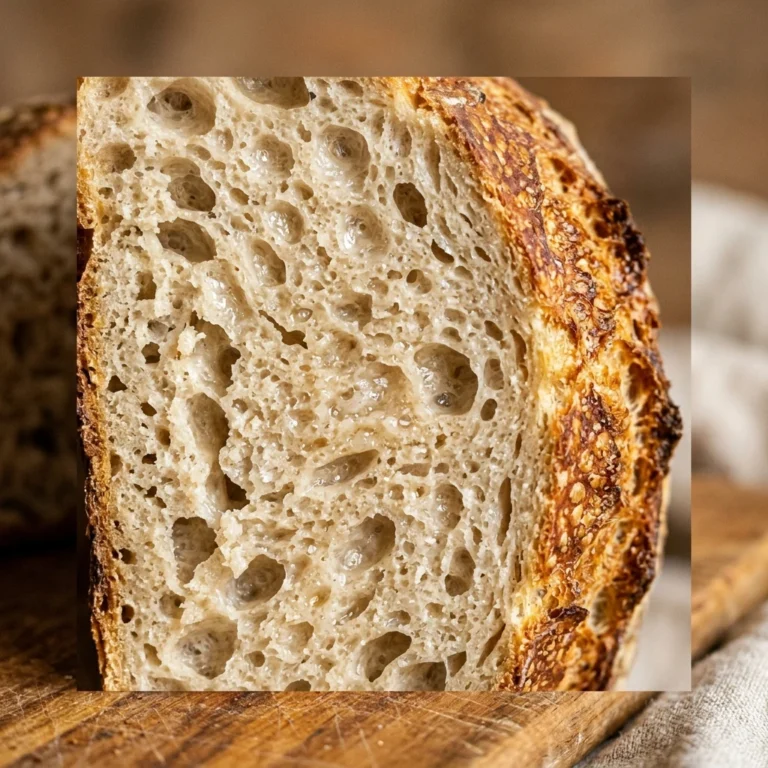
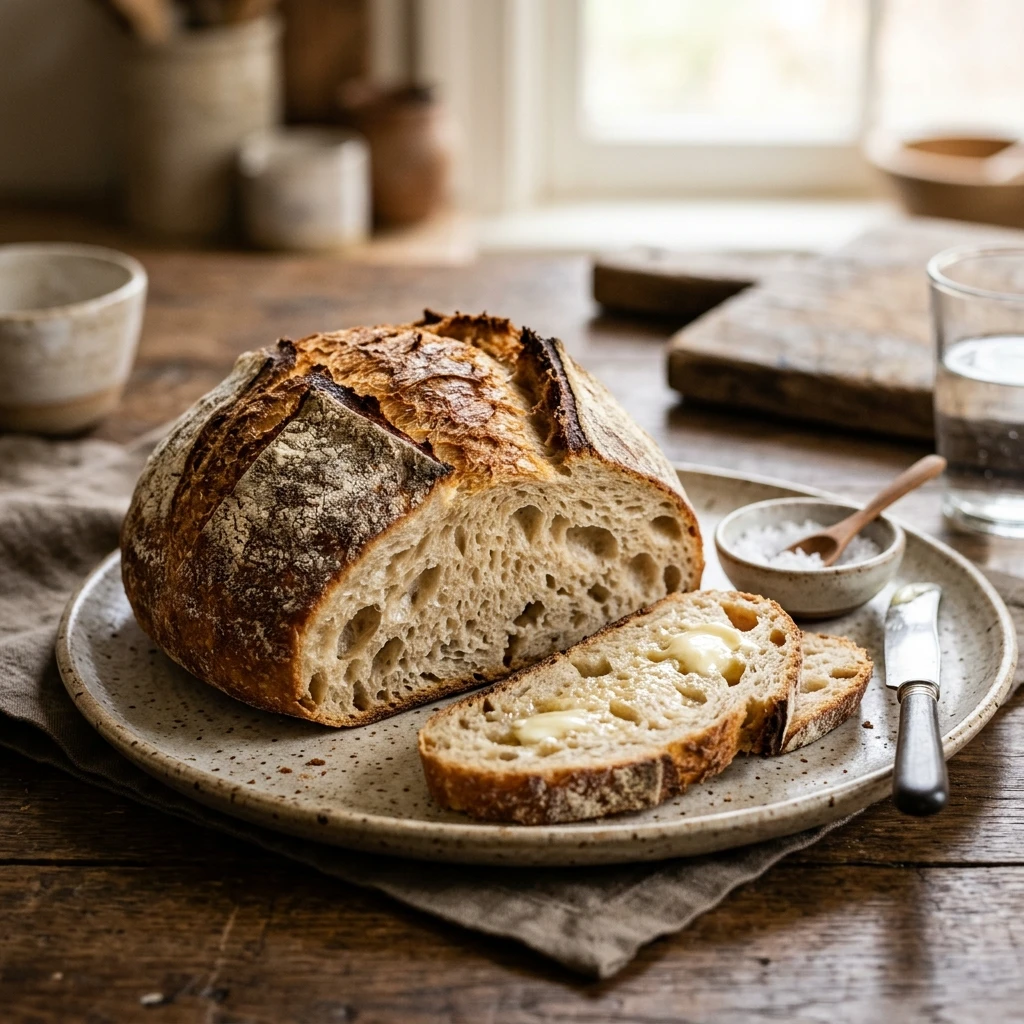
There’s something magical about the smell of fresh bread wafting through your home, and guess what? You don’t need to be a professional baker to achieve it. This no-knead Dutch oven bread is the ultimate game-changer for beginners. With just five minutes of active work, you’ll produce a loaf that looks like it came straight from a high-end Parisian bakery. It has a shatteringly crisp crust and a soft, airy center that’s perfect for dipping in soup or slathering with salty butter. Forget the fancy equipment and the arm-aching kneading; this recipe relies on time and a hot pot to do all the heavy lifting for you.
Recipe Information
- Prep Time: 5 minutes
- Cook Time: 45 minutes
- Total Time: 50 minutes
- Servings: 8 servings
- Difficulty: Easy
Nutrition values
- Calories: 185 kcal
- Protein: 5g
- Carbs: 38g
Why Make This No-Knead Dutch Oven 5 Minute Prep Bread Easy Beginner
This recipe is the perfect entry point into the world of bread making because it is virtually foolproof. You don’t need a stand mixer, a bread machine, or even much physical strength. By using a Dutch oven, you create a mini steam chamber that mimics professional deck ovens, ensuring your bread rises beautifully and develops a golden, crunchy exterior. It is cost-effective, uses only four pantry staples, and requires zero cleanup since you mix everything in one bowl. Whether you are a busy parent or a kitchen novice, this loaf will make you feel like a culinary pro.
Ingredients
- 3 cups All-purpose flour or Bread flour (plus extra for dusting)
- 1 ½ cups Warm water (about 100°F)
- 1 teaspoon Active dry yeast or Instant yeast
- 1 ½ teaspoons Sea salt
Directions
Step 1: Mixing the Dough
In a large mixing bowl, whisk together the flour, salt, and yeast until well combined. Pour the warm water into the center of the dry ingredients. Use a sturdy spoon or a spatula to stir the mixture until a shaggy, sticky ball forms and no dry flour remains. Do not overwork the dough; you just want the ingredients incorporated. Cover the bowl tightly with plastic wrap or a damp kitchen towel.
Step 2: The First Rise
Place the bowl in a warm, draft-free spot in your kitchen. Let the dough rest and rise for at least 12 hours, though 18 hours is even better for flavor development. During this time, the yeast will work its magic, creating bubbles and building the gluten structure that kneading usually provides. The dough is ready when it has doubled in size and the surface is covered in tiny bubbles.
Step 3: Preheating and Shaping
Place your empty Dutch oven (with the lid) into the oven and preheat it to 450°F (230°C). While the oven heats, turn the dough out onto a well-floured piece of parchment paper. Gently fold the edges toward the center to form a rough ball. You don’t need to be perfect here. Let the dough rest on the parchment paper for about 30 minutes while the pot finishes heating up.
Step 4: The Baking Process
Carefully remove the scorching hot Dutch oven from the oven. Lift the parchment paper by the corners and drop the dough (paper and all) into the pot. Put the lid back on and bake for 30 minutes. The trapped steam will help the bread rise. After 30 minutes, remove the lid and bake for another 15 minutes. This final step allows the crust to brown and become crispy. Remove the bread and let it cool on a wire rack for at least 30 minutes before slicing.
Expert Tips for Perfect No-Knead Dutch Oven 5 Minute Prep Bread Easy Beginner
To get the best results, always measure your flour using the “spoon and level” method rather than scooping directly with the measuring cup, which packs the flour down. Ensure your yeast is fresh; if it doesn’t foam slightly when mixed with water, it might be dead. If you want an extra-crispy crust, you can toss a couple of ice cubes into the bottom of the Dutch oven (outside the parchment paper) right before closing the lid. Most importantly, resist the urge to cut into the bread immediately! Slicing it while hot allows steam to escape, which can make the inside gummy.
Delicious Variations
Once you master the base recipe, you can easily customize your loaf. Add 1 tablespoon of dried rosemary and 1/2 cup of grated parmesan to the dry ingredients for a savory herb bread. For a spicy kick, fold in 1/2 cup of diced jalapeños and 1 cup of sharp cheddar cheese during the mixing phase. If you prefer something sweeter, add 1/2 cup of raisins and 1 tablespoon of cinnamon. You can also swap 1 cup of white flour for whole wheat flour to add a nutty flavor and more fiber.
Frequently Asked Questions
Can I use a regular pot if I don’t have a Dutch oven?
You can use any heavy, oven-safe pot with a tight-fitting lid, such as a ceramic casserole dish or a heavy stainless steel pot. However, cast iron Dutch ovens provide the most consistent heat and the best crust.
Does the water temperature really matter?
Yes. Water that is too hot will kill the yeast, while water that is too cold will slow down the fermentation process significantly. Aim for “lukewarm,” which should feel like warm bath water.
Can I let the dough rise for more than 18 hours?
You can leave it for up to 24 hours at room temperature, but beyond that, the yeast may exhaust its food supply and the dough might collapse. If you need more time, move the dough to the refrigerator after the initial 12-hour rise.
Why is my bread flat?
Flat bread usually results from old yeast that didn’t provide enough lift, or from the dough being too wet. Ensure you measure your ingredients accurately and check the expiration date on your yeast packet.
How should I store the leftover bread?
Store the bread at room temperature in a paper bag for up to two days to maintain the crust. Avoid plastic bags, as they trap moisture and make the crust soft. For longer storage, slice the bread and freeze it in a freezer-safe bag.
Conclusion
Making artisan-style bread at home doesn’t have to be intimidating. This no-knead Dutch oven recipe proves that with a little patience and the right technique, anyone can produce a stunning, delicious loaf. It is the perfect accompaniment to a hearty stew or simply enjoyed toast with honey. Once you taste the difference between homemade and store-bought, you may never go back to the bread aisle again. Happy baking!
No-Knead Dutch Oven 5 Minute Prep Bread Easy Beginner
- Total Time: 50 minutes
- Diet: Vegetarian, Vegan
Ingredients
Scale
- 3 cups All-purpose flour or Bread flour (plus extra for dusting)
- 1 ½ cups Warm water (about 100°F)
- 1 teaspoon Active dry yeast or Instant yeast
- 1 ½ teaspoons Sea salt
Instructions
- In a large mixing bowl, whisk together the flour, salt, and yeast until well combined. Pour the warm water into the center of the dry ingredients. Use a sturdy spoon or a spatula to stir the mixture until a shaggy, sticky ball forms and no dry flour remains. Do not overwork the dough; you just want the ingredients incorporated. Cover the bowl tightly with plastic wrap or a damp kitchen towel.
- Place the bowl in a warm, draft-free spot in your kitchen. Let the dough rest and rise for at least 12 hours, though 18 hours is even better for flavor development. During this time, the yeast will work its magic, creating bubbles and building the gluten structure that kneading usually provides. The dough is ready when it has doubled in size and the surface is covered in tiny bubbles.
- Place your empty Dutch oven (with the lid) into the oven and preheat it to 450°F (230°C). While the oven heats, turn the dough out onto a well-floured piece of parchment paper. Gently fold the edges toward the center to form a rough ball. You don’t need to be perfect here. Let the dough rest on the parchment paper for about 30 minutes while the pot finishes heating up.
- Carefully remove the scorching hot Dutch oven from the oven. Lift the parchment paper by the corners and drop the dough (paper and all) into the pot. Put the lid back on and bake for 30 minutes. The trapped steam will help the bread rise. After 30 minutes, remove the lid and bake for another 15 minutes. This final step allows the crust to brown and become crispy. Remove the bread and let it cool on a wire rack for at least 30 minutes before slicing.
- Cook Time: 50 minutes