Follow Me On Pinterest!


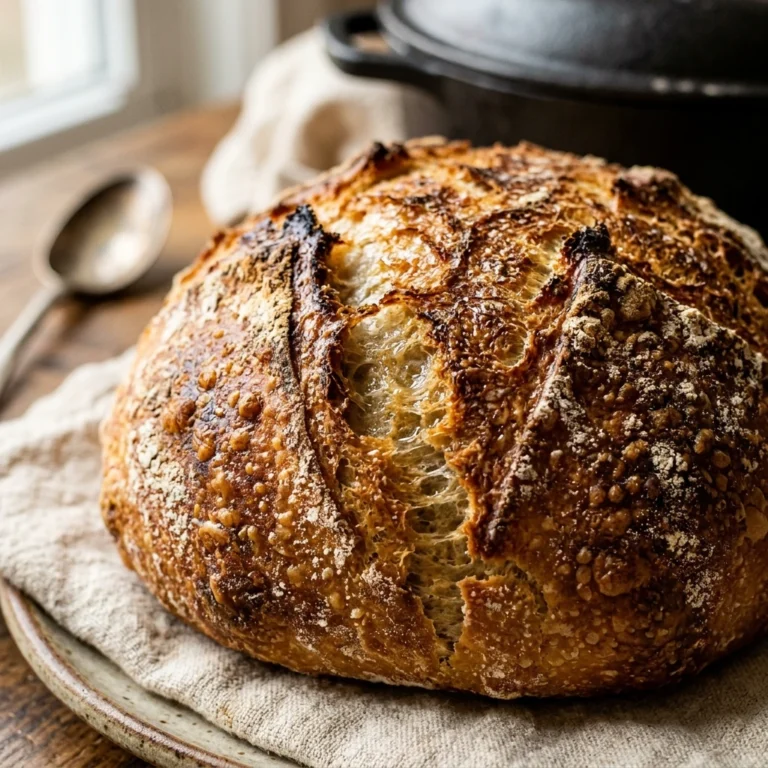
Imagine waking up to the aroma of a professional bakery right in your own kitchen without spending hours laboring over a countertop. This No-Knead Dutch Oven Overnight Sourdough Bread Easy Artisan recipe is designed for the busy home cook who craves that signature tangy flavor and shattered-glass crust. By letting time do the heavy lifting, you bypass the exhausting kneading process entirely. Simply mix your ingredients in the evening, let the wild yeast work its magic while you sleep, and bake a golden, crusty masterpiece the next morning. It is the ultimate “set it and forget it” bread that yields consistent, impressive results every single time.
Recipe Information
- Prep Time: 15 minutes
- Cook Time: 45 minutes
- Total Time: 15 hours (includes overnight fermentation)
- Servings: 12 slices
- Difficulty: Easy
Nutrition values
- Calories: 165 kcal per slice
- Protein: 5g
- Carbs: 34g
Why Make This No-Knead Dutch Oven Overnight Sourdough Bread Easy Artisan
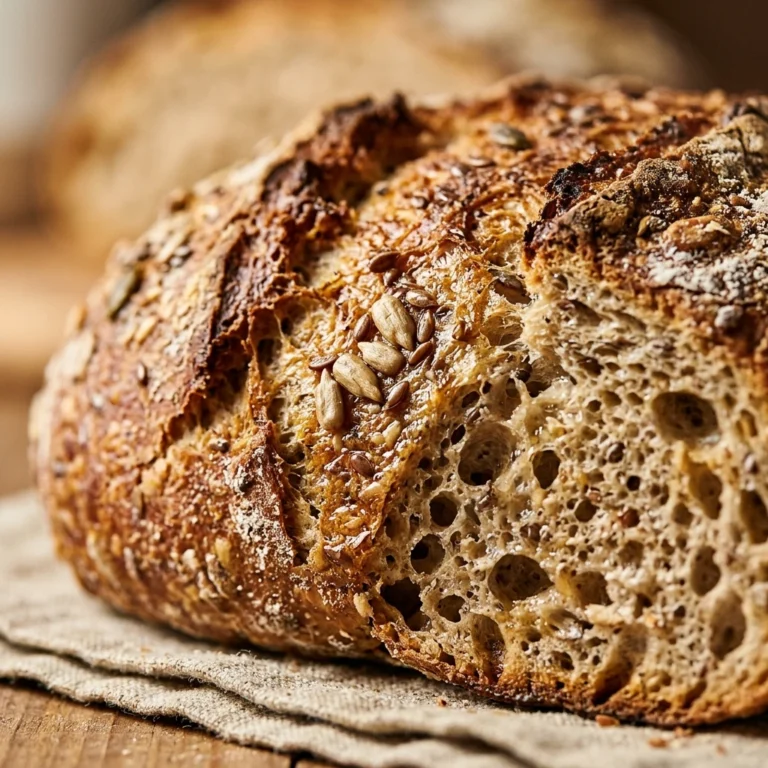
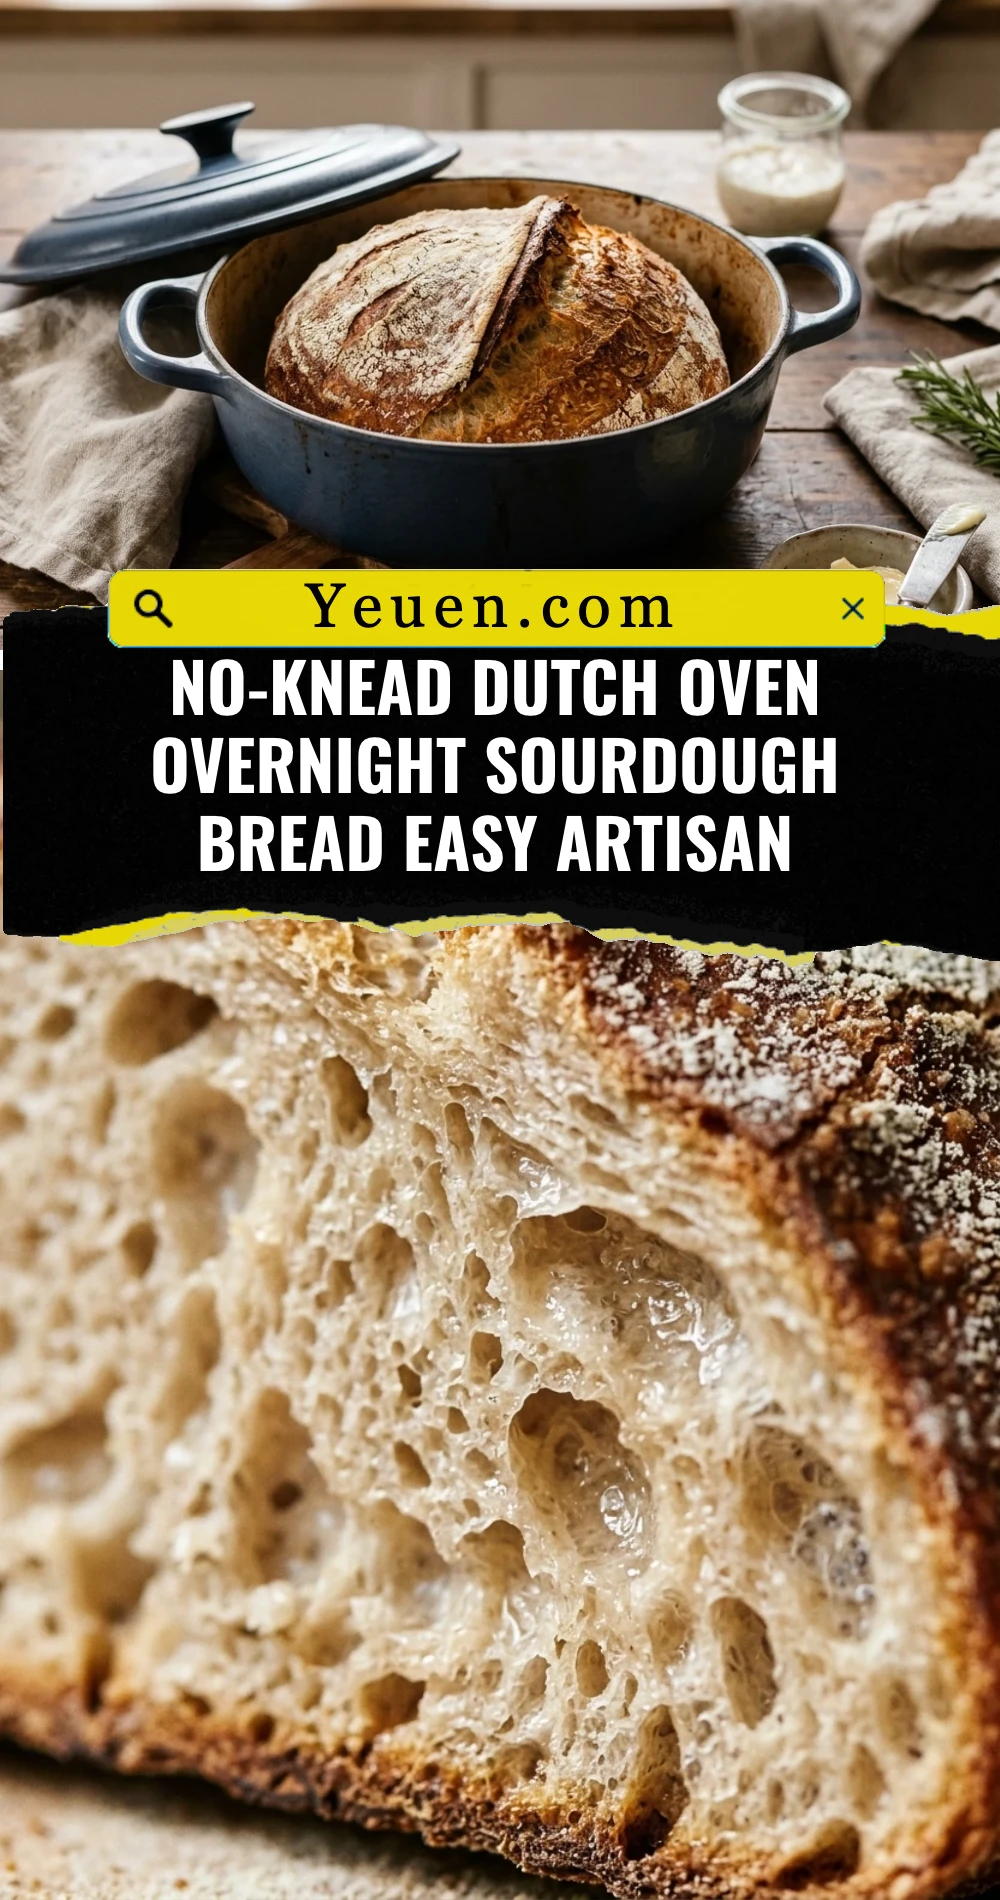
This recipe removes the intimidation factor often associated with sourdough. Because it uses a Dutch oven, you create a miniature steam chamber that guarantees a crispy, thin crust and an airy, open crumb. The long fermentation period not only develops a complex, deep flavor but also makes the bread easier to digest. You don’t need a stand mixer or a culinary degree—just a bowl, a spoon, and a little bit of patience. It is the most reliable way to achieve artisan-quality bread at home with minimal active effort.
Ingredients
- 100g active sourdough starter (fed and bubbly)
- 350g warm filtered water (about 80°F)
- 500g high-quality bread flour
- 10g fine sea salt
- Extra flour for dusting
Directions
Step 1: Mix the Dough
In a large glass bowl, whisk together your active sourdough starter and warm water until the starter mostly dissolves and the water looks milky. Add the bread flour and sea salt to the bowl. Use a sturdy spoon or a dough whisk to mix until a shaggy, sticky ball forms and no dry flour remains. Cover the bowl with a damp cloth or plastic wrap and let it rest for 30 minutes.
Step 2: Bulk Fermentation (Overnight)
After the initial rest, perform one set of “stretch and folds” by pulling the edge of the dough up and folding it over toward the center. Rotate the bowl and repeat this four times. Cover the bowl tightly and leave it on your kitchen counter at room temperature (68-72°F) for 8 to 12 hours. During this time, the dough will double in size and develop small bubbles on the surface.
Step 3: Shaping and Final Proof
Gently turn the fermented dough onto a lightly floured surface. Fold the edges toward the middle to create tension and flip the dough over so the seam side is down. Use your hands to pull the dough toward you, creating a tight, round boule. Place the dough into a proofing basket (banneton) or a bowl lined with a floured kitchen towel. Let it rise for another 1 to 2 hours while you preheat your oven.
Step 4: Preheat and Bake
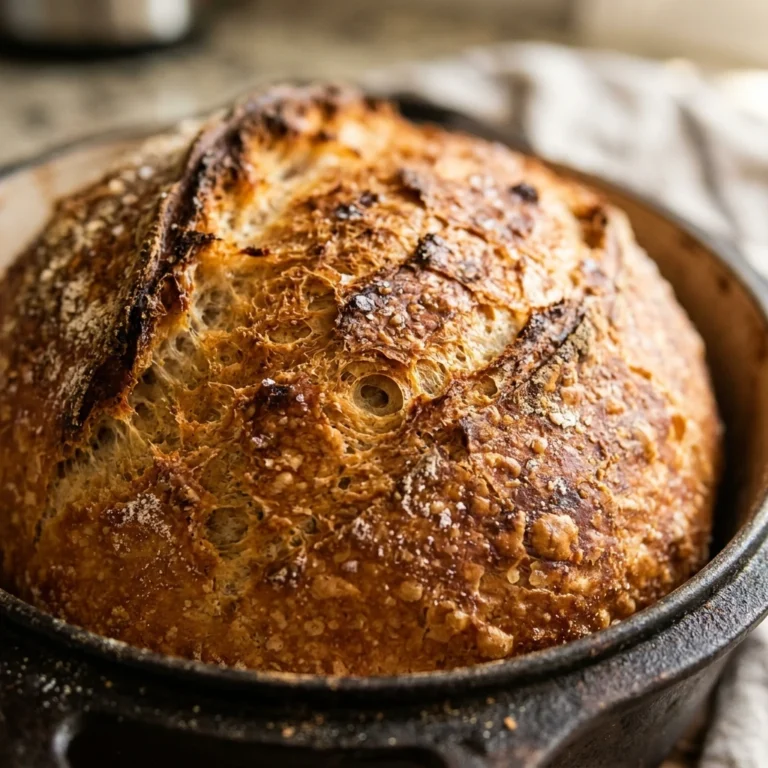
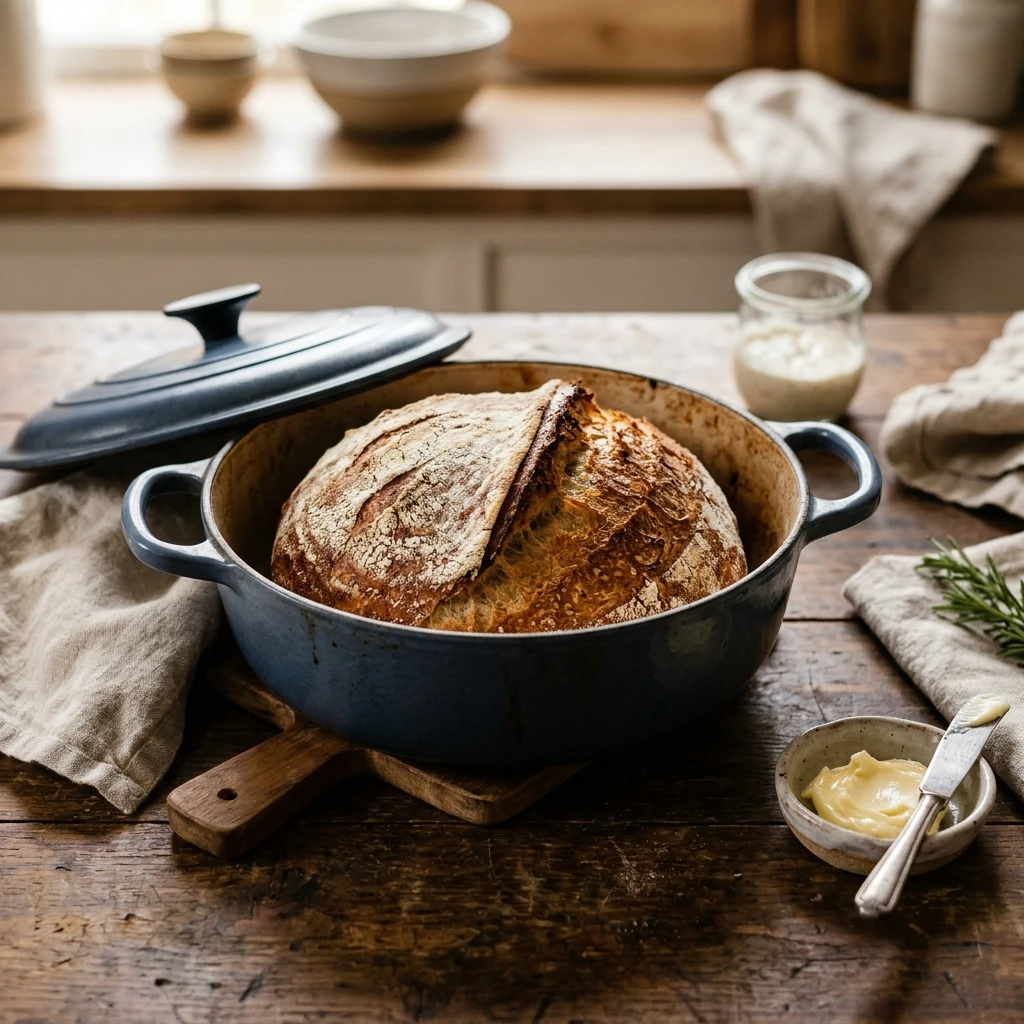
Place your empty Dutch oven (with the lid) into the oven and preheat to 450°F (230°C) for at least 30 minutes. Carefully remove the hot Dutch oven and drop in a piece of parchment paper. Gently transfer your dough onto the parchment. Score the top of the bread with a sharp knife or razor blade to allow it to expand. Cover with the lid and bake for 20 minutes. After 20 minutes, remove the lid and bake for another 20 to 25 minutes until the crust is a deep golden brown.
Step 5: Cool and Slice
Carefully lift the bread out of the Dutch oven using the parchment paper edges. Transfer the loaf to a wire cooling rack immediately. Resisting the urge to slice it while hot is crucial; let the bread cool completely for at least 2 hours. This allows the internal structure to set and prevents the crumb from becoming gummy.
Expert Tips for Perfect No-Knead Dutch Oven Overnight Sourdough Bread Easy Artisan
Always use a digital kitchen scale for the most accurate results, as measuring flour by volume can lead to dry bread. Ensure your sourdough starter is at its peak—bubbly and active—before mixing. If your kitchen is very cold, you might need a longer fermentation time; if it is very warm, the dough will rise faster. For an extra-crispy crust, toss two ice cubes into the Dutch oven (under the parchment paper) right before closing the lid to create a burst of steam.
Delicious Variations
- Rosemary and Roasted Garlic: Fold in two tablespoons of fresh chopped rosemary and a head of roasted garlic cloves during Step 1.
- Cheddar and Jalapeño: Incorporate 100g of cubed sharp cheddar and sliced pickled jalapeños during the shaping process.
- Everything Bagel Sourdough: Generously coat the exterior of the dough with everything bagel seasoning right before baking.
- Cranberry Walnut: Add a handful of dried cranberries and toasted walnut halves for a slightly sweet, crunchy artisan loaf.
Frequently Asked Questions
Can I use sourdough discard for this recipe?
For the best rise and airy texture, it is highly recommended to use an active, fed starter. Discard will result in a much denser loaf with less “oven spring.”
What if I don’t have a Dutch oven?
You can use a heavy oven-safe pot with a tight lid. If you don’t have a lid, place a pan of hot water on the bottom rack of your oven to create steam, though the results may vary slightly.
Why is my dough so sticky and hard to handle?
High hydration dough is naturally sticky. Use wet hands or a bench scraper to handle it, and avoid adding too much extra flour, which can make the finished bread tough.
How do I know when the bulk fermentation is finished?
The dough should have doubled in volume, look jiggly when you move the bowl, and feature visible air bubbles on the surface and sides.
How should I store my sourdough bread?
Store the cooled bread in a paper bag or wrapped in a clean kitchen towel at room temperature for up to 3 days. For longer storage, slice the bread and freeze it in a sealed bag.
Conclusion
Mastering the No-Knead Dutch Oven Overnight Sourdough Bread Easy Artisan method is a rewarding journey that proves great bread doesn’t require constant attention. By working with the natural rhythm of wild yeast and the heat-retaining power of a Dutch oven, you can produce loaves that rival any boutique bakery. Whether you enjoy a slice toasted with salted butter or as the base for an epic sandwich, this recipe will quickly become a staple in your culinary repertoire. Happy baking!
No-Knead Dutch Oven Overnight Sourdough Bread Easy Artisan
- Total Time: 15 hours
- Diet: Vegan, Vegetarian
Ingredients
Scale
- 100g active sourdough starter (fed and bubbly)
- 350g warm filtered water (about 80°F)
- 500g high-quality bread flour
- 10g fine sea salt
- Extra flour for dusting
Instructions
- Step 1: Mix the Dough
In a large glass bowl, whisk together your active sourdough starter and warm water until the starter mostly dissolves and the water looks milky. Add the bread flour and sea salt to the bowl. Use a sturdy spoon or a dough whisk to mix until a shaggy, sticky ball forms and no dry flour remains. Cover the bowl with a damp cloth or plastic wrap and let it rest for 30 minutes. - Step 2: Bulk Fermentation (Overnight)
After the initial rest, perform one set of “stretch and folds” by pulling the edge of the dough up and folding it over toward the center. Rotate the bowl and repeat this four times. Cover the bowl tightly and leave it on your kitchen counter at room temperature (68-72°F) for 8 to 12 hours. During this time, the dough will double in size and develop small bubbles on the surface. - Step 3: Shaping and Final Proof
Gently turn the fermented dough onto a lightly floured surface. Fold the edges toward the middle to create tension and flip the dough over so the seam side is down. Use your hands to pull the dough toward you, creating a tight, round boule. Place the dough into a proofing basket (banneton) or a bowl lined with a floured kitchen towel. Let it rise for another 1 to 2 hours while you preheat your oven. - Step 4: Preheat and Bake
Place your empty Dutch oven (with the lid) into the oven and preheat to 450°F (230°C) for at least 30 minutes. Carefully remove the hot Dutch oven and drop in a piece of parchment paper. Gently transfer your dough onto the parchment. Score the top of the bread with a sharp knife or razor blade to allow it to expand. Cover with the lid and bake for 20 minutes. After 20 minutes, remove the lid and bake for another 20 to 25 minutes until the crust is a deep golden brown. - Step 5: Cool and Slice
Carefully lift the bread out of the Dutch oven using the parchment paper edges. Transfer the loaf to a wire cooling rack immediately. Resisting the urge to slice it while hot is crucial; let the bread cool completely for at least 2 hours. This allows the internal structure to set and prevents the crumb from becoming gummy.
- Cook Time: 15 hours (includes overnight fermentation)