Follow Me On Pinterest!


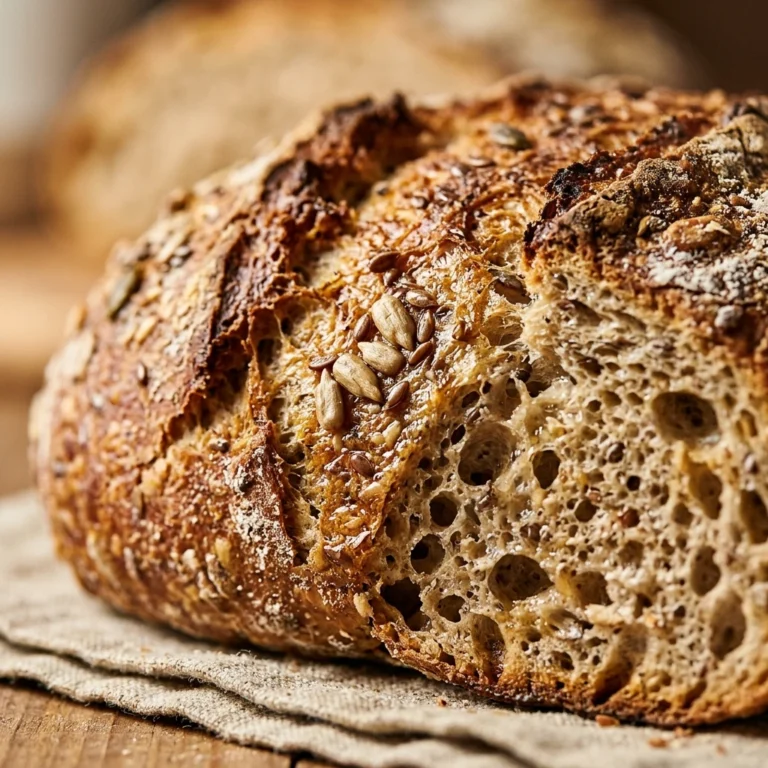
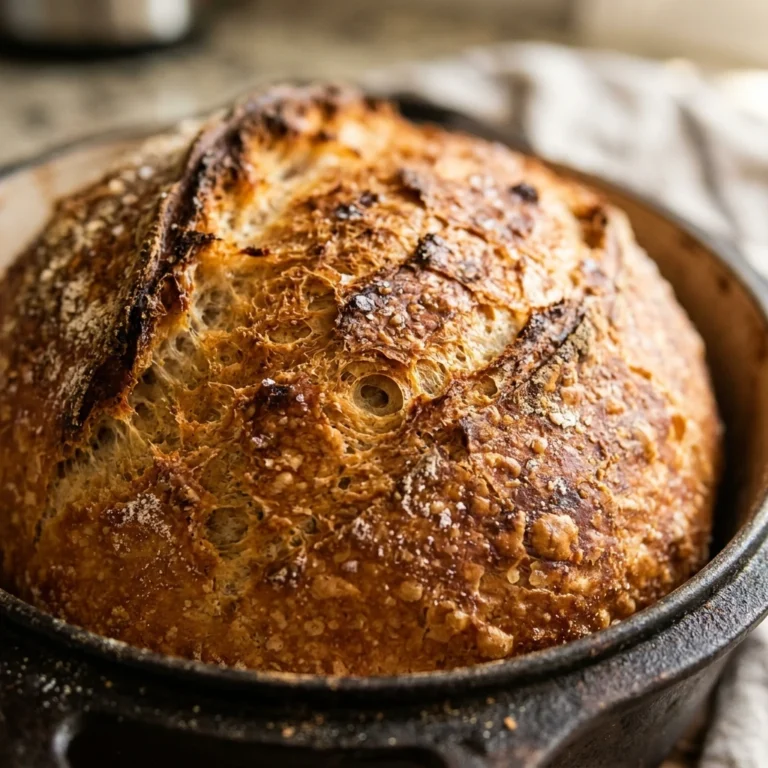
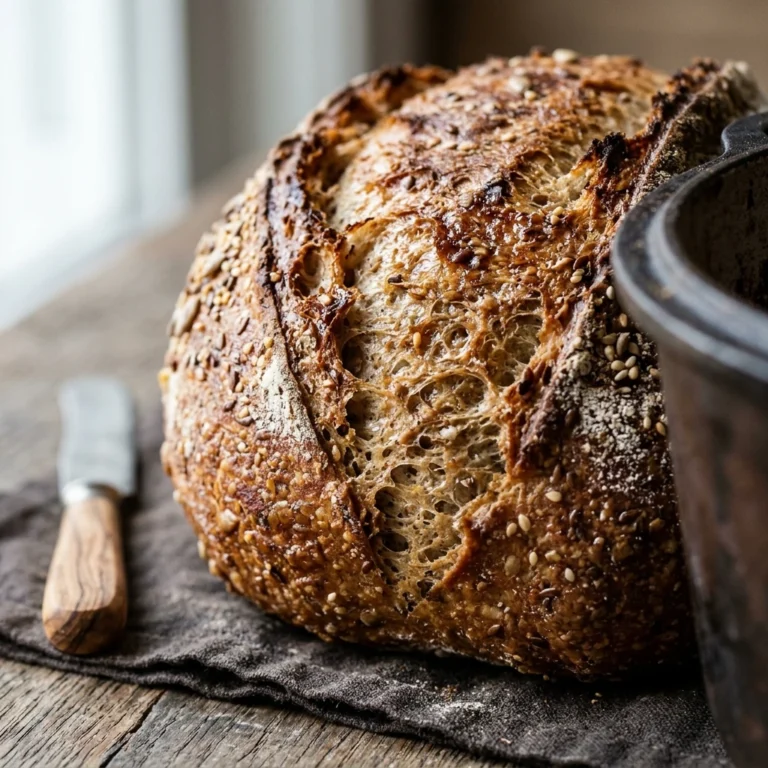
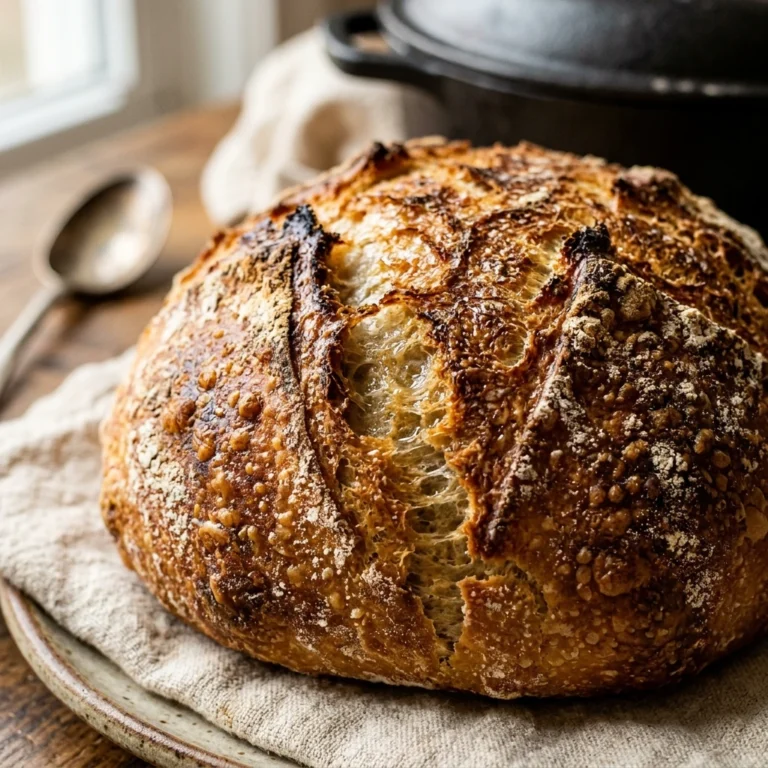
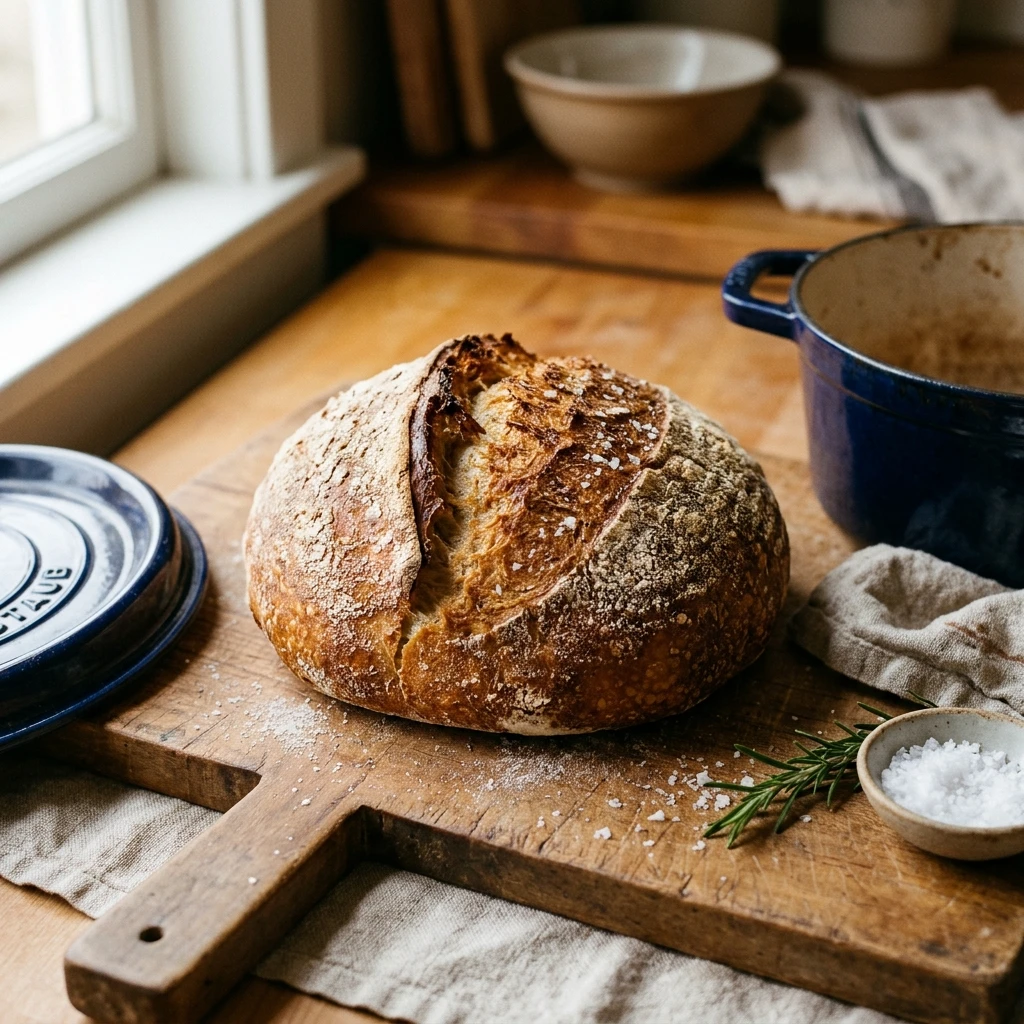
There is something truly magical about the scent of fresh bread wafting through your kitchen. If you have ever felt intimidated by the complex world of sourdough starters or hours of intensive kneading, this recipe is your golden ticket to bakery-quality loaves. You do not need any special skills or fancy equipment beyond a basic pot. This no-knead Dutch oven bread delivers a shatteringly crisp crust and a soft, airy interior with almost zero effort. It is the perfect project for a beginner looking to impress family and friends with a rustic, golden-brown masterpiece.
Recipe Information
- Prep Time: 15 minutes
- Cook Time: 45 minutes
- Total Time: 13 hours 15 minutes
- Servings: 8 slices
- Difficulty: Easy
Nutrition values
- Calories: 185 kcal
- Protein: 6g
- Carbs: 38g
Why Make This No-Knead Dutch Oven Bread Without Starter Easy Beginner
This recipe removes every barrier to entry for the aspiring home baker. You do not need to maintain a temperamental sourdough starter or worry about your kneading technique. Because the dough sits for a long period, the yeast does all the heavy lifting for you, developing a complex flavor and a beautiful structure naturally. The Dutch oven acts as a mini-steam oven, ensuring your bread gets that professional, crunchy crust that is usually impossible to achieve in a standard home setting. It is cost-effective, foolproof, and yields results that look like they came from a high-end artisanal bakery.
Ingredients
- 3 cups (390g) All-purpose flour or Bread flour
- 1 ½ teaspoons Salt
- ½ teaspoon Instant yeast
- 1 ½ cups Warm water (about 100°F)
- Extra flour for dusting
Directions
Step 1: Mix the Dough
In a large mixing bowl, whisk together the flour, salt, and instant yeast until well combined. Pour the warm water into the dry ingredients. Use a sturdy spoon or a spatula to stir the mixture until a shaggy, sticky dough forms. Ensure there are no dry streaks of flour left in the bowl. This process should only take a couple of minutes. Do not worry about the dough looking messy; that is exactly how it should appear at this stage.
Step 2: The Long Rise
Cover the bowl tightly with plastic wrap or a clean kitchen towel. Place the bowl in a draft-free spot at room temperature. Let the dough sit undisturbed for at least 12 hours, though 18 hours is even better for flavor development. During this time, the dough will double in size and become covered in tiny bubbles. This slow fermentation is the secret to the bread’s incredible texture and taste.
Step 3: Preheat and Shape
Place your empty Dutch oven (with the lid on) into the oven and preheat it to 450°F (230°C). While the oven heats, turn the sticky dough out onto a well-floured surface. Gently fold the dough over itself once or twice to form a rough ball. Place the dough onto a piece of parchment paper. Let it rest for about 30 minutes while the Dutch oven reaches full temperature.
Step 4: Bake to Perfection
Carefully remove the hot Dutch oven from the oven. Lift the parchment paper by the edges and lower the dough into the pot. Place the lid back on and bake for 30 minutes. After 30 minutes, remove the lid to reveal the pale loaf. Continue baking uncovered for another 15 minutes, or until the crust is a deep golden brown and sounds hollow when tapped. Lift the bread out and let it cool on a wire rack for at least 30 minutes before slicing.
Expert Tips for Perfect No-Knead Dutch Oven Bread Without Starter Easy Beginner
Use a kitchen scale if you have one, as measuring flour by weight is much more accurate than using cups. Make sure your yeast is fresh; if it does not bubble slightly when mixed with water, your bread will not rise. If you want an extra crispy crust, you can spray a little bit of water into the Dutch oven right before closing the lid. Always let the bread cool completely before cutting into it. Cutting hot bread releases steam too quickly, which can make the inside of the loaf gummy.
Delicious Variations
Once you master the basic loaf, you can easily customize it. Add a tablespoon of dried rosemary and some minced garlic to the dry ingredients for a savory herb loaf. Stir in a cup of sharp cheddar cheese and diced jalapeños for a spicy kick. For a sweeter version, add a handful of raisins and a teaspoon of cinnamon. You can also swap one cup of white flour for whole wheat flour to add a nutty flavor and more fiber to your bread.
Frequently Asked Questions
Can I use active dry yeast instead of instant yeast?
Yes, you can use active dry yeast, but you should dissolve it in the warm water for about five minutes until it becomes foamy before adding it to the flour. This ensures the yeast is active and ready to work.
What if I do not have a Dutch oven?
While a Dutch oven provides the best results due to its heat retention and steam-trapping abilities, you can use any heavy, oven-safe pot with a tight-fitting lid. Ensure the pot and lid are rated for 450°F.
How do I store this bread?
Store the bread at room temperature in a paper bag for up to two days to maintain the crust. If you store it in plastic, the crust will soften. For longer storage, slice the bread and freeze it in a sealed bag.
Why is my dough so sticky?
This recipe uses a high-hydration dough, which is naturally very sticky. Avoid adding too much extra flour when shaping, as the moisture is what creates the beautiful air pockets inside the bread.
Do I have to use parchment paper?
Parchment paper makes it much easier and safer to transfer the dough into the scorching hot Dutch oven. If you do not have it, you can heavily flour the bottom of the pot, but be very careful not to burn yourself.
Conclusion
Making artisan-style bread at home does not have to be a stressful or complicated process. This no-knead Dutch oven method proves that with just four ingredients and a little patience, anyone can create a stunning loaf. Whether you serve it warm with butter or use it for the ultimate grilled cheese sandwich, this bread will quickly become a staple in your kitchen. Start your dough tonight, and you will be enjoying a fresh, crunchy loaf by lunchtime tomorrow!
No-Knead Dutch Oven Bread Without Starter Easy Beginner
- Total Time: 13 hours 15 minutes
- Diet: Vegetarian
Ingredients
Scale
- 3 cups (390g) All-purpose flour or Bread flour
- 1 ½ teaspoons Salt
- ½ teaspoon Instant yeast
- 1 ½ cups Warm water (about 100°F)
- Extra flour for dusting
Instructions
- In a large mixing bowl, whisk together the flour, salt, and instant yeast until well combined. Pour the warm water into the dry ingredients. Use a sturdy spoon or a spatula to stir the mixture until a shaggy, sticky dough forms. Ensure there are no dry streaks of flour left in the bowl. This process should only take a couple of minutes. Do not worry about the dough looking messy; that is exactly how it should appear at this stage.
- Cover the bowl tightly with plastic wrap or a clean kitchen towel. Place the bowl in a draft-free spot at room temperature. Let the dough sit undisturbed for at least 12 hours, though 18 hours is even better for flavor development. During this time, the dough will double in size and become covered in tiny bubbles. This slow fermentation is the secret to the bread’s incredible texture and taste.
- Place your empty Dutch oven (with the lid on) into the oven and preheat it to 450°F (230°C). While the oven heats, turn the sticky dough out onto a well-floured surface. Gently fold the dough over itself once or twice to form a rough ball. Place the dough onto a piece of parchment paper. Let it rest for about 30 minutes while the Dutch oven reaches full temperature.
- Carefully remove the hot Dutch oven from the oven. Lift the parchment paper by the edges and lower the dough into the pot. Place the lid back on and bake for 30 minutes. After 30 minutes, remove the lid to reveal the pale loaf. Continue baking uncovered for another 15 minutes, or until the crust is a deep golden brown and sounds hollow when tapped. Lift the bread out and let it cool on a wire rack for at least 30 minutes before slicing.
- Cook Time: 13 hours 15 minutes