Follow Me On Pinterest!


Imagine walking into your kitchen and smelling the aroma of fresh, bakery-style bread without any of the traditional hard work. This no-knead Dutch oven bread is a total game-changer for beginners. We are skipping the yeast entirely, which means no proofing, no punching down dough, and zero stress about whether your dough will rise. It is the ultimate “emergency” bread recipe that delivers a crispy, golden crust and a soft, tender interior in less than an hour. Whether you are a first-time baker or just short on time, this recipe proves that you do not need a fancy bakery to enjoy a warm, rustic loaf at home.
Recipe Information
- Prep Time: 10 minutes
- Cook Time: 45 minutes
- Total Time: 55 minutes
- Servings: 8 servings
- Difficulty: Easy
Nutrition values
- Calories: 195 kcal
- Protein: 5g
- Carbs: 38g
Why Make This No-Knead Dutch Oven Bread No Yeast Easy Beginner Quick
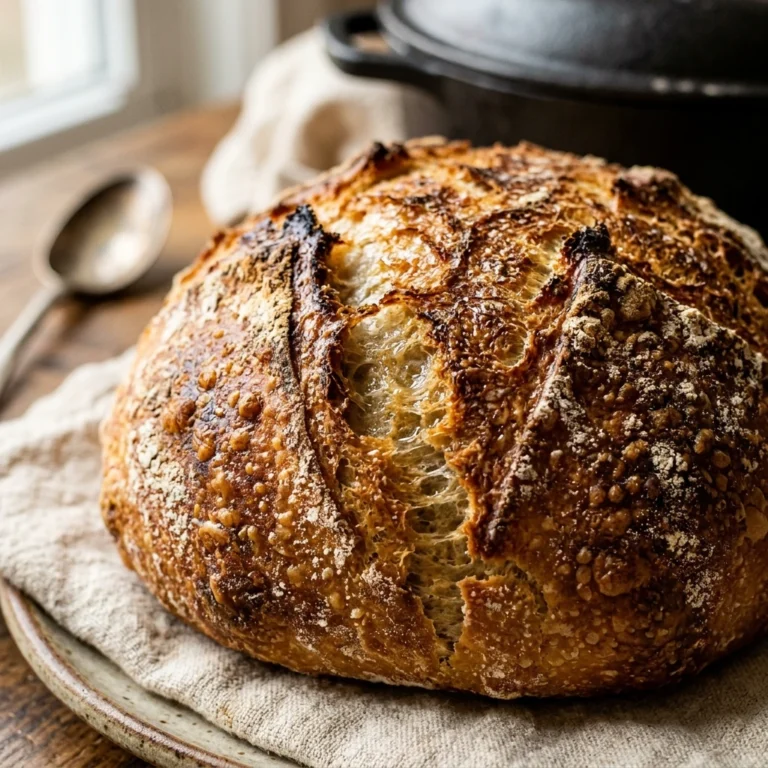
Most artisan bread recipes require hours of waiting and specific temperatures to keep yeast happy. This version removes all those obstacles. Because it uses baking powder and buttermilk for lift, you get an immediate reaction that creates a beautiful crumb without the wait. The Dutch oven does the heavy lifting by trapping steam, which creates that professional-looking, crackly crust everyone loves. It is incredibly budget-friendly, uses pantry staples, and requires absolutely no kneading, saving your arms and your schedule. This is the perfect side dish for soups, stews, or simply slathered with salted butter.
Ingredients
- 3 cups all-purpose flour (plus extra for dusting)
- 1 tablespoon baking powder
- 1 teaspoon salt
- 1.5 cups buttermilk (or 1.5 cups milk mixed with 1.5 tablespoons lemon juice)
- 4 tablespoons melted butter (slightly cooled)
- 1 tablespoon honey or sugar (optional)
Directions
Step 1: Preparation
Place your empty Dutch oven with its lid into the oven and preheat to 425°F (220°C). Letting the pot heat up while the oven warms is crucial for a perfect crust. While the oven preheats, whisk the flour, baking powder, and salt together in a large mixing bowl. Ensure there are no large lumps in the dry mixture so the leavening agent distributes evenly.
Step 2: Mixing the Dough
Create a well in the center of the dry ingredients. Pour in the buttermilk, melted butter, and honey. Use a wooden spoon or a sturdy spatula to stir the mixture until a shaggy dough forms. Do not overmix! Stir just until the flour is moistened. The dough should be sticky and slightly lumpy. Overworking the dough at this stage will make the bread tough rather than fluffy.
Step 3: Cooking
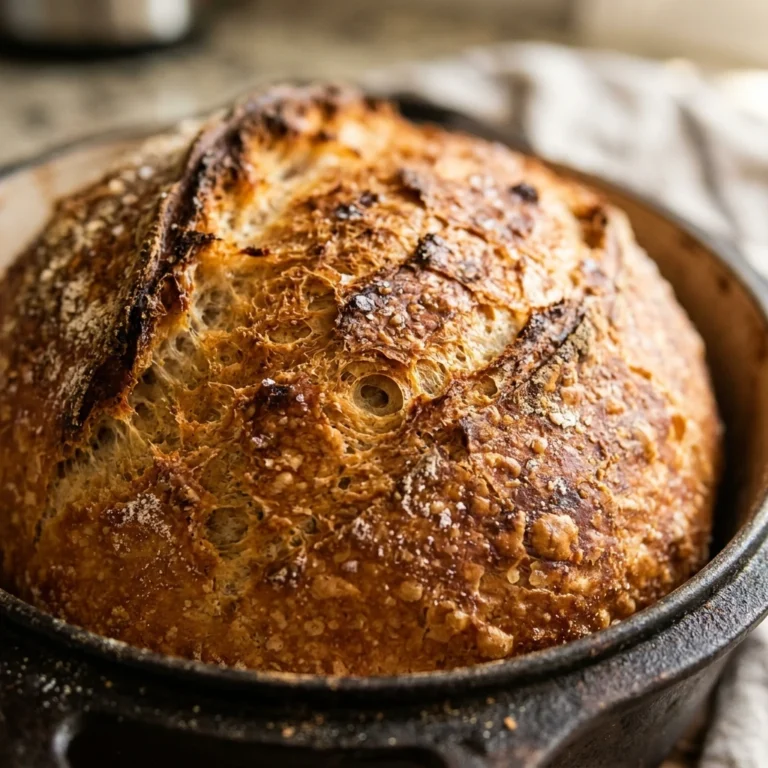
Carefully remove the hot Dutch oven from the oven. Place a piece of parchment paper on your counter and tip the dough onto it. Use floured hands to gently shape it into a rough ball. Lift the parchment paper with the dough and carefully lower it into the hot Dutch oven. Cover with the lid and bake for 30 minutes. After 30 minutes, remove the lid and bake for another 10 to 15 minutes until the top is golden brown and sounds hollow when tapped.
Step 4: Plating
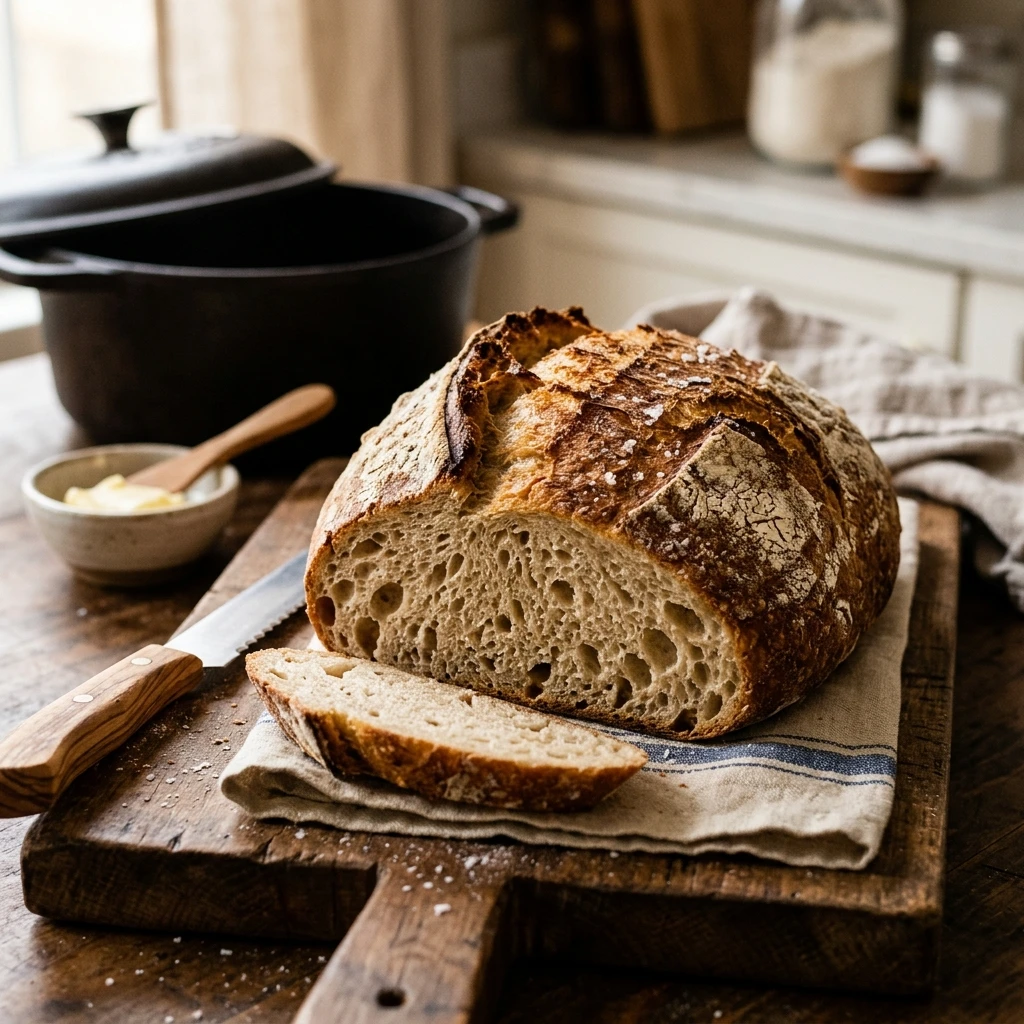
Carefully lift the bread out of the Dutch oven using the parchment paper edges. Transfer the loaf to a wire cooling rack immediately. This prevents the bottom from getting soggy. Let the bread rest for at least 15 minutes before slicing. This allows the internal structure to set. Serve thick slices warm with butter, jam, or your favorite dipping oil.
Expert Tips for Perfect No-Knead Dutch Oven Bread No Yeast Easy Beginner Quick
The secret to a great no-yeast bread is handling the dough as little as possible. When you mix the wet and dry ingredients, stop the moment the flour disappears. If you do not have buttermilk, you can easily make a substitute by adding lemon juice or white vinegar to regular milk and letting it sit for five minutes. Always preheat your Dutch oven; the hit of intense heat when the dough touches the pot is what creates that artisan-style crust. If you want a deeper flavor, add a teaspoon of dried herbs like rosemary or thyme to the dry ingredients.
Delicious Variations
- Garlic and Herb: Add 1 teaspoon of garlic powder and 1 tablespoon of dried Italian seasoning to the flour.
- Cheddar and Jalapeño: Fold in 1/2 cup of shredded sharp cheddar and 2 tablespoons of diced jalapeños before adding the liquid.
- Honey Wheat: Replace 1 cup of all-purpose flour with whole wheat flour and double the honey.
- Everything Bagel: Sprinkle everything bagel seasoning on top of the loaf just before putting the lid on to bake.
Frequently Asked Questions
Can I make this bread without a Dutch oven?
Yes, you can use a heavy oven-safe pot with a tight-fitting lid or even a cast-iron skillet. However, the Dutch oven is best for trapping steam, which results in the superior crust texture.
Why did my bread not rise very much?
Make sure your baking powder is fresh. Baking powder loses its potency over time. Also, ensure you do not overmix the dough, as this can deflate the air bubbles created by the chemical reaction.
Can I use gluten-free flour?
You can use a 1:1 gluten-free baking flour blend. Note that the texture may be slightly denser, and you may need to add an extra tablespoon or two of buttermilk if the dough looks too dry.
How do I store the leftovers?
Store the bread in an airtight bag at room temperature for up to 3 days. To restore the crust’s crunch, toast the slices or pop the loaf back into a 350°F oven for a few minutes.
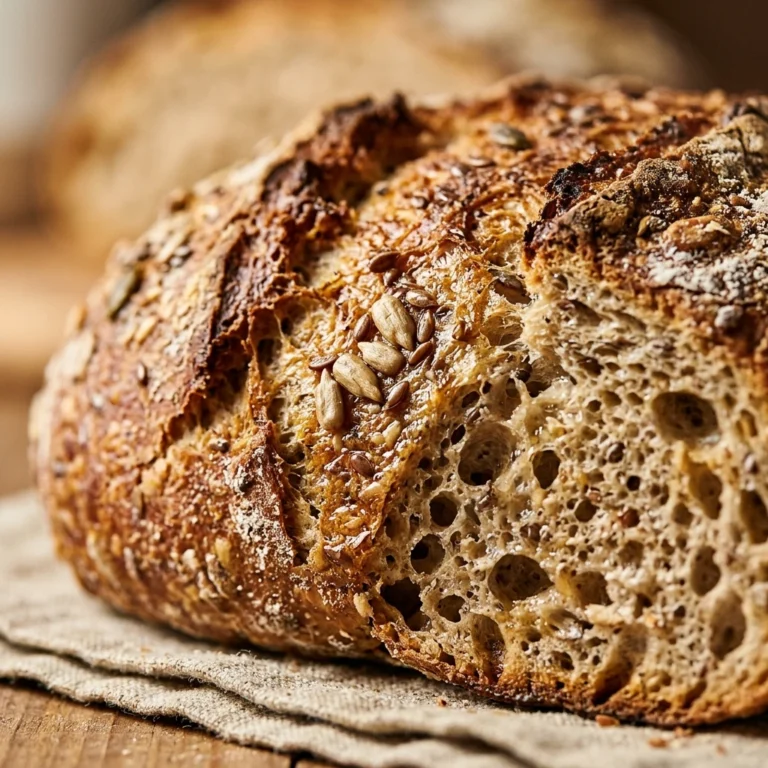
Can I add seeds or nuts to the dough?
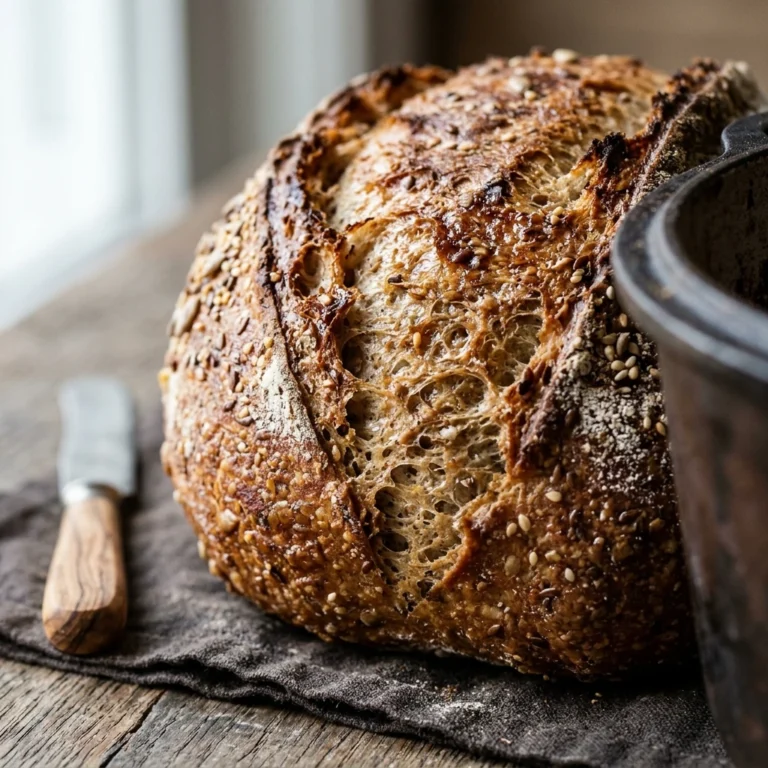
Absolutely! You can add up to 1/2 cup of sunflower seeds, pumpkin seeds, or chopped walnuts. Add them to the dry ingredients before mixing in the liquids to ensure they are distributed evenly.
Conclusion
This no-knead Dutch oven bread without yeast is the perfect entry point for anyone intimidated by traditional bread making. It is fast, foolproof, and produces a result that looks like it came from a professional kitchen. By following these simple steps, you can have fresh, hot bread on your table any night of the week. Give it a try tonight and enjoy the satisfaction of baking your own loaf from scratch!
No-Knead Dutch Oven Bread No Yeast Easy Beginner Quick
- Total Time: 55 minutes
- Diet: Vegetarian
Ingredients
Scale
- 3 cups all-purpose flour (plus extra for dusting)
- 1 tablespoon baking powder
- 1 teaspoon salt
- 1.5 cups buttermilk (or 1.5 cups milk mixed with 1.5 tablespoons lemon juice)
- 4 tablespoons melted butter (slightly cooled)
- 1 tablespoon honey or sugar (optional)
Instructions
- Step 1: Preparation – Place your empty Dutch oven with its lid into the oven and preheat to 425°F (220°C). Letting the pot heat up while the oven warms is crucial for a perfect crust. While the oven preheats, whisk the flour, baking powder, and salt together in a large mixing bowl. Ensure there are no large lumps in the dry mixture so the leavening agent distributes evenly.
- Step 2: Mixing the Dough – Create a well in the center of the dry ingredients. Pour in the buttermilk, melted butter, and honey. Use a wooden spoon or a sturdy spatula to stir the mixture until a shaggy dough forms. Do not overmix! Stir just until the flour is moistened. The dough should be sticky and slightly lumpy. Overworking the dough at this stage will make the bread tough rather than fluffy.
- Step 3: Cooking – Carefully remove the hot Dutch oven from the oven. Place a piece of parchment paper on your counter and tip the dough onto it. Use floured hands to gently shape it into a rough ball. Lift the parchment paper with the dough and carefully lower it into the hot Dutch oven. Cover with the lid and bake for 30 minutes. After 30 minutes, remove the lid and bake for another 10 to 15 minutes until the top is golden brown and sounds hollow when tapped.
- Step 4: Plating – Carefully lift the bread out of the Dutch oven using the parchment paper edges. Transfer the loaf to a wire cooling rack immediately. This prevents the bottom from getting soggy. Let the bread rest for at least 15 minutes before slicing. This allows the internal structure to set. Serve thick slices warm with butter, jam, or your favorite dipping oil.
- Cook Time: 55 minutes