Follow Me On Pinterest!


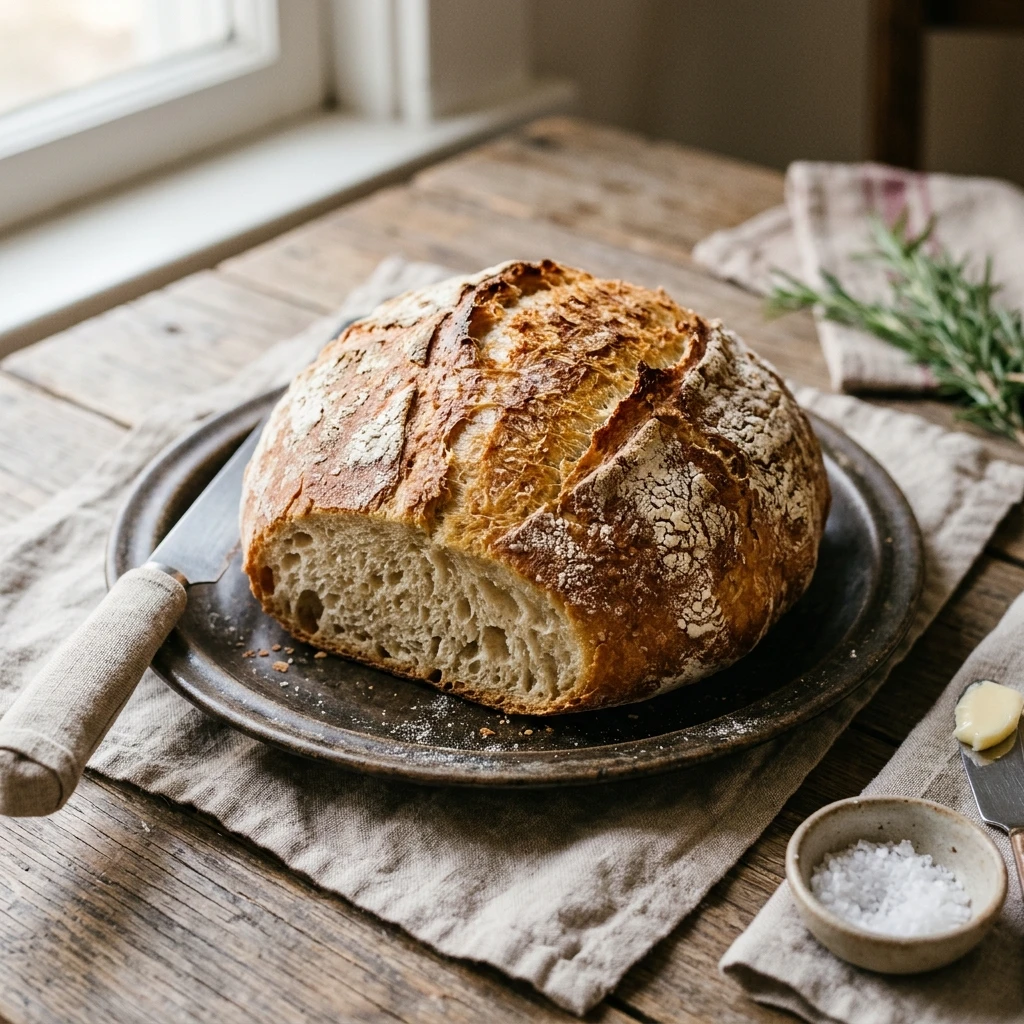
Nothing beats the aroma of freshly baked bread wafting through your home, especially when it requires zero kneading and less than an hour of your time. If you have always felt intimidated by yeast or the long waiting periods associated with artisan loaves, this No-Knead Dutch Oven Quick Bread is your new best friend. It uses simple pantry staples to create a loaf with a shatteringly crisp crust and a soft, tender interior. You do not need a fancy mixer or years of experience—just a bowl, a spoon, and a Dutch oven. Let’s get baking!
Recipe Information
- Prep Time: 10 minutes
- Cook Time: 50 minutes
- Total Time: 60 minutes
- Servings: 8 slices
- Difficulty: Easy
Nutrition values
- Calories: 210 kcal
- Protein: 5g
- Carbs: 42g
Why Make This No-Knead Dutch Oven Quick Bread Easy 1 Hour Beginner
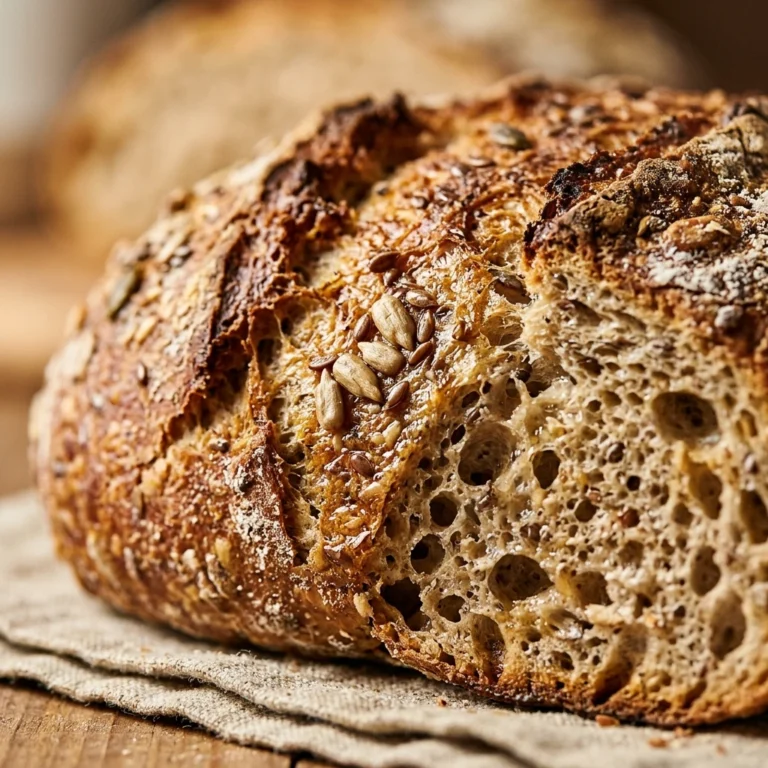
This recipe bridges the gap between a traditional yeast loaf and a quick soda bread. By using a Dutch oven, you trap steam that mimics a professional bakery oven, ensuring a golden, crunchy crust every time. It is perfect for beginners because it eliminates the technical skills of kneading and proofing. Whether you need a side for a cozy soup or a base for avocado toast, this bread delivers high-quality results with minimal effort. It is fast enough to make on a weeknight and impressive enough for Sunday dinner.
Ingredients
- 3 cups all-purpose flour (plus extra for dusting)
- 1 tablespoon baking powder
- 1 teaspoon salt
- 1 tablespoon granulated sugar or honey
- 1.5 cups lukewarm water (about 105°F)
- 2 tablespoons melted butter (optional, for the crust)
- 1/2 teaspoon garlic powder (optional)
Directions
Step 1: Preparation
Start by preheating your oven to 425°F (220°C). Place your empty Dutch oven (with the lid on) inside the oven while it heats up. This “pre-searing” of the pot is the secret to a perfect crust. Meanwhile, whisk the flour, baking powder, salt, and sugar in a large mixing bowl until well combined.
Step 2: Mixing the Dough
Make a well in the center of the dry ingredients and pour in the lukewarm water. Use a sturdy wooden spoon or a spatula to stir the mixture until a shaggy dough forms. Do not overmix; stop as soon as the flour is no longer visible. The dough will be sticky and thick, which is exactly what you want for a rustic texture.
Step 3: Shaping and Baking
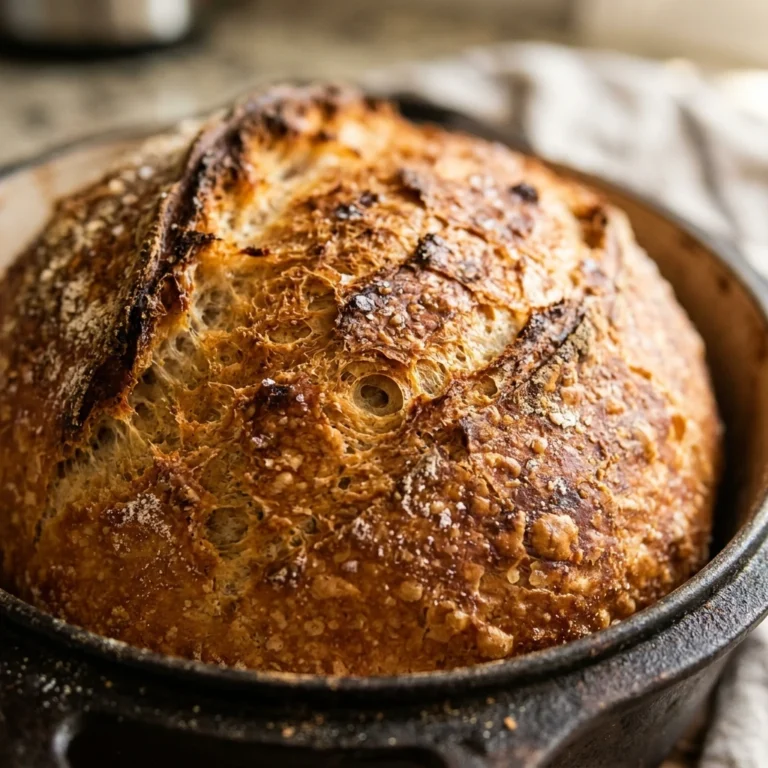
Carefully remove the hot Dutch oven from the oven. Place a piece of parchment paper on your counter, dust it lightly with flour, and transfer the dough onto it. Use floured hands to gently shape it into a rough ball. Lift the parchment paper and the dough together and drop them into the hot Dutch oven. Cover with the lid and bake for 30 minutes. After 30 minutes, remove the lid and bake for another 15 to 20 minutes until the top is deeply golden brown.
Step 4: Cooling and Serving
Once the bread sounds hollow when tapped on the bottom, remove it from the oven. Brush the top with melted butter if you want a softer, richer crust. Let the bread cool on a wire rack for at least 10 minutes before slicing. This resting period allows the internal structure to set so the bread doesn’t become gummy when cut.
Expert Tips for Perfect No-Knead Dutch Oven Quick Bread Easy 1 Hour Beginner
Always measure your flour correctly by spooning it into the measuring cup and leveling it off with a knife. Packing the flour can result in a dense, heavy loaf. To get the best rise, ensure your baking powder is fresh; if it has been in your pantry for over six months, it might be time for a new jar. If you want an even crispier crust, toss a few ice cubes into the bottom of the oven (not the Dutch oven) to create extra steam during the first 10 minutes of baking.
Delicious Variations
- Rosemary Garlic: Fold in 1 tablespoon of dried rosemary and 2 cloves of minced garlic during the mixing stage.
- Cheddar Jalapeño: Add 1 cup of shredded sharp cheddar and 1/4 cup of diced pickled jalapeños to the dry ingredients.
- Everything Bagel: Sprinkle 2 tablespoons of everything bagel seasoning on top of the loaf right before putting the lid on.
- Honey Whole Wheat: Replace 1 cup of all-purpose flour with whole wheat flour and use honey as your sweetener.
Frequently Asked Questions
Do I have to use a Dutch oven?
A Dutch oven is highly recommended because it traps steam, which is essential for that artisan-style crust. However, you can use a heavy oven-safe pot with a tight-fitting lid or even a Pyrex glass casserole dish with a lid if necessary.
Can I use yeast instead of baking powder?
This specific “quick bread” version relies on baking powder for a 1-hour turnaround. If you use yeast, you will need to allow the dough to rise for at least 1 to 2 hours, which changes the timing and texture of the recipe.
Why is my bread dense?
Density usually happens if you overmix the dough or use too much flour. Mix just until the flour streaks disappear, and remember that the dough should be quite sticky.
How do I store the leftovers?
Keep the bread in a paper bag at room temperature for up to 2 days to maintain the crust. For longer storage, wrap it tightly in plastic and freeze for up to 3 months. Avoid refrigerating bread, as it dries out the crumb.
Can I make this gluten-free?
You can substitute a high-quality 1:1 gluten-free baking flour blend. Note that the texture may be slightly different and you might need a tablespoon more water to account for the absorbency of gluten-free grains.
Conclusion
Mastering homemade bread does not have to be a multi-day project. This No-Knead Dutch Oven Quick Bread proves that with just an hour and a few basic ingredients, anyone can produce a bakery-quality loaf. It is the perfect entry point for beginners and a reliable staple for seasoned cooks. Slice it thick, slather it with butter, and enjoy the satisfaction of baking your own bread from scratch!

No-Knead Dutch Oven Quick Bread Easy 1 Hour Beginner
- Total Time: 1 hour
- Diet: Vegetarian
Ingredients
Scale
- 3 cups all-purpose flour (plus extra for dusting)
- 1 tablespoon baking powder
- 1 teaspoon salt
- 1 tablespoon granulated sugar or honey
- 1.5 cups lukewarm water (about 105°F)
- 2 tablespoons melted butter (optional, for the crust)
- 1/2 teaspoon garlic powder (optional)
Instructions
- Start by preheating your oven to 425°F (220°C). Place your empty Dutch oven (with the lid on) inside the oven while it heats up. This “pre-searing” of the pot is the secret to a perfect crust. Meanwhile, whisk the flour, baking powder, salt, and sugar in a large mixing bowl until well combined.
- Make a well in the center of the dry ingredients and pour in the lukewarm water. Use a sturdy wooden spoon or a spatula to stir the mixture until a shaggy dough forms. Do not overmix; stop as soon as the flour is no longer visible. The dough will be sticky and thick, which is exactly what you want for a rustic texture.
- Carefully remove the hot Dutch oven from the oven. Place a piece of parchment paper on your counter, dust it lightly with flour, and transfer the dough onto it. Use floured hands to gently shape it into a rough ball. Lift the parchment paper and the dough together and drop them into the hot Dutch oven. Cover with the lid and bake for 30 minutes. After 30 minutes, remove the lid and bake for another 15 to 20 minutes until the top is deeply golden brown.
- Once the bread sounds hollow when tapped on the bottom, remove it from the oven. Brush the top with melted butter if you want a softer, richer crust. Let the bread cool on a wire rack for at least 10 minutes before slicing. This resting period allows the internal structure to set so the bread doesn’t become gummy when cut.
- Cook Time: 60 minutes