Follow Me On Pinterest!


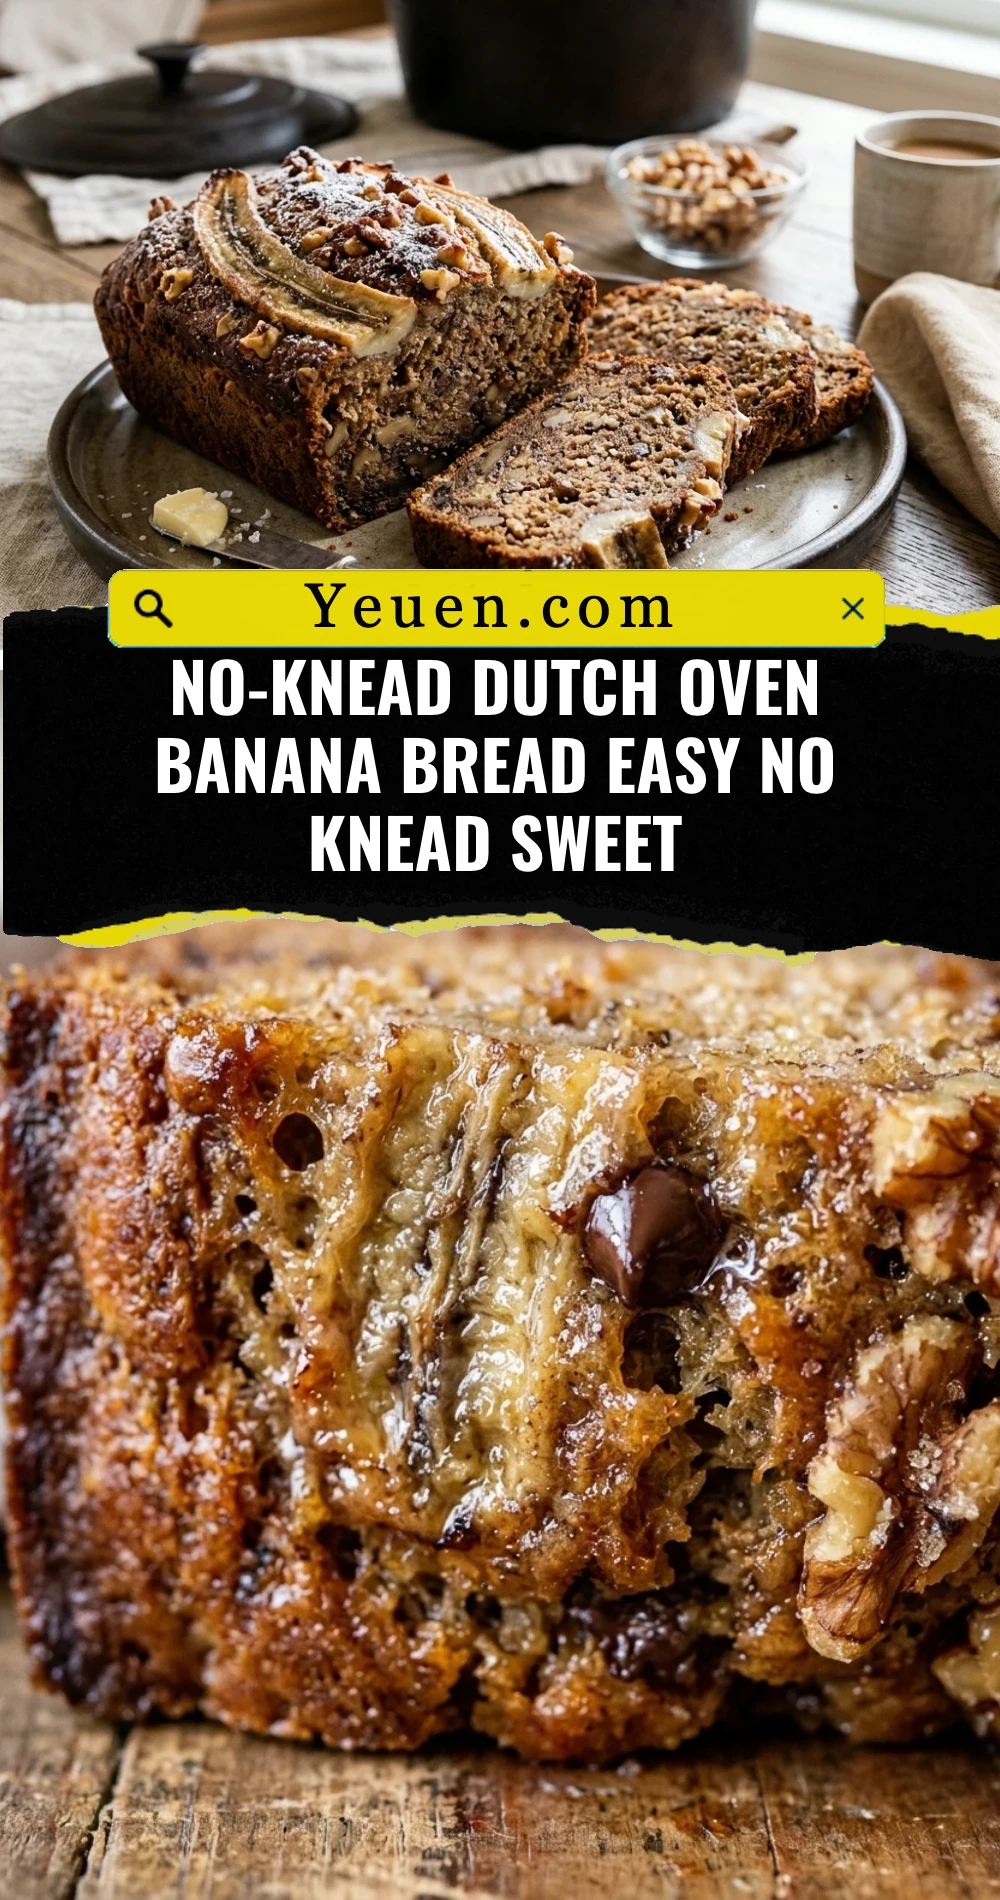
Imagine the cozy aroma of ripening bananas meeting the rustic, crusty soul of an artisan loaf. This No-Knead Dutch Oven Banana Bread is the ultimate hybrid recipe for those who love the sweetness of banana bread but crave the hearty, chewy texture of a bakery-style boule. By using the Dutch oven method, you create a pressurized environment that yields a golden, crackly crust while keeping the inside incredibly moist and tender. You don’t need a stand mixer, you don’t need to get your hands messy with kneading, and you certainly don’t need any professional baking skills. Just mix, wait, and bake your way to the most impressive loaf of sweet bread you’ve ever tasted.
Recipe Information
- Prep Time: 15 minutes (plus 2 hours rising time)
- Cook Time: 50 minutes
- Total Time: 3 hours 5 minutes
- Servings: 10 slices
- Difficulty: Easy
Nutrition values
- Calories: 245 kcal
- Protein: 5g
- Carbs: 48g
Why Make This No-Knead Dutch Oven Banana Bread Easy No Knead Sweet
This recipe is a game-changer because it eliminates the tedious work of traditional bread making. If you have overripe bananas sitting on your counter and a Dutch oven gathering dust, this is your sign to combine them. The Dutch oven mimics a professional steam oven, which gives the bread a distinct crust that you simply can’t get in a standard loaf pan. It is incredibly forgiving, requires minimal cleanup, and the slow fermentation of the yeast creates a depth of flavor that quick breads just can’t match. It’s the perfect balance of a morning treat and a rustic table loaf.
Ingredients
- 3 large overripe bananas, mashed (about 1.5 cups)
- 3 cups all-purpose flour (plus extra for dusting)
- 1/4 cup granulated sugar
- 1/4 cup brown sugar, packed
- 1 teaspoon salt
- 1/2 teaspoon ground cinnamon
- 2 1/4 teaspoons instant yeast (1 packet)
- 1/2 cup warm water (about 110°F)
- 1 teaspoon vanilla extract
- Optional: 1/2 cup chopped walnuts or chocolate chips
Directions
Step 1: Mix the Dough
In a large mixing bowl, whisk together the flour, granulated sugar, brown sugar, salt, cinnamon, and instant yeast. In a separate smaller bowl, mash the bananas until smooth. Add the mashed bananas, warm water, and vanilla extract to the dry ingredients. Use a sturdy wooden spoon or spatula to stir everything together until a shaggy, sticky dough forms. Ensure there are no dry pockets of flour left at the bottom of the bowl. If you are adding nuts or chocolate chips, fold them in now.
Step 2: The First Rise
Cover the bowl tightly with plastic wrap or a clean, damp kitchen towel. Place the bowl in a warm, draft-free spot in your kitchen. Let the dough rise for about 2 hours, or until it has roughly doubled in size. The dough will look bubbly and very soft. Do not be tempted to punch it down; we want to keep those air bubbles intact for a light interior.
Step 3: Preheat the Dutch Oven
About 30 minutes before the dough is finished rising, place your empty Dutch oven (with the lid on) into the oven. Preheat the oven to 425°F (218°C). Heating the pot is crucial for creating that signature crusty exterior. While the pot heats, turn the dough out onto a well-floured piece of parchment paper. Gently shape it into a round ball using floured hands. Let it rest on the parchment paper while the oven finishes preheating.
Step 4: The Baking Process
Carefully remove the hot Dutch oven from the oven. Lift the parchment paper by the corners and lower the dough (and the paper) into the pot. Be extremely careful as the pot is very hot. Place the lid back on and bake for 30 minutes. After 30 minutes, remove the lid and bake for another 15 to 20 minutes. This allows the crust to turn a deep golden brown and become crispy.
Step 5: Cooling and Slicing
Lift the bread out of the Dutch oven using the parchment paper edges. Transfer the loaf to a wire cooling rack. Resist the urge to slice it immediately! Let the bread cool for at least 30 minutes. This allows the internal structure to set so the bread doesn’t become gummy. Slice with a serrated knife and serve with plenty of salted butter.
Expert Tips for Perfect No-Knead Dutch Oven Banana Bread Easy No Knead Sweet
For the best results, use bananas that are covered in black spots; they provide the most moisture and sweetness. If your dough seems too wet to handle, don’t panic—high hydration is what makes the inside soft. Use plenty of flour on your hands and the parchment paper. Make sure your water isn’t too hot, or you might kill the yeast; it should feel like lukewarm bathwater. Finally, always preheat your Dutch oven for at least 30 minutes to ensure the heat is evenly distributed before the dough goes in.

Delicious Variations
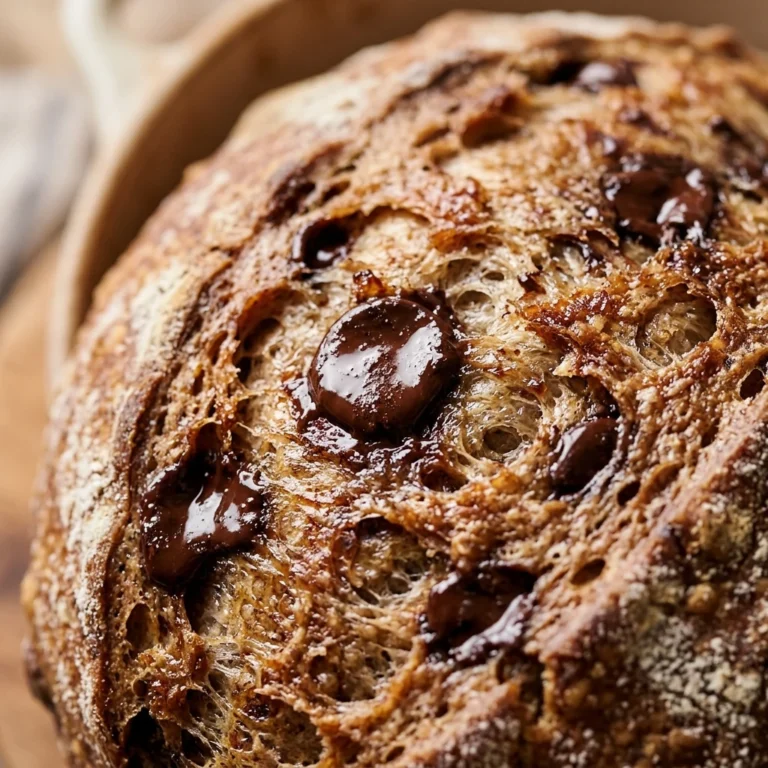
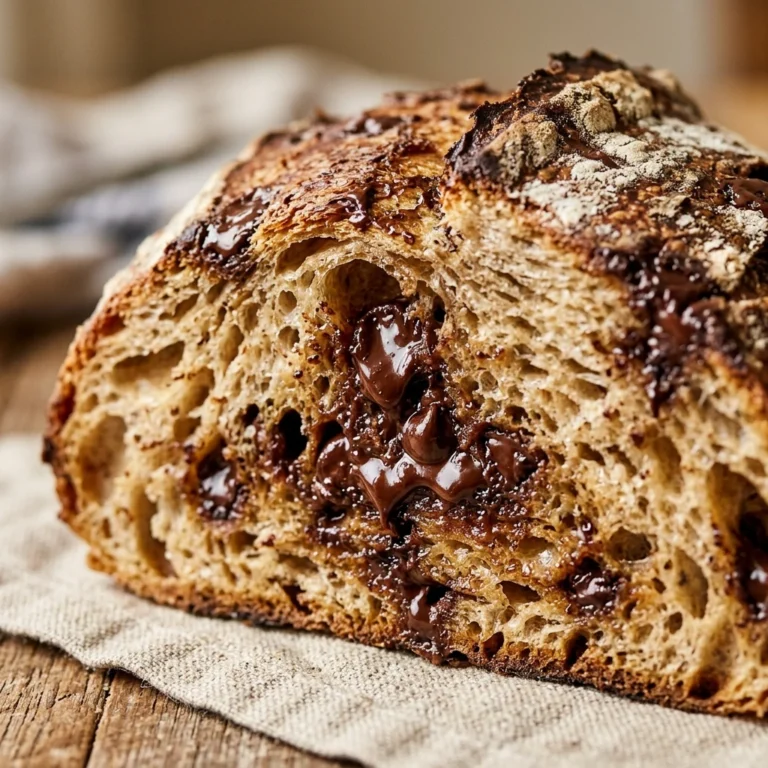
- Chocolate Lovers: Fold in 3/4 cup of dark chocolate chunks for a decadent dessert-style bread.
- Honey Nut: Replace the granulated sugar with 1/3 cup of honey and add 1/2 cup of toasted pecans.
- Spiced Apple: Add half a cup of finely diced Granny Smith apples and an extra 1/2 teaspoon of nutmeg.
- Tropical Twist: Stir in 1/4 cup of shredded coconut and use coconut milk instead of water.
Frequently Asked Questions
Do I have to use a Dutch oven?
While a Dutch oven is highly recommended for the best crust, you can use a heavy oven-safe pot with a tight-fitting lid. If you use a regular loaf pan, the texture will be softer and more like a traditional quick bread.
Can I use frozen bananas?
Yes! Thaw them completely and include all the liquid that releases from them, as that contains a lot of flavor and sugar. Ensure they are at room temperature before mixing.
How do I store this bread?
Store leftovers in an airtight container at room temperature for up to 3 days. For longer storage, slice the bread and freeze it in a freezer bag for up to 3 months. Toast slices directly from the freezer.
What if I only have Active Dry Yeast?
You can use Active Dry Yeast, but you must “bloom” it first. Mix the yeast with the warm water and a pinch of the sugar, let it sit for 5-10 minutes until foamy, then add it to the other ingredients.
Is this bread sweet like cake?
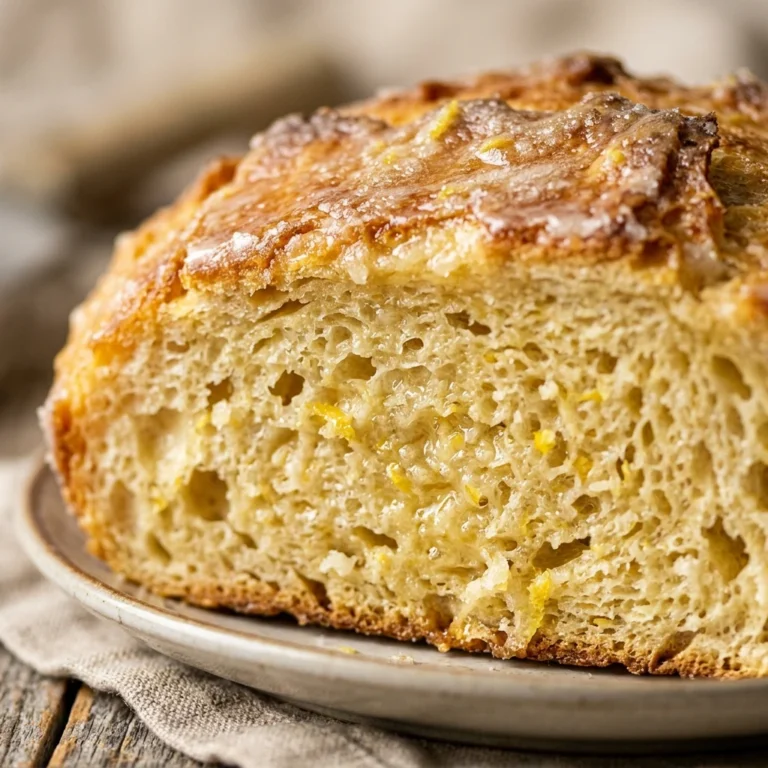
It is less sweet than a traditional banana tea cake and has the texture of a sourdough or artisan loaf. It’s perfect for toasting and spreading with jam or honey.
Conclusion
This No-Knead Dutch Oven Banana Bread is the perfect bridge between a sweet treat and a hearty artisan loaf. It proves that you don’t need to be a master baker to produce a professional-quality loaf at home. With just a few pantry staples and some patience, you’ll have a crusty, fragrant, and delicious bread that will impress your family and friends. Give it a try this weekend and enjoy the simple magic of no-knead baking!
No-Knead Dutch Oven Banana Bread Easy No Knead Sweet
- Total Time: 3 hours 5 minutes
- Diet: Vegetarian
Ingredients
Scale
- 3 large overripe bananas, mashed (about 1.5 cups)
- 3 cups all-purpose flour (plus extra for dusting)
- 1/4 cup granulated sugar
- 1/4 cup brown sugar, packed
- 1 teaspoon salt
- 1/2 teaspoon ground cinnamon
- 2 1/4 teaspoons instant yeast (1 packet)
- 1/2 cup warm water (about 110°F)
- 1 teaspoon vanilla extract
- Optional: 1/2 cup chopped walnuts or chocolate chips
Instructions
- In a large mixing bowl, whisk together the flour, granulated sugar, brown sugar, salt, cinnamon, and instant yeast. In a separate smaller bowl, mash the bananas until smooth. Add the mashed bananas, warm water, and vanilla extract to the dry ingredients. Use a sturdy wooden spoon or spatula to stir everything together until a shaggy, sticky dough forms. Ensure there are no dry pockets of flour left at the bottom of the bowl. If you are adding nuts or chocolate chips, fold them in now.
- Cover the bowl tightly with plastic wrap or a clean, damp kitchen towel. Place the bowl in a warm, draft-free spot in your kitchen. Let the dough rise for about 2 hours, or until it has roughly doubled in size. The dough will look bubbly and very soft. Do not be tempted to punch it down; we want to keep those air bubbles intact for a light interior.
- About 30 minutes before the dough is finished rising, place your empty Dutch oven (with the lid on) into the oven. Preheat the oven to 425°F (218°C). Heating the pot is crucial for creating that signature crusty exterior. While the pot heats, turn the dough out onto a well-floured piece of parchment paper. Gently shape it into a round ball using floured hands. Let it rest on the parchment paper while the oven finishes preheating.
- Carefully remove the hot Dutch oven from the oven. Lift the parchment paper by the corners and lower the dough (and the paper) into the pot. Be extremely careful as the pot is very hot. Place the lid back on and bake for 30 minutes. After 30 minutes, remove the lid and bake for another 15 to 20 minutes. This allows the crust to turn a deep golden brown and become crispy.
- Lift the bread out of the Dutch oven using the parchment paper edges. Transfer the loaf to a wire cooling rack. Resist the urge to slice it immediately! Let the bread cool for at least 30 minutes. This allows the internal structure to set so the bread doesn’t become gummy. Slice with a serrated knife and serve with plenty of salted butter.
- Cook Time: 3 hours 5 minutes