Follow Me On Pinterest!


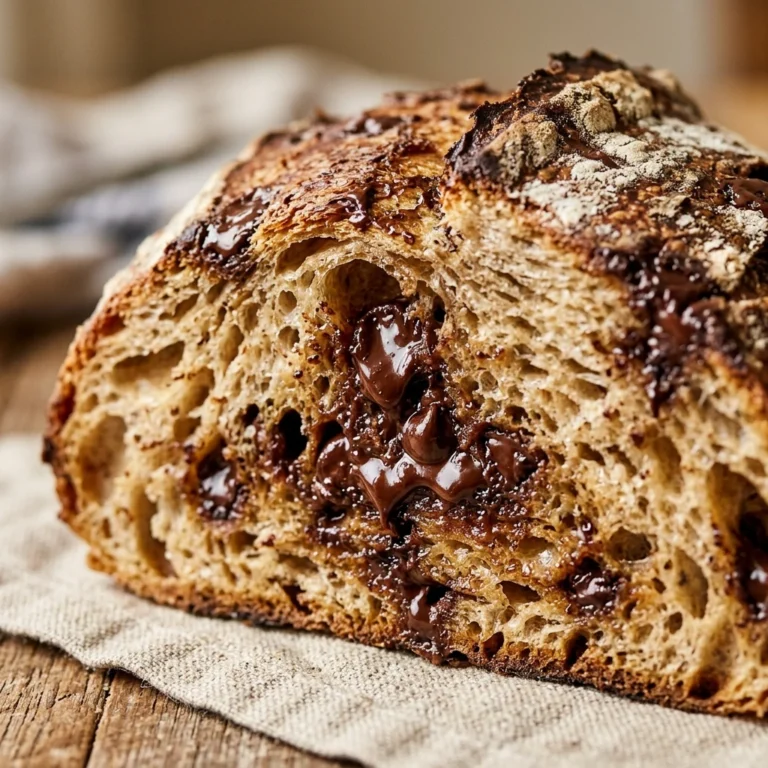
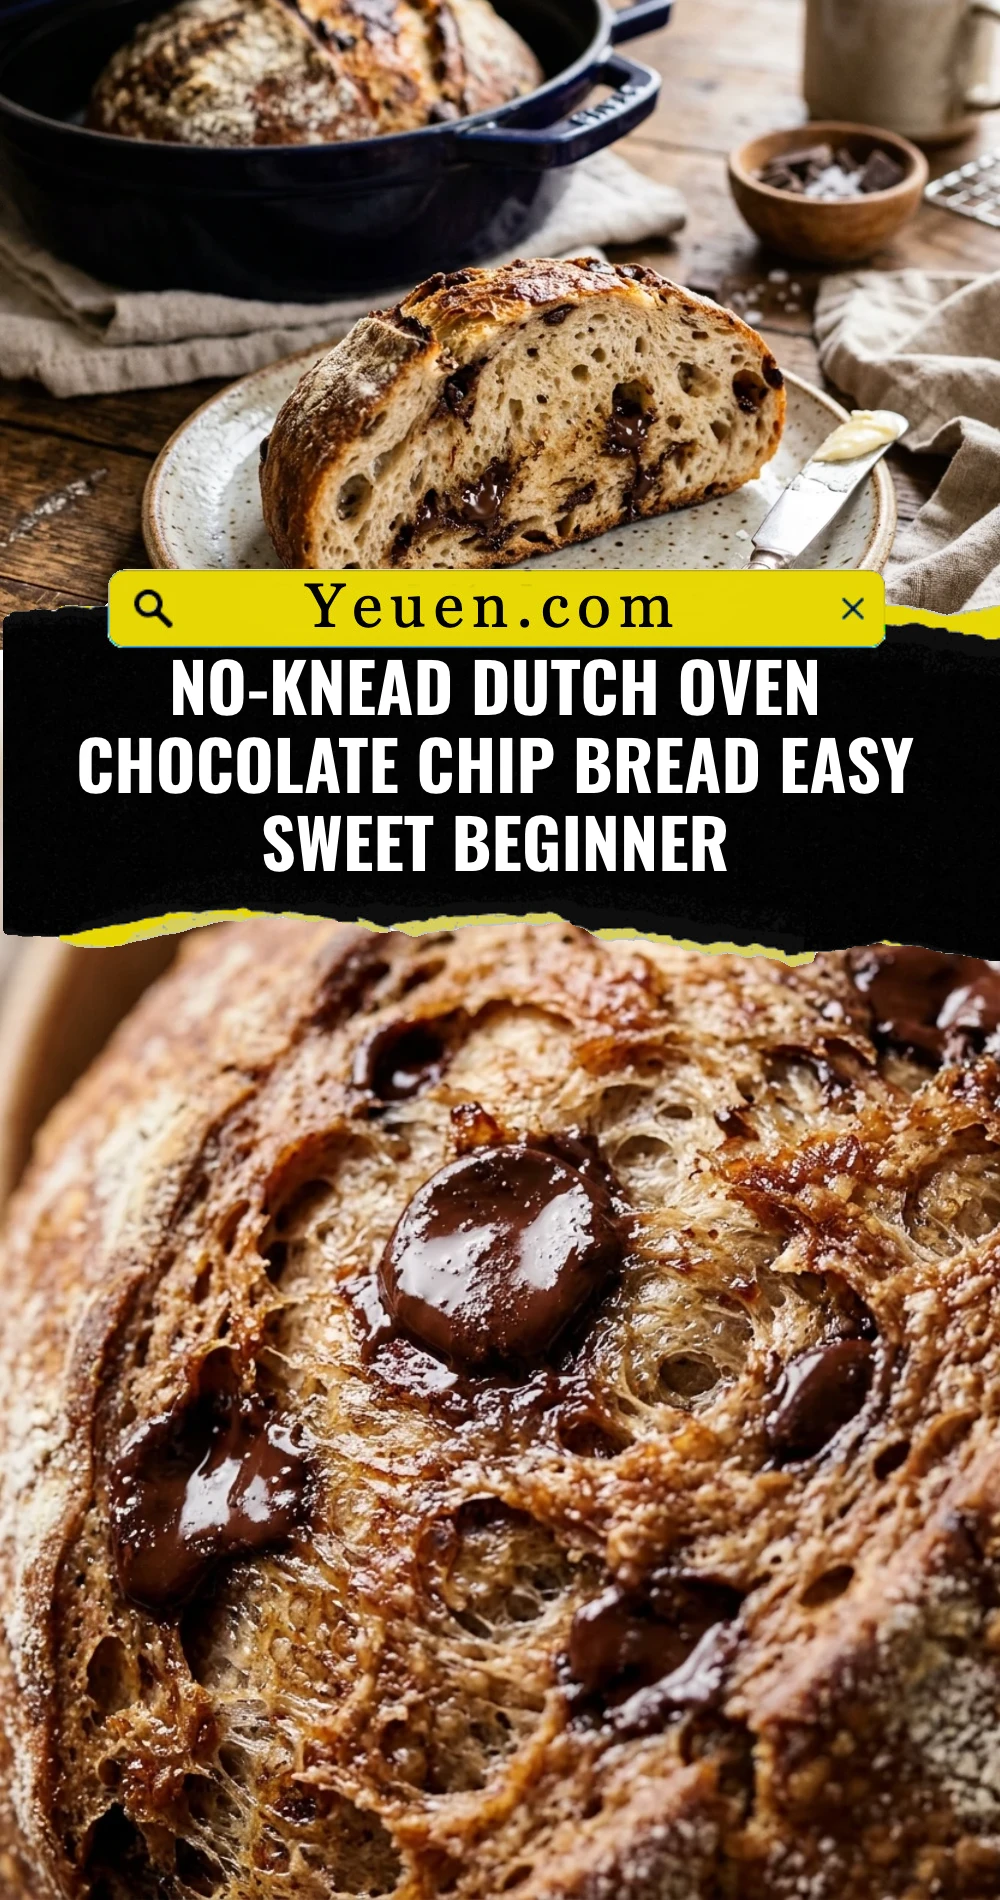
Imagine waking up to the aroma of freshly baked bread mingling with the rich, sweet scent of melting chocolate. If you have ever felt intimidated by the thought of working with yeast or kneading dough for hours, this recipe is your golden ticket to bakery-quality results at home. This No-Knead Dutch Oven Chocolate Chip Bread is designed for the absolute beginner who wants a crusty, artisan loaf without the physical labor or complicated equipment. By letting time do the work for you, the dough develops a complex flavor and a perfect airy crumb, while the pockets of dark chocolate turn a simple loaf into a decadent treat.
Recipe Information
- Prep Time: 15 minutes (plus 12-18 hours rising time)
- Cook Time: 45 minutes
- Total Time: 19 hours
- Servings: 10 servings
- Difficulty: Easy
Nutrition values
- Calories: 285 kcal per slice
- Protein: 6g
- Carbs: 52g
Why Make This No-Knead Dutch Oven Chocolate Chip Bread Easy Sweet Beginner
This recipe is a must-try because it removes every barrier to entry for new bakers. You do not need a stand mixer, a bread machine, or strong forearms. The Dutch oven acts as a mini-steam chamber, giving you that elusive “shatter-crisp” crust that usually requires a professional oven. Adding chocolate chips transforms the bread from a standard side dish into a versatile snack that pairs perfectly with morning coffee or a glass of cold milk at night. It is low-maintenance, high-reward, and incredibly impressive to serve to guests.
Ingredients
- 3 cups all-purpose flour (plus extra for dusting)
- 1 ½ cups warm water (about 110°F)
- 1 teaspoon active dry yeast
- 1 ½ teaspoons sea salt
- 2 tablespoons granulated sugar (to enhance the chocolate)
- 1 cup semi-sweet or dark chocolate chips
- 1 teaspoon vanilla extract (optional for extra depth)
Directions
Step 1: Mixing the Dough
In a large mixing bowl, whisk together the flour, salt, sugar, and active dry yeast. Add the chocolate chips and toss them in the dry mixture to ensure they are coated in flour. Pour in the warm water and vanilla extract. Use a sturdy wooden spoon or a spatula to stir everything together until a shaggy, sticky ball forms and no dry flour remains. Do not worry about the appearance; it will look messy and wet, which is exactly what you want for a no-knead recipe.
Step 2: The Long Rise
Cover the bowl tightly with plastic wrap or a beeswax wrap to prevent the dough from drying out. Place the bowl in a draft-free spot at room temperature. Let it sit for at least 12 hours, though 18 hours is even better. During this time, you will see the dough double in size and become dotted with bubbles. This slow fermentation process replaces the need for kneading and builds a beautiful structure and flavor.
Step 3: Preheating and Shaping
Once the dough has risen, place your empty Dutch oven (with the lid on) into the oven and preheat it to 450°F (230°C). While the pot heats up, turn the sticky dough out onto a well-floured surface. Gently fold the edges toward the center to form a rough ball. Place the dough onto a piece of parchment paper, cover it with a kitchen towel, and let it rest for 30 minutes while the Dutch oven reaches temperature.
Step 4: Baking the Bread
Carefully remove the hot Dutch oven from the oven. Lift the parchment paper by the corners and lower the dough into the pot. Cover with the lid and bake for 30 minutes. The trapped steam will help the bread rise and create a thin, crispy crust. After 30 minutes, remove the lid and bake for an additional 12-15 minutes. This final stage browns the crust and ensures the chocolate chips on the surface get slightly toasty.
Step 5: Cooling and Slicing
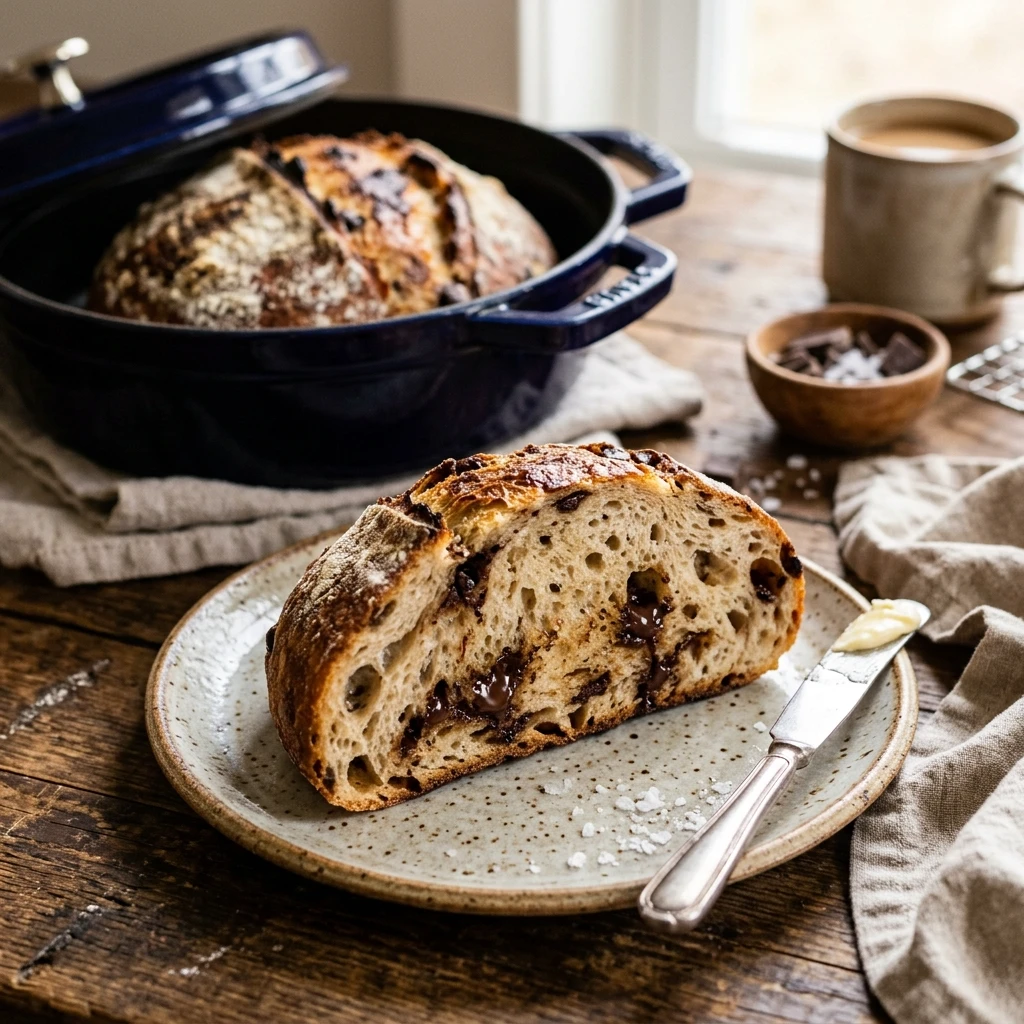
Lift the bread out of the Dutch oven using the parchment paper and place it on a wire cooling rack. This is the hardest part: wait at least 30 to 45 minutes before slicing. If you cut into it too early, the steam escapes and the crumb can become gummy. Plus, the melted chocolate needs a moment to set so it doesn’t smear everywhere when you slice it.
Expert Tips for Perfect No-Knead Dutch Oven Chocolate Chip Bread Easy Sweet Beginner
To get the best results, use a heavy cast iron Dutch oven because it retains heat more efficiently than thinner pots. If your kitchen is particularly cold, your dough might need the full 18 hours to rise properly. Always measure your flour using the “spoon and level” method rather than scooping directly with the measuring cup to avoid a dense loaf. Finally, high-quality chocolate chips or even chopped chocolate bars make a massive difference in flavor compared to budget brands.
Delicious Variations
- Cinnamon Spice: Add 1 tablespoon of ground cinnamon to the flour for a classic cinnamon-chocolate flavor profile.
- Orange Zest: Mix in the zest of one large orange to create a sophisticated, citrusy contrast to the chocolate.
- Nutty Crunch: Add ½ cup of chopped walnuts or pecans for extra texture and a savory note.
- White Chocolate and Cranberry: Swap half the chocolate chips for white chocolate and add ½ cup of dried cranberries for a festive twist.
Frequently Asked Questions
Can I use bread flour instead of all-purpose?
Yes, you can substitute bread flour 1:1. Bread flour has more protein, which will result in a slightly chewier, taller loaf with a more robust structure.
What if I don’t have a Dutch oven?
You can use any heavy, oven-safe pot with a tight-fitting lid, such as a ceramic casserole dish. If your lid isn’t perfectly tight, you can cover the pot with heavy-duty aluminum foil before putting the lid on.
Can I let the dough rise in the fridge?
Yes. If you cannot bake it after 18 hours, you can put the dough in the fridge for up to 3 days. Cold fermentation actually improves the flavor even more. Just let it come to room temperature for 2 hours before shaping and baking.
Will the chocolate chips melt and burn?
The chips inside the dough stay moist and gooey. The chips on the very surface might get quite dark, but they shouldn’t burn as long as you follow the baking times. If you are worried, you can push the surface chips slightly into the dough.
How do I store this bread?
Store the bread at room temperature in a paper bag or a bread box for up to 2 days. Avoid plastic bags as they make the crust soft. For longer storage, slice the bread and freeze it in a freezer-safe bag; toast the slices directly from the freezer.
Conclusion
This No-Knead Dutch Oven Chocolate Chip Bread proves that you do not need to be a professional baker to create something extraordinary. With just a few basic ingredients and a bit of patience, you can pull a steaming, chocolate-filled loaf out of your own oven. It is the perfect entry point into the world of bread making, offering a foolproof path to success. Give this recipe a try this weekend, and enjoy the simple pleasure of a warm, homemade slice of chocolatey goodness.
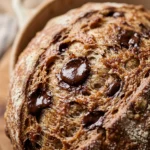
No-Knead Dutch Oven Chocolate Chip Bread Easy Sweet Beginner
- Total Time: 19 hours
- Diet: Vegetarian
Ingredients
Scale
- 3 cups all-purpose flour (plus extra for dusting)
- 1 ½ cups warm water (about 110°F)
- 1 teaspoon active dry yeast
- 1 ½ teaspoons sea salt
- 2 tablespoons granulated sugar (to enhance the chocolate)
- 1 cup semi-sweet or dark chocolate chips
- 1 teaspoon vanilla extract (optional for extra depth)
Instructions
- In a large mixing bowl, whisk together the flour, salt, sugar, and active dry yeast. Add the chocolate chips and toss them in the dry mixture to ensure they are coated in flour. Pour in the warm water and vanilla extract. Use a sturdy wooden spoon or a spatula to stir everything together until a shaggy, sticky ball forms and no dry flour remains.
- Cover the bowl tightly with plastic wrap or a beeswax wrap to prevent the dough from drying out. Place the bowl in a draft-free spot at room temperature. Let it sit for at least 12 hours, though 18 hours is even better.
- Once the dough has risen, place your empty Dutch oven (with the lid on) into the oven and preheat it to 450°F (230°C). While the pot heats up, turn the sticky dough out onto a well-floured surface. Gently fold the edges toward the center to form a rough ball. Place the dough onto a piece of parchment paper, cover it with a kitchen towel, and let it rest for 30 minutes while the Dutch oven reaches temperature.
- Carefully remove the hot Dutch oven from the oven. Lift the parchment paper by the corners and lower the dough into the pot. Cover with the lid and bake for 30 minutes. After 30 minutes, remove the lid and bake for an additional 12-15 minutes.
- Lift the bread out of the Dutch oven using the parchment paper and place it on a wire cooling rack. Wait at least 30 to 45 minutes before slicing.
- Cook Time: 19 hours