Follow Me On Pinterest!


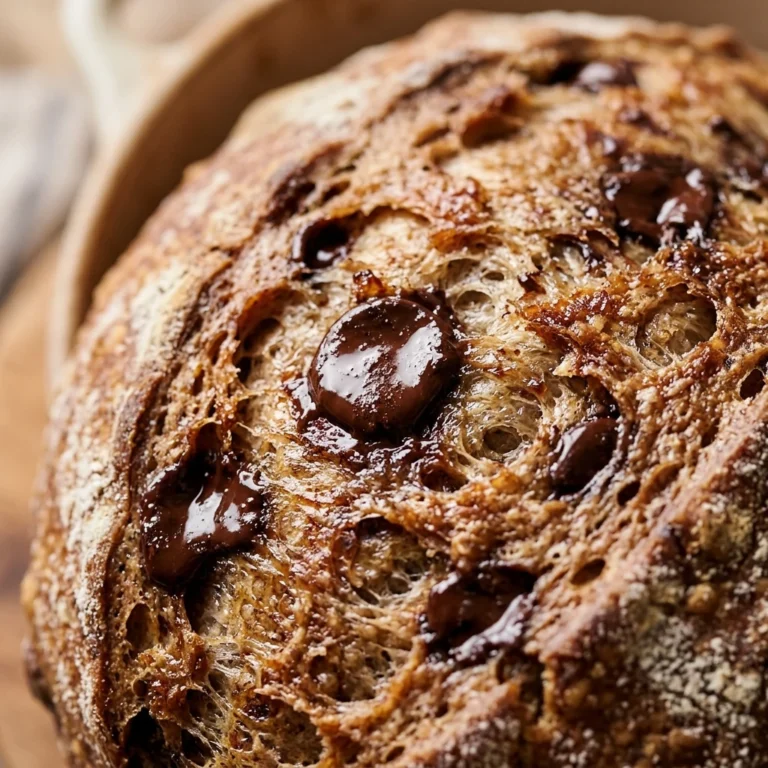
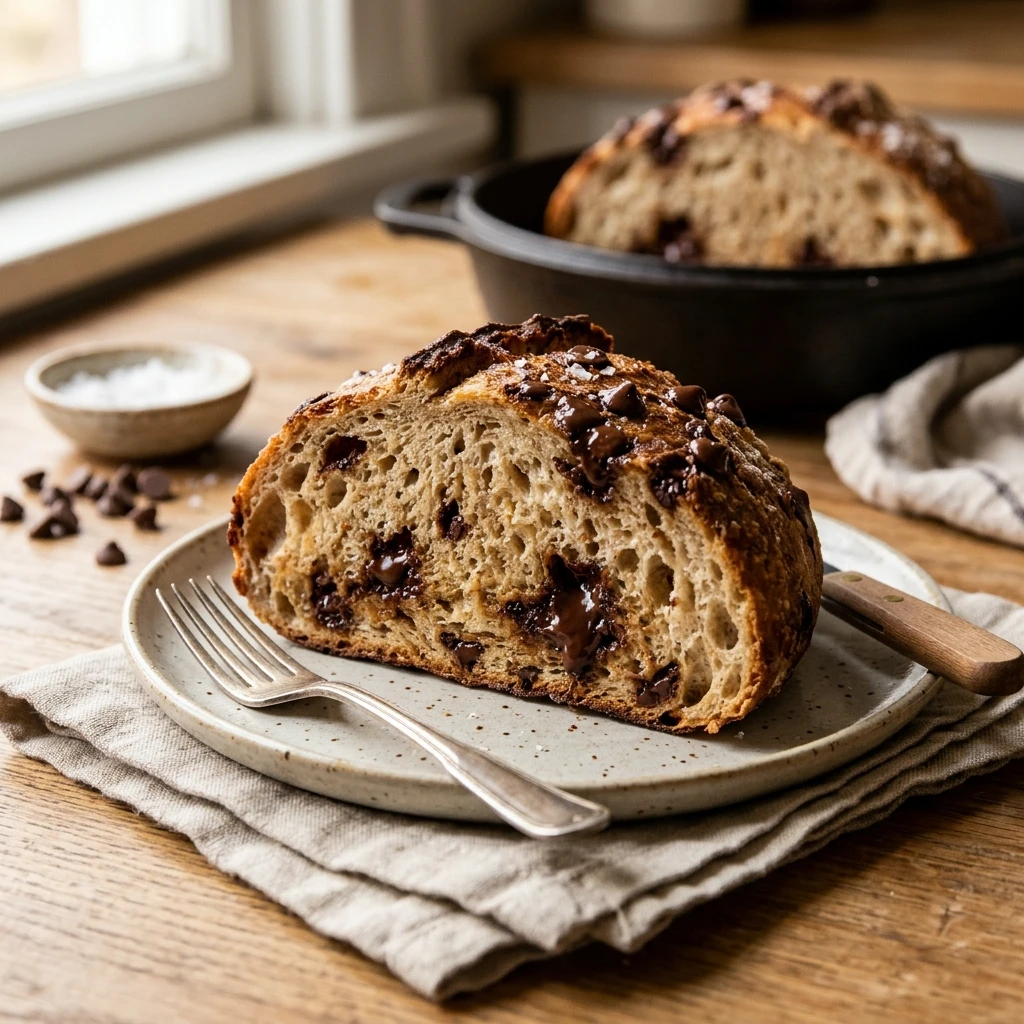
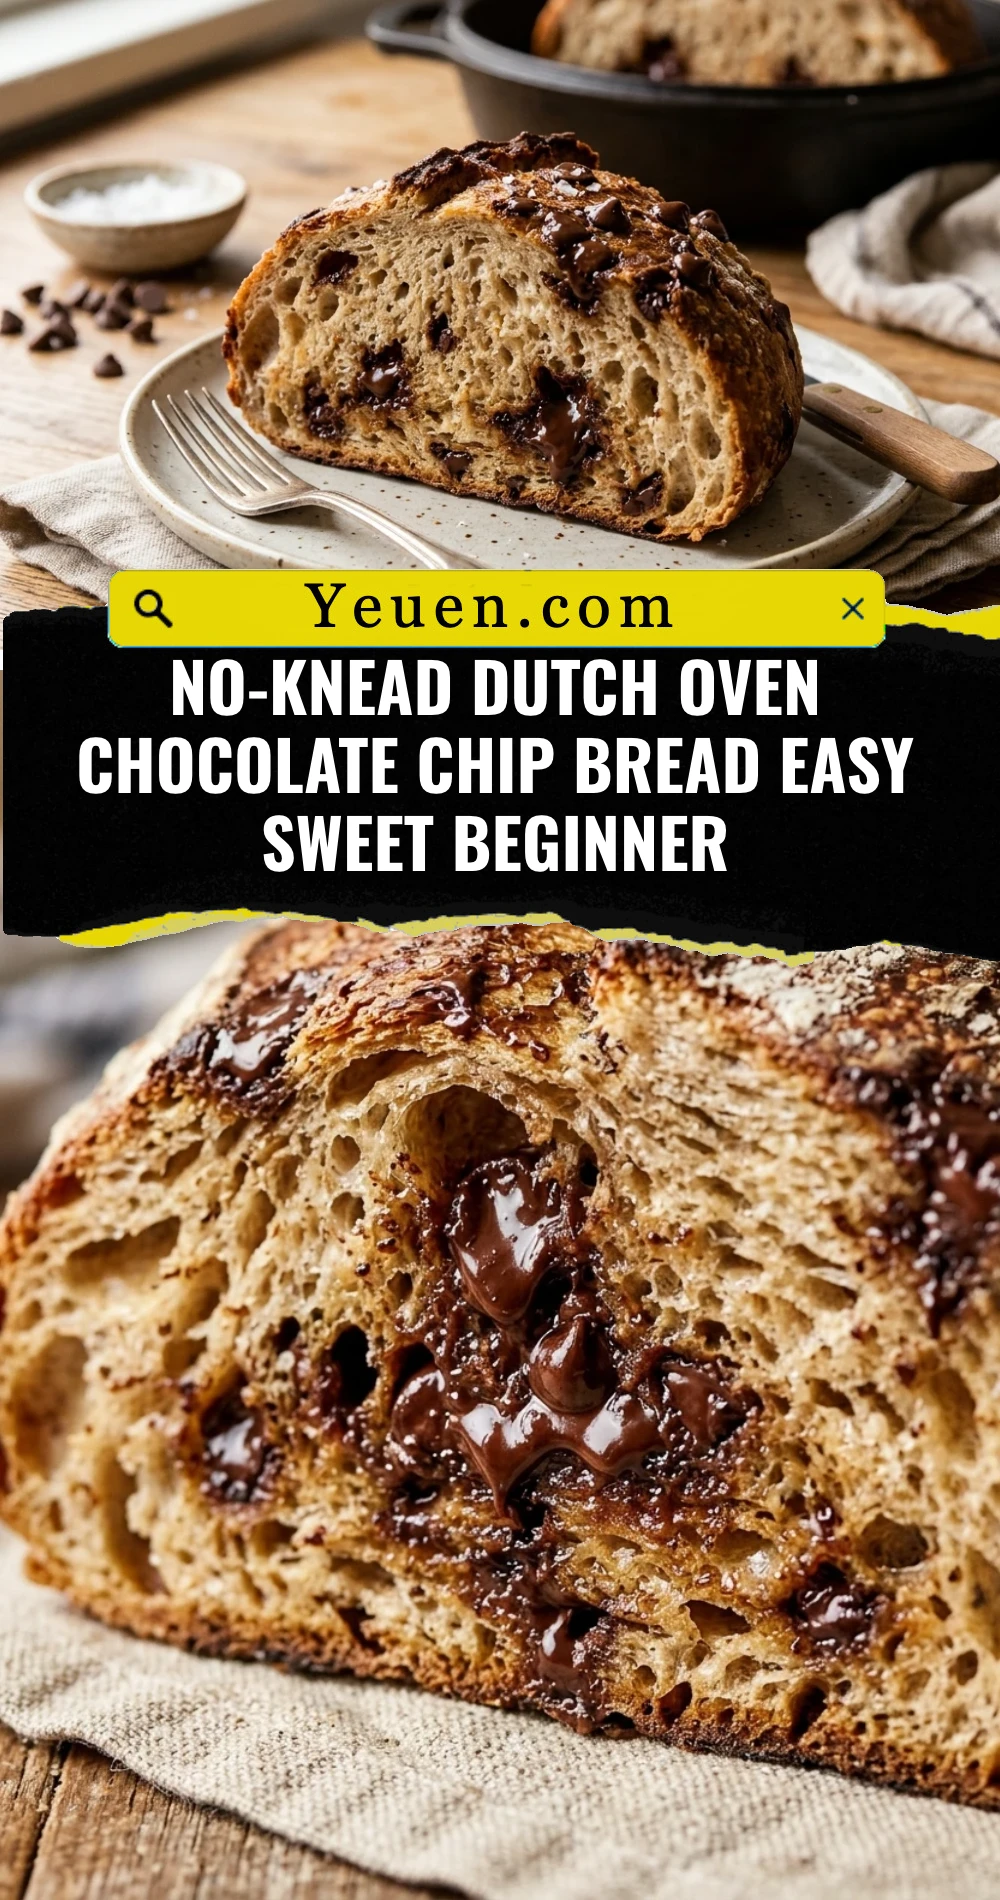
There is nothing quite like the smell of a warm loaf of bread cooling on your counter, especially when it is studded with melty chocolate chips. If you have always been intimidated by yeast or the physical labor of kneading, this No-Knead Dutch Oven Chocolate Chip Bread is your new best friend. It requires almost zero effort and yields a crusty, bakery-style loaf that looks like it came from a professional kitchen. Whether you are a total beginner or a seasoned pro looking for a low-maintenance treat, this recipe delivers a sweet, satisfying result every single time. Get ready to impress your friends and family with a loaf that tastes like a giant chocolate chip cookie in bread form.
Recipe Information
- Prep Time: 15 minutes (plus 12-18 hours rising time)
- Cook Time: 45 minutes
- Total Time: 1 hour 0 minutes (active time)
- Servings: 10 slices
- Difficulty: Easy
Nutrition values
- Calories: 285 kcal
- Protein: 6g
- Carbs: 48g
Why Make This No-Knead Dutch Oven Chocolate Chip Bread Easy Sweet Beginner
This recipe removes all the stress associated with traditional bread making. You do not need a stand mixer, and you definitely do not need to spend twenty minutes kneading dough until your arms ache. The Dutch oven does all the hard work for you by trapping steam, which creates a thin, crispy crust and a soft, airy interior. Adding chocolate chips transforms a standard artisan loaf into a decadent breakfast or snack. It is the perfect entry point for beginners because the long fermentation process naturally develops the gluten and flavor for you. Plus, the ingredients are likely already in your pantry!
Ingredients
- 3 cups All-purpose flour (plus extra for dusting)
- 1 ½ cups Warm water (about 100°F)
- 1 teaspoon Active dry yeast or instant yeast
- 1 teaspoon Salt
- 2 tablespoons Granulated sugar
- 1 cup Semi-sweet chocolate chips (dark or milk chocolate also work)
- 1 teaspoon Vanilla extract (optional, for extra sweetness)
Directions
Step 1: Mixing the Dough
In a large glass bowl, whisk together the flour, yeast, salt, and sugar until well combined. If you are using vanilla extract, stir it into your warm water. Pour the water into the dry ingredients and use a wooden spoon or a sturdy spatula to mix. Stir until no dry flour remains and a sticky, shaggy dough forms. Fold in the chocolate chips gently so they are distributed throughout the dough.
Step 2: The Long Rise
Cover the bowl tightly with plastic wrap or a damp kitchen towel. Place the bowl in a draft-free, room-temperature spot. Let the dough rest for at least 12 hours, though 18 hours is ideal. During this time, the dough will double in size and become dotted with bubbles on the surface. This slow rise is what creates the incredible texture and flavor.
Step 3: Preheating and Shaping
Place your empty Dutch oven (with the lid on) into the oven and preheat to 450°F (230°C). While the oven heats, turn the sticky dough out onto a heavily floured surface. Using floured hands, gently fold the dough over itself a few times and shape it into a rough ball. Place the dough onto a piece of parchment paper, cover it loosely, and let it rest for 30 minutes while the pot gets scorching hot.
Step 4: Baking the Bread
Carefully remove the hot Dutch oven from the oven. Lift the parchment paper with the dough and drop it into the pot. Place the lid back on and bake for 30 minutes. The steam trapped inside will help the bread rise. After 30 minutes, remove the lid and bake for an additional 10 to 15 minutes. This allows the crust to turn a beautiful golden brown and the chocolate to get slightly toasted.
Step 5: Cooling
Remove the pot from the oven and carefully lift the bread out using the edges of the parchment paper. Place the loaf on a wire cooling rack. It is tempting to slice into it immediately, but wait at least 30 minutes. This allows the internal structure to set and ensures the chocolate does not just smear everywhere.
Expert Tips for Perfect No-Knead Dutch Oven Chocolate Chip Bread Easy Sweet Beginner
To get the best results, ensure your water is warm but not hot; water over 115°F can kill the yeast. If you want a deeper flavor, use high-quality chocolate chunks instead of standard chips, as they melt into beautiful pools of chocolate. Do not be afraid of the sticky dough! No-knead dough is supposed to be wet; adding too much flour during the mixing stage will make the bread dense. Finally, always preheat your Dutch oven. A cold pot will result in a loaf that sticks and lacks that signature “oven spring” rise.
Delicious Variations
You can easily customize this sweet bread to suit your cravings. Add one teaspoon of ground cinnamon to the dry ingredients for a Mexican chocolate vibe. Swap half the chocolate chips for toasted walnuts or pecans to add a satisfying crunch. For a “Double Chocolate” version, replace ¼ cup of the flour with unsweetened cocoa powder. If you prefer a salty-sweet contrast, sprinkle a pinch of flaky sea salt over the top of the dough right before you put it into the oven.
Frequently Asked Questions
Can I use bread flour instead of all-purpose flour?
Yes, you can use bread flour. It has a higher protein content, which will result in a slightly chewier texture and a taller rise. The measurements remain the same.
What if I don’t have a Dutch oven?
A Dutch oven is ideal because it traps steam, but you can use any heavy, oven-safe pot with a tight-fitting lid. If you don’t have a lid, you can place a pan of water on the bottom rack of the oven to create steam, though the crust may not be as crispy.
My dough didn’t rise much after 12 hours. What happened?
The most common cause is expired yeast. Always check the expiration date on your yeast packet. Additionally, if your house is very cold, the rise will take much longer. Try placing the bowl in a slightly warmer spot, like on top of the refrigerator.
Can I make this recipe in a shorter amount of time?
If you are in a rush, you can use warm water (110°F) and 2 teaspoons of yeast to shorten the rise time to 2-3 hours. However, the flavor and texture will not be as complex as the long-rise method.
How should I store this chocolate chip bread?
Store the cooled bread in a paper bag at room temperature for up to two days to maintain the crust. If you want it to last longer, wrap it tightly in plastic wrap or foil and store for 3-4 days, though the crust will soften. You can also freeze slices for up to three months.
Conclusion
Making artisan-style No-Knead Dutch Oven Chocolate Chip Bread is a rewarding experience that proves you do not need to be a professional baker to create something extraordinary. With just a few basic ingredients and a bit of patience, you can produce a loaf that rivals any high-end bakery. The combination of the crunchy crust, soft crumb, and sweet chocolate chips makes this bread a versatile treat for any time of day. Put your Dutch oven to work and enjoy the simple magic of home-baked bread!
No-Knead Dutch Oven Chocolate Chip Bread Easy Sweet Beginner
- Total Time: 1 hour
- Diet: Vegetarian
Ingredients
Scale
- 3 cups All-purpose flour (plus extra for dusting)
- 1 ½ cups Warm water (about 100°F)
- 1 teaspoon Active dry yeast or instant yeast
- 1 teaspoon Salt
- 2 tablespoons Granulated sugar
- 1 cup Semi-sweet chocolate chips (dark or milk chocolate also work)
- 1 teaspoon Vanilla extract (optional, for extra sweetness)
Instructions
- In a large glass bowl, whisk together the flour, yeast, salt, and sugar until well combined. If you are using vanilla extract, stir it into your warm water. Pour the water into the dry ingredients and use a wooden spoon or a sturdy spatula to mix. Stir until no dry flour remains and a sticky, shaggy dough forms. Fold in the chocolate chips gently so they are distributed throughout the dough.
- Cover the bowl tightly with plastic wrap or a damp kitchen towel. Place the bowl in a draft-free, room-temperature spot. Let the dough rest for at least 12 hours, though 18 hours is ideal. During this time, the dough will double in size and become dotted with bubbles on the surface. This slow rise is what creates the incredible texture and flavor.
- Place your empty Dutch oven (with the lid on) into the oven and preheat to 450°F (230°C). While the oven heats, turn the sticky dough out onto a heavily floured surface. Using floured hands, gently fold the dough over itself a few times and shape it into a rough ball. Place the dough onto a piece of parchment paper, cover it loosely, and let it rest for 30 minutes while the pot gets scorching hot.
- Carefully remove the hot Dutch oven from the oven. Lift the parchment paper with the dough and drop it into the pot. Place the lid back on and bake for 30 minutes. The steam trapped inside will help the bread rise. After 30 minutes, remove the lid and bake for an additional 10 to 15 minutes. This allows the crust to turn a beautiful golden brown and the chocolate to get slightly toasted.
- Remove the pot from the oven and carefully lift the bread out using the edges of the parchment paper. Place the loaf on a wire cooling rack. It is tempting to slice into it immediately, but wait at least 30 minutes. This allows the internal structure to set and ensures the chocolate does not just smear everywhere.
- Cook Time: 1 hour 0 minutes (active time)