Follow Me On Pinterest!


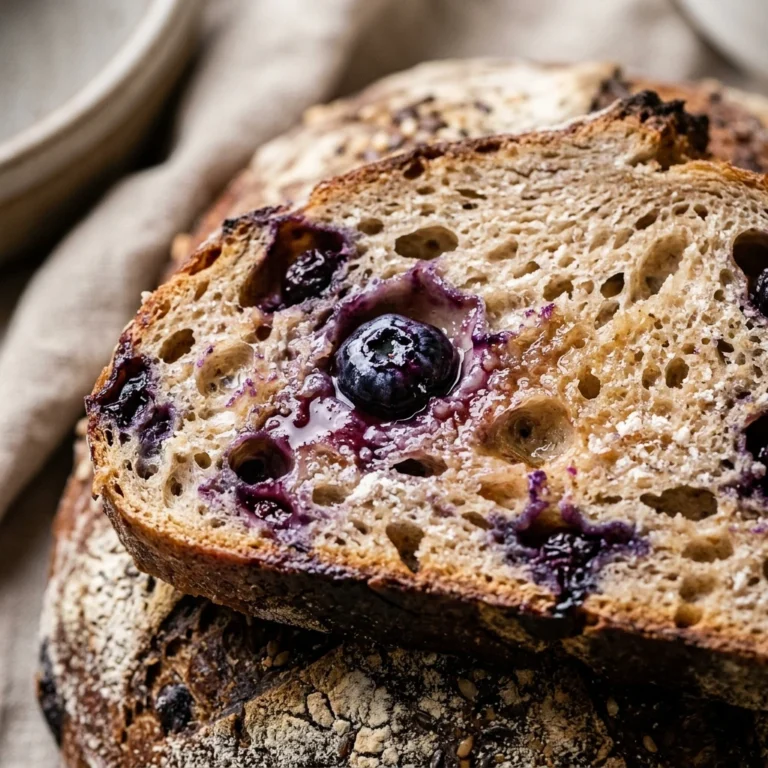
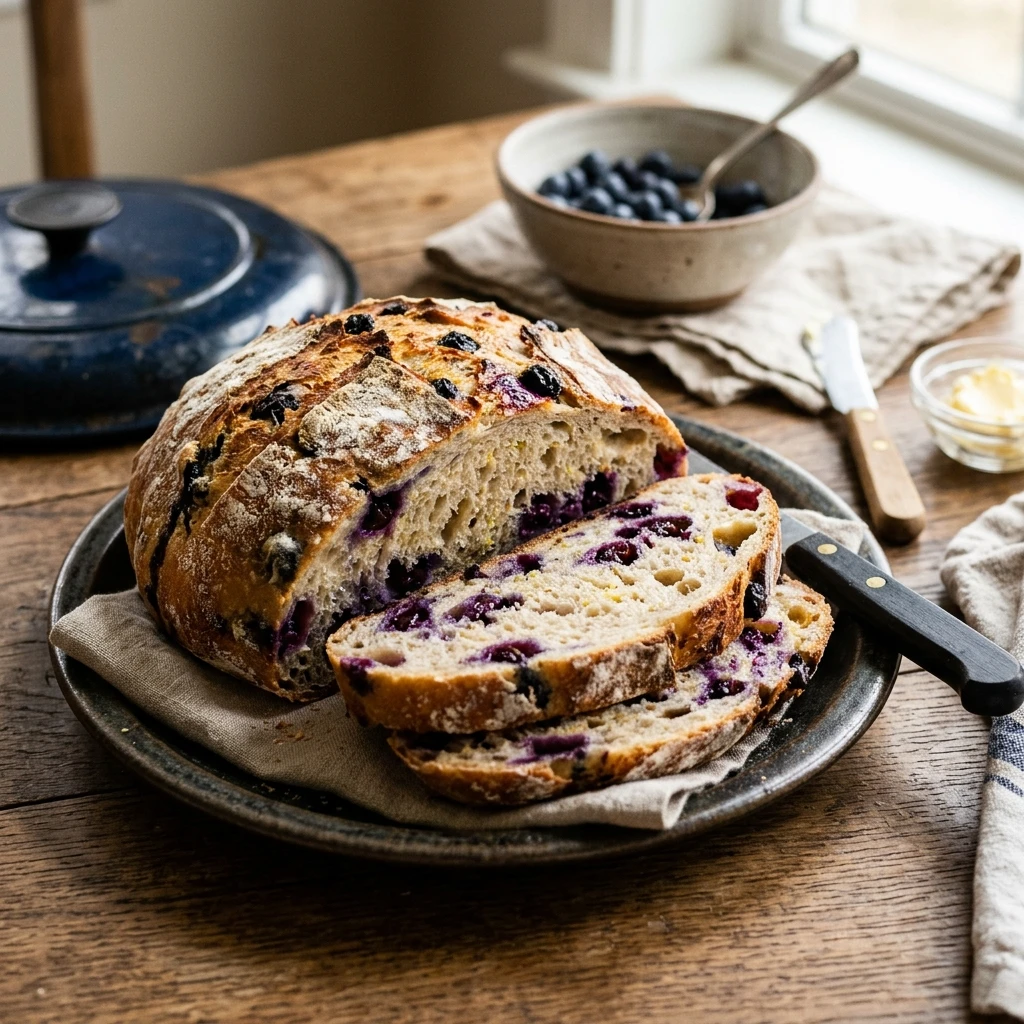
Imagine waking up to the aroma of freshly baked bread without spending hours kneading dough by hand. This No-Knead Dutch Oven Blueberry Bread is a total game-changer for anyone who thinks bread making is intimidating. It combines a crusty, artisan exterior with a soft, pillowy interior studded with juicy, sweet blueberries. Because the Dutch oven does most of the hard work by trapping steam, you get a professional bakery-quality loaf right in your own kitchen with almost zero effort. Whether you are a total beginner or a seasoned pro, this simple, sweet bread will become a staple in your brunch rotation.
Recipe Information
- Prep Time: 15 minutes (plus 12-18 hours rising time)
- Cook Time: 45 minutes
- Total Time: 13 hours 0 minutes
- Servings: 10 slices
- Difficulty: Easy
Nutrition values
- Calories: 210 kcal per slice
- Protein: 5g
- Carbs: 44g
Why Make This No-Knead Dutch Oven Blueberry Bread Easy Sweet Beginner
This recipe is perfect because it removes all the stress of traditional baking. You do not need a stand mixer, and you definitely do not need strong forearms for kneading. The long fermentation process develops a deep flavor that you simply cannot get from quick breads. Adding blueberries transforms a standard artisan loaf into a sweet treat that pairs perfectly with a smear of butter or cream cheese. It is the ultimate “set it and forget it” bread recipe that yields impressive, Instagram-worthy results every single time.
Ingredients
- 3 cups All-purpose flour (plus extra for dusting)
- 1 ½ cups Warm water (about 100°F)
- 1 teaspoon Active dry yeast
- 1 ½ teaspoons Salt
- 2 tablespoons Granulated sugar
- 1 cup Fresh blueberries (rinsed and dried)
- 1 teaspoon Lemon zest (optional)
- 1 tablespoon Honey (optional for extra sweetness)
Directions
Step 1: Mixing the Dough
In a large mixing bowl, whisk together the flour, sugar, salt, and active dry yeast. If you are using lemon zest, toss it in now. Pour in the warm water and honey. Use a wooden spoon or a sturdy spatula to stir the mixture until a shaggy, sticky dough forms and no dry flour streaks remain. Gently fold in the blueberries, being careful not to crush them.
Step 2: The Long Rise
Cover the bowl tightly with plastic wrap or a clean kitchen towel. Let the dough sit at room temperature in a draft-free spot for at least 12 hours, though 18 hours is even better. During this time, the dough will double in size and become very bubbly and dotted with air pockets. This slow rise is what creates the amazing texture and flavor.
Step 3: Preheating the Dutch Oven
Place your empty Dutch oven (with the lid) into the oven. Preheat the oven to 450°F (230°C). Let the pot heat up for at least 30 minutes. While the pot is heating, turn the dough out onto a well-floured piece of parchment paper. Gently shape it into a round ball using floured hands. Cover it loosely and let it rest while the oven finishes preheating.
Step 4: Baking the Bread
Carefully remove the hot Dutch oven from the oven. Lift the parchment paper by the edges and drop the dough (paper and all) into the pot. Put the lid back on and bake for 30 minutes. After 30 minutes, remove the lid and bake for another 10 to 15 minutes. The crust should be golden brown and the bread should sound hollow when tapped.
Step 5: Cooling and Slicing
Carefully lift the bread out of the Dutch oven using the parchment paper. Place the loaf on a wire cooling rack. It is tempting to slice it immediately, but wait at least 30 to 60 minutes. Slicing too early lets the steam escape and can make the bread gummy. Once cooled, slice and serve with your favorite toppings.
Expert Tips for Perfect No-Knead Dutch Oven Blueberry Bread Easy Sweet Beginner
Always dry your blueberries thoroughly after washing them; excess moisture can make the dough too wet and purple. If you use frozen blueberries, do not thaw them first, or they will bleed color into the entire loaf. Ensure your water is warm but not hot, as water above 110°F can kill the yeast. For an extra-crunchy crust, you can spray a little bit of water into the oven just before closing the door. Finally, use a serrated knife to slice the bread to keep those beautiful air pockets intact.
Delicious Variations
- Lemon Blueberry: Increase the lemon zest to 1 tablespoon and add a simple lemon juice and powdered sugar glaze after baking.
- Cinnamon Crunch: Add 1 teaspoon of cinnamon to the flour mix and top the loaf with coarse sparkling sugar before baking.
- White Chocolate Blueberry: Fold in ½ cup of white chocolate chips along with the blueberries for a dessert-style bread.
- Nutty Blueberry: Add ½ cup of chopped walnuts or pecans for a satisfying crunch in every bite.
Frequently Asked Questions
Can I use frozen blueberries instead of fresh?
Yes, you can use frozen blueberries. Do not thaw them before adding them to the dough. Keep in mind that frozen berries may turn the dough a slightly blue or purple tint, but the flavor will remain delicious.
Do I really have to wait 12 hours for the dough to rise?
For this specific no-knead method, yes. The long rise time allows the gluten to develop without manual kneading. It also allows the yeast to create the characteristic bubbles and fermented flavor of artisan bread.
What if I do not have a Dutch oven?
While a Dutch oven is best for creating steam, you can use a heavy oven-safe pot with a tight-fitting lid. Alternatively, you can bake it on a baking sheet with a pan of water on the rack below to create steam, though the crust may not be as thick.
How do I store this bread?
Store the bread at room temperature in a paper bag for up to two days to keep the crust crisp. For longer storage, wrap it tightly in plastic and freeze for up to three months. Avoid the refrigerator, as it dries out the bread quickly.
Can I use whole wheat flour?
You can substitute up to half of the all-purpose flour with whole wheat flour. Note that the bread will be denser and may require a couple of extra tablespoons of water, as whole wheat flour absorbs more liquid.
Conclusion
Making artisan-style bread doesn’t have to be a chore. This No-Knead Dutch Oven Blueberry Bread proves that with just a little patience and a few simple ingredients, anyone can bake a masterpiece. The combination of the crispy crust and the sweet, bursting berries makes this loaf a guaranteed crowd-pleaser. Give it a try this weekend, and you might never go back to store-bought bread again!


No-Knead Dutch Oven Blueberry Bread Easy Sweet Beginner
- Total Time: 13 hours
- Diet: Vegetarian
Ingredients
Scale
- 3 cups All-purpose flour (plus extra for dusting)
- 1 ½ cups Warm water (about 100°F)
- 1 teaspoon Active dry yeast
- 1 ½ teaspoons Salt
- 2 tablespoons Granulated sugar
- 1 cup Fresh blueberries (rinsed and dried)
- 1 teaspoon Lemon zest (optional)
- 1 tablespoon Honey (optional for extra sweetness)
Instructions
- In a large mixing bowl, whisk together the flour, sugar, salt, and active dry yeast. If you are using lemon zest, toss it in now. Pour in the warm water and honey. Use a wooden spoon or a sturdy spatula to stir the mixture until a shaggy, sticky dough forms and no dry flour streaks remain. Gently fold in the blueberries, being careful not to crush them.
- Cover the bowl tightly with plastic wrap or a clean kitchen towel. Let the dough sit at room temperature in a draft-free spot for at least 12 hours, though 18 hours is even better. During this time, the dough will double in size and become very bubbly and dotted with air pockets. This slow rise is what creates the amazing texture and flavor.
- Place your empty Dutch oven (with the lid) into the oven. Preheat the oven to 450°F (230°C). Let the pot heat up for at least 30 minutes. While the pot is heating, turn the dough out onto a well-floured piece of parchment paper. Gently shape it into a round ball using floured hands. Cover it loosely and let it rest while the oven finishes preheating.
- Carefully remove the hot Dutch oven from the oven. Lift the parchment paper by the edges and drop the dough (paper and all) into the pot. Put the lid back on and bake for 30 minutes. After 30 minutes, remove the lid and bake for another 10 to 15 minutes. The crust should be golden brown and the bread should sound hollow when tapped.
- Carefully lift the bread out of the Dutch oven using the parchment paper. Place the loaf on a wire cooling rack. It is tempting to slice it immediately, but wait at least 30 to 60 minutes. Slicing too early lets the steam escape and can make the bread gummy. Once cooled, slice and serve with your favorite toppings.
- Cook Time: 13 hours 0 minutes