Follow Me On Pinterest!


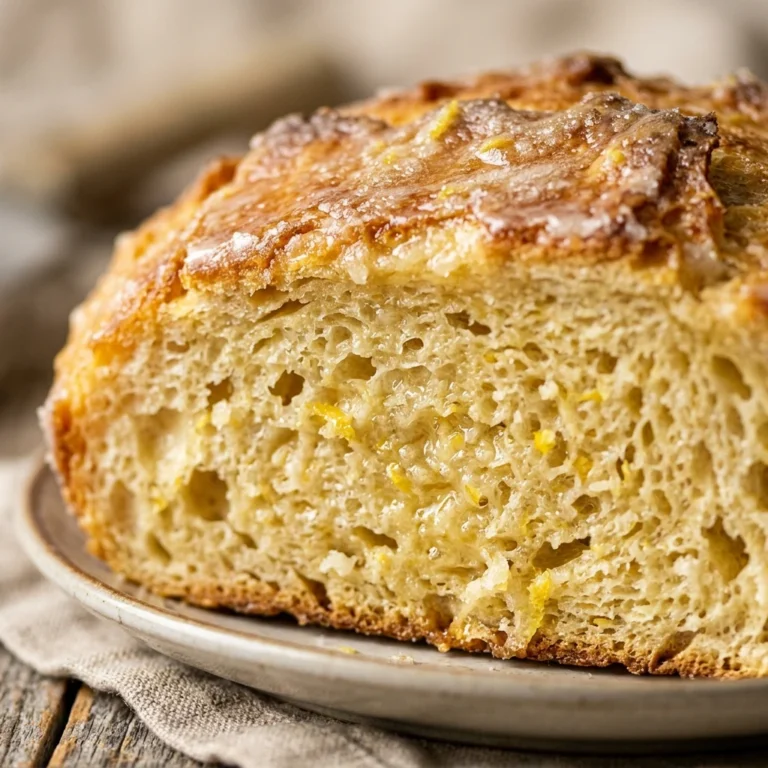
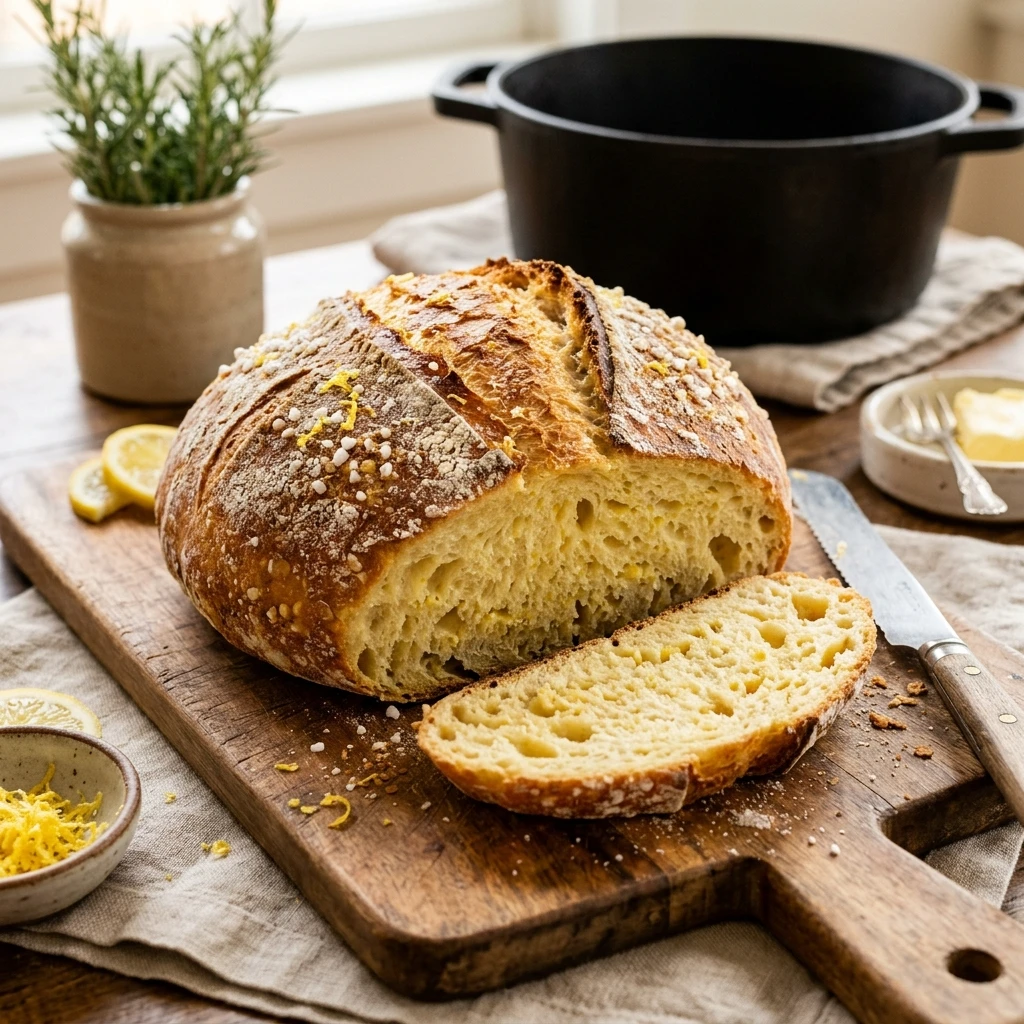
Imagine waking up to the scent of bright citrus and toasted crust wafting through your home. This No-Knead Dutch Oven Lemon Bread is the ultimate gateway for any beginner baker who wants artisan-quality results without the forearm workout. We combine the rustic, crunchy exterior of a classic Dutch oven loaf with a soft, slightly sweet, lemon-infused interior. It is remarkably simple: you mix a few ingredients in a bowl, let time do the heavy lifting, and bake it in a heavy pot. No messy counters, no complicated kneading techniques, and no stress. Whether you enjoy it toasted with butter or as the base for a decadent French toast, this bread is a total game-changer for your kitchen repertoire.
Recipe Information
- Prep Time: 15 minutes (plus 3 hours rising time)
- Cook Time: 45 minutes
- Total Time: 4 hours
- Servings: 10 slices
- Difficulty: Easy
Nutrition values
- Calories: 210 kcal
- Protein: 5g
- Carbs: 42g
Why Make This No-Knead Dutch Oven Lemon Bread Easy Sweet Beginner
This recipe removes every barrier to entry for homemade bread. The Dutch oven acts as a mini-steam oven, creating a professional-grade crust that most home ovens can’t achieve on their own. Because it is a no-knead recipe, you don’t have to worry about overworking the dough or understanding gluten development. The addition of fresh lemon zest and a hint of sugar transforms a standard savory loaf into a versatile, “sweet-leaning” bread that pairs perfectly with tea, coffee, or brunch spreads. It is budget-friendly, uses pantry staples, and makes you look like a master baker with minimal effort.
Ingredients
- 3 cups All-purpose flour (or bread flour)
- 1 ½ cups Warm water (about 105°F)
- 2 teaspoons Active dry yeast
- 1 teaspoon Salt
- 3 tablespoons Granulated sugar
- Zest of 2 large lemons
- 1 tablespoon Fresh lemon juice
- Optional: 1/2 cup Powdered sugar mixed with 1 tablespoon lemon juice (for glaze)
Directions
Step 1: Mix the Dough
In a large mixing bowl, whisk together the flour, salt, sugar, and fresh lemon zest. In a separate small jar, combine the warm water, yeast, and lemon juice. Let the yeast sit for 5 minutes until it becomes foamy. Pour the liquid mixture into the dry ingredients. Use a sturdy wooden spoon or spatula to stir until a shaggy, sticky dough forms and no dry flour remains. Do not worry about the lumps; they will disappear during the rise.
Step 2: The First Rise
Cover the bowl tightly with plastic wrap or a clean, damp kitchen towel. Place the bowl in a warm, draft-free spot. Let the dough rise for at least 2 to 3 hours, or until it has doubled in size and looks bubbly on the surface. For even better flavor, you can let it rise in the refrigerator for up to 12 hours, but 3 hours at room temperature works perfectly for beginners.
Step 3: Preheat and Shape
Place your empty Dutch oven (with the lid on) into the oven and preheat it to 450°F (230°C). While the oven heats, turn the dough out onto a well-floured piece of parchment paper. Use floured hands to gently fold the edges of the dough toward the center to form a rough ball. Flip the ball over so the seam side is down. Let the dough rest on the parchment paper for about 30 minutes while the Dutch oven gets scorching hot.
Step 4: The Dutch Oven Bake
Carefully remove the hot Dutch oven from the oven. Lift the parchment paper by the corners and drop the dough (paper and all) into the pot. Put the lid back on and bake for 30 minutes. The trapped steam will create a beautiful rise and a crispy crust. After 30 minutes, remove the lid and bake for another 10 to 15 minutes until the top is deep golden brown and the internal temperature reaches 190°F.
Step 5: Cooling and Glazing
Lift the bread out of the Dutch oven and place it on a wire rack to cool completely. If you want a sweeter treat, whisk together the powdered sugar and lemon juice to create a thick glaze. Drizzle the glaze over the bread once it has cooled slightly. Wait at least 30 minutes before slicing to ensure the interior crumb sets properly.
Expert Tips for Perfect No-Knead Dutch Oven Lemon Bread Easy Sweet Beginner
To get the best results, always use fresh lemons rather than bottled juice; the oils in the zest provide the majority of the citrus flavor. Ensure your water is warm but not hot, as water above 120°F can kill the yeast. If your kitchen is cold, try placing the dough in an oven that is turned off with the light on. Don’t skip the preheating of the Dutch oven—that thermal mass is what creates the “oven spring” and makes the bread airy. Finally, resist the urge to cut into the bread while it is piping hot, or the steam will escape and leave you with a gummy texture.
Delicious Variations
You can easily customize this base recipe. Add 1/2 cup of dried blueberries or cranberries during the initial mixing phase for a “Lemon Berry” loaf. For an herbal twist, fold in a teaspoon of dried rosemary or thyme. If you prefer a crunchier texture, sprinkle the top of the dough with coarse sparkling sugar just before putting the lid on for the bake. You can also swap the lemon for orange zest and juice to create a sweet citrus variation that pairs beautifully with chocolate chips.
Frequently Asked Questions
Can I use a different pot if I don’t have a Dutch oven?
Yes, you can use any heavy, oven-safe pot with a tight-fitting lid, such as a ceramic casserole dish or a cast-iron skillet covered tightly with foil, though a Dutch oven yields the best crust.
What kind of yeast should I use?
This recipe uses active dry yeast. If you use instant yeast, you can skip the 5-minute proofing step in water and mix it directly into the flour, but the rise time might be slightly faster.
Why is my dough so sticky?
No-knead dough is naturally much wetter and stickier than traditional kneaded dough. This high hydration is what creates the large air bubbles and soft interior. Use plenty of flour on your hands when shaping.
Can I use Whole Wheat flour?
You can substitute up to 1 cup of the all-purpose flour with whole wheat flour. Note that the bread will be denser and may require a tablespoon more water.
How do I store this lemon bread?
Store the bread in an airtight bag or container at room temperature for up to 3 days. For longer storage, slice the bread and freeze it in a freezer bag for up to 3 months. Toast slices directly from the freezer.
Conclusion
Baking artisan bread at home doesn’t require years of experience or expensive equipment. This No-Knead Dutch Oven Lemon Bread proves that simplicity often yields the most delicious results. With its bright citrus notes and foolproof method, it is the perfect project for any beginner looking to impress friends and family. Give it a try this weekend, and enjoy the satisfaction of slicing into a loaf that you made entirely from scratch.


No-Knead Dutch Oven Lemon Bread Easy Sweet Beginner
- Total Time: 4 hours
- Diet: Vegetarian
Ingredients
Scale
- 3 cups All-purpose flour (or bread flour)
- 1 ½ cups Warm water (about 105°F)
- 2 teaspoons Active dry yeast
- 1 teaspoon Salt
- 3 tablespoons Granulated sugar
- Zest of 2 large lemons
- 1 tablespoon Fresh lemon juice
- Optional: 1/2 cup Powdered sugar mixed with 1 tablespoon lemon juice (for glaze)
Instructions
- Step 1: Mix the Dough
In a large mixing bowl, whisk together the flour, salt, sugar, and fresh lemon zest. In a separate small jar, combine the warm water, yeast, and lemon juice. Let the yeast sit for 5 minutes until it becomes foamy. Pour the liquid mixture into the dry ingredients. Use a sturdy wooden spoon or spatula to stir until a shaggy, sticky dough forms and no dry flour remains. Do not worry about the lumps; they will disappear during the rise. - Step 2: The First Rise
Cover the bowl tightly with plastic wrap or a clean, damp kitchen towel. Place the bowl in a warm, draft-free spot. Let the dough rise for at least 2 to 3 hours, or until it has doubled in size and looks bubbly on the surface. For even better flavor, you can let it rise in the refrigerator for up to 12 hours, but 3 hours at room temperature works perfectly for beginners. - Step 3: Preheat and Shape
Place your empty Dutch oven (with the lid on) into the oven and preheat it to 450°F (230°C). While the oven heats, turn the dough out onto a well-floured piece of parchment paper. Use floured hands to gently fold the edges of the dough toward the center to form a rough ball. Flip the ball over so the seam side is down. Let the dough rest on the parchment paper for about 30 minutes while the Dutch oven gets scorching hot. - Step 4: The Dutch Oven Bake
Carefully remove the hot Dutch oven from the oven. Lift the parchment paper by the corners and drop the dough (paper and all) into the pot. Put the lid back on and bake for 30 minutes. The trapped steam will create a beautiful rise and a crispy crust. After 30 minutes, remove the lid and bake for another 10 to 15 minutes until the top is deep golden brown and the internal temperature reaches 190°F. - Step 5: Cooling and Glazing
Lift the bread out of the Dutch oven and place it on a wire rack to cool completely. If you want a sweeter treat, whisk together the powdered sugar and lemon juice to create a thick glaze. Drizzle the glaze over the bread once it has cooled slightly. Wait at least 30 minutes before slicing to ensure the interior crumb sets properly.
- Cook Time: 4 hours