Follow Me On Pinterest!


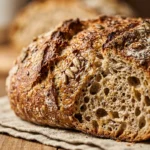
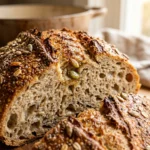
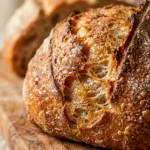
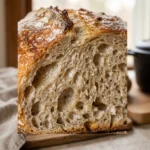
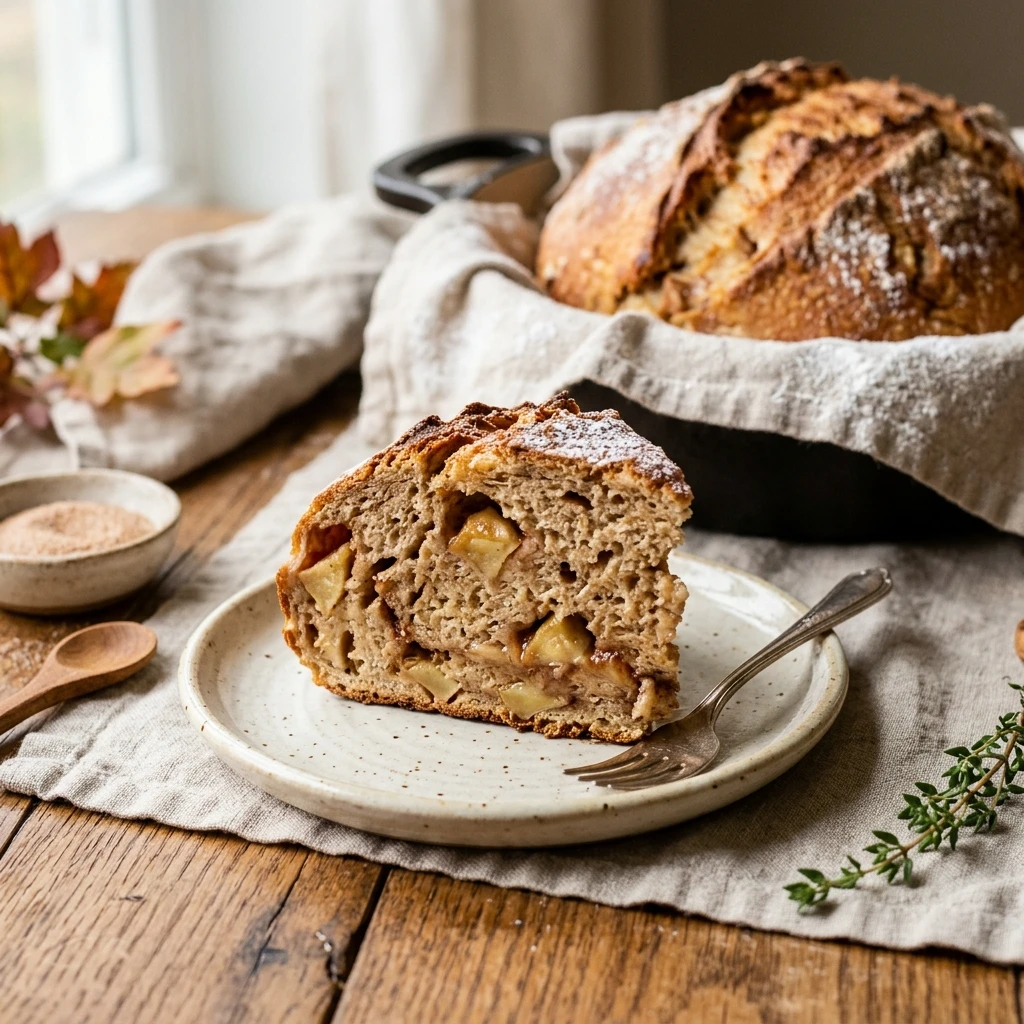
There is nothing quite like the aroma of fresh bread wafting through a cozy kitchen on a crisp autumn afternoon. This No-Knead Dutch Oven Apple Cinnamon Bread is the ultimate lazy baker’s dream. You do not need a fancy stand mixer or hours of intense arm workouts to achieve a professional, bakery-style loaf. By combining a few pantry staples with juicy seasonal apples and warm cinnamon, you create a rustic masterpiece with a shattering crust and a soft, pillowy interior. It is the perfect companion for a cup of hot cider or a smear of salted butter while you watch the leaves fall outside.
Recipe Information
- Prep Time: 15 minutes (plus 12-18 hours rising time)
- Cook Time: 45 minutes
- Total Time: 19 hours
- Servings: 10 slices
- Difficulty: Easy
Nutrition values
- Calories: 245 kcal
- Protein: 6g
- Carbs: 52g
Why Make This No-Knead Dutch Oven Apple Cinnamon Bread Easy Fall Sweet
This recipe removes all the intimidation factors of traditional bread making. The “no-knead” method relies on time rather than physical labor to develop gluten, making it accessible for beginners. Using a Dutch oven creates a steam-filled environment that mimics professional brick ovens, ensuring a perfectly crispy crust every single time. It is also incredibly budget-friendly and uses ingredients you likely already have in your pantry. Plus, the combination of apples and cinnamon makes your entire house smell better than any fall-scented candle ever could.
Ingredients
- 3 cups All-purpose flour (plus extra for dusting)
- 1 ½ cups Warm water (about 110°F)
- 1 teaspoon Active dry yeast
- 1 ½ teaspoons Salt
- 2 tablespoons Granulated sugar
- 1 ½ teaspoons Ground cinnamon
- 1 large Honeycrisp or Granny Smith apple (peeled and finely diced)
- ¼ cup Brown sugar (optional for extra sweetness)
Directions
Step 1: Mixing the Dough
In a large mixing bowl, whisk together the flour, yeast, salt, granulated sugar, and cinnamon. Fold in the diced apples and brown sugar until they are evenly distributed. Pour in the warm water and stir with a wooden spoon or a sturdy spatula until a shaggy, sticky ball forms. Do not overmix; you just want the flour to be fully hydrated.
Step 2: The First Rise
Cover the bowl tightly with plastic wrap or a clean kitchen towel. Place it in a draft-free spot at room temperature. Let the dough rest for at least 12 hours, though 18 hours is even better for flavor development. You will know it is ready when the surface is dotted with bubbles and the dough has more than doubled in size.
Step 3: Preheating the Dutch Oven
Place your empty 4 to 6-quart Dutch oven (with the lid) into the oven. Preheat the oven to 450°F (230°C). Let the pot heat up for at least 30 minutes. This step is crucial for getting that signature crusty exterior on your bread.
Step 4: Shaping and Final Proof
While the pot heats, turn the sticky dough out onto a well-floured surface. Gently fold the edges toward the center to form a round loaf. Place the loaf onto a large piece of parchment paper. Cover it loosely and let it rest for about 30 minutes while the oven finishes preheating.
Step 5: Baking the Bread
Carefully remove the hot Dutch oven from the stove. Lift the parchment paper by the corners and lower the dough into the pot. Place the lid back on and bake for 30 minutes. Remove the lid and bake for another 15 minutes until the crust is a deep golden brown and the internal temperature reaches 200°F.
Step 6: Cooling
Carefully lift the bread out of the Dutch oven using the parchment paper. Transfer it to a wire cooling rack. Resist the urge to slice it immediately! Let the bread cool for at least 30 minutes to allow the internal structure to set, otherwise, the texture might be gummy.
Expert Tips for Perfect No-Knead Dutch Oven Apple Cinnamon Bread Easy Fall Sweet
For the best results, use a firm apple variety like Granny Smith or Honeycrisp; softer apples will turn to mush during the long bake. Make sure your yeast is fresh by checking the expiration date, as old yeast will prevent the bread from rising. When measuring your flour, use the “spoon and level” method rather than scooping directly with the measuring cup to avoid packing too much flour. If the dough feels too wet to handle, simply use more flour on your hands and the work surface. Finally, always preheat your Dutch oven; a cold pot will result in a pale, soft crust.
Delicious Variations
You can easily customize this loaf to suit your tastes. Add a half-cup of chopped walnuts or pecans for a delightful crunch. If you prefer a more intense spice profile, add a pinch of ground nutmeg or ginger to the dry ingredients. For a decadent touch, drizzle a simple glaze made of powdered sugar and milk over the cooled bread. You can also swap the fresh apples for dried apple rings chopped into bits if you want a more concentrated chewy texture throughout the loaf.
Frequently Asked Questions
Can I use a glass bowl instead of a Dutch oven?
It is not recommended. The Dutch oven’s heavy lid and thick walls trap steam, which is essential for the crust. A glass dish may not handle the high heat or provide the same environment, resulting in a different texture.
Do I have to peel the apples?
While you can leave the skins on, peeling them provides a much better texture in the finished bread. Apple skins can become tough or papery after the long baking process inside the dough.
Can I use Instant Yeast instead of Active Dry?
Yes, you can use Instant Yeast. You do not need to change the measurements. The rise time may be slightly faster, but the long 12-hour rest still helps develop the best flavor.
How should I store this bread?
Store the cooled bread in a paper bag or wrapped in a clean tea towel at room temperature for up to 2 days. Avoid airtight plastic bags, as they will make the crust soft and soggy.
Why didn’t my dough rise?
This usually happens if the water used was too hot (killing the yeast) or too cold (preventing activation). It could also be that your yeast is expired. Ensure your rising environment is not too chilly.
Conclusion
Mastering the art of artisanal baking is surprisingly simple with this No-Knead Dutch Oven Apple Cinnamon Bread. It proves that you do not need complex techniques to create something truly spectacular. Whether you serve it toasted with breakfast or as a sweet afternoon snack, this loaf captures the very essence of fall in every bite. Give yourself the gift of time, let the yeast do the work, and enjoy the rewarding crunch of a homemade crust. Happy baking!
No-Knead Dutch Oven Apple Cinnamon Bread Easy Fall Sweet
- Total Time: 19 hours
- Diet: Vegetarian
Ingredients
Scale
- 3 cups All-purpose flour (plus extra for dusting)
- 1 ½ cups Warm water (about 110°F)
- 1 teaspoon Active dry yeast
- 1 ½ teaspoons Salt
- 2 tablespoons Granulated sugar
- 1 ½ teaspoons Ground cinnamon
- 1 large Honeycrisp or Granny Smith apple (peeled and finely diced)
- ¼ cup Brown sugar (optional for extra sweetness)
Instructions
- In a large mixing bowl, whisk together the flour, yeast, salt, granulated sugar, and cinnamon. Fold in the diced apples and brown sugar until they are evenly distributed. Pour in the warm water and stir with a wooden spoon or a sturdy spatula until a shaggy, sticky ball forms. Do not overmix; you just want the flour to be fully hydrated.
- Cover the bowl tightly with plastic wrap or a clean kitchen towel. Place it in a draft-free spot at room temperature. Let the dough rest for at least 12 hours, though 18 hours is even better for flavor development. You will know it is ready when the surface is dotted with bubbles and the dough has more than doubled in size.
- Place your empty 4 to 6-quart Dutch oven (with the lid) into the oven. Preheat the oven to 450°F (230°C). Let the pot heat up for at least 30 minutes. This step is crucial for getting that signature crusty exterior on your bread.
- While the pot heats, turn the sticky dough out onto a well-floured surface. Gently fold the edges toward the center to form a round loaf. Place the loaf onto a large piece of parchment paper. Cover it loosely and let it rest for about 30 minutes while the oven finishes preheating.
- Carefully remove the hot Dutch oven from the stove. Lift the parchment paper by the corners and lower the dough into the pot. Place the lid back on and bake for 30 minutes. Remove the lid and bake for another 15 minutes until the crust is a deep golden brown and the internal temperature reaches 200°F.
- Carefully lift the bread out of the Dutch oven using the parchment paper. Transfer it to a wire cooling rack. Resist the urge to slice it immediately! Let the bread cool for at least 30 minutes to allow the internal structure to set, otherwise, the texture might be gummy.
- Cook Time: 19 hours