Follow Me On Pinterest!


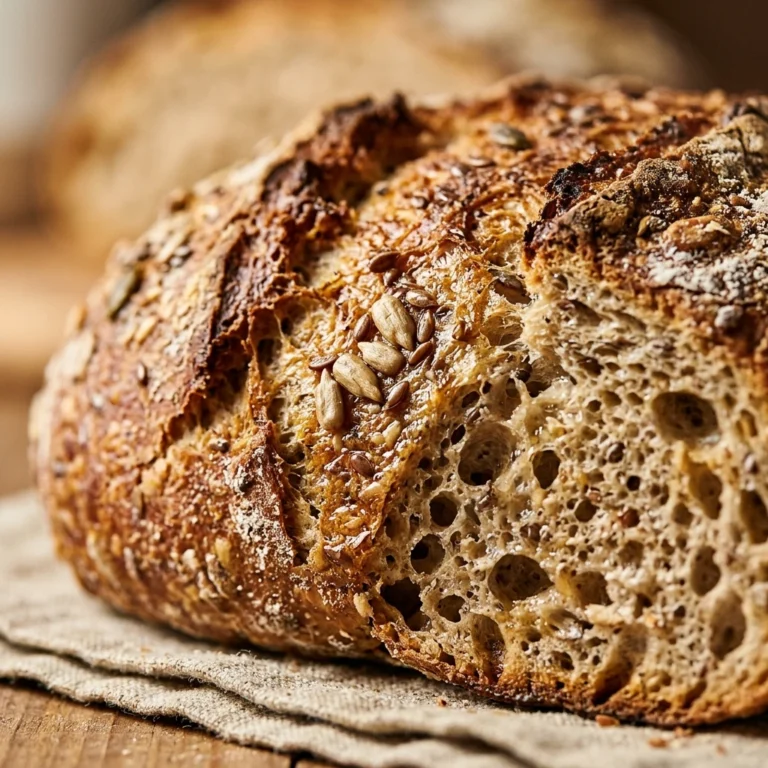
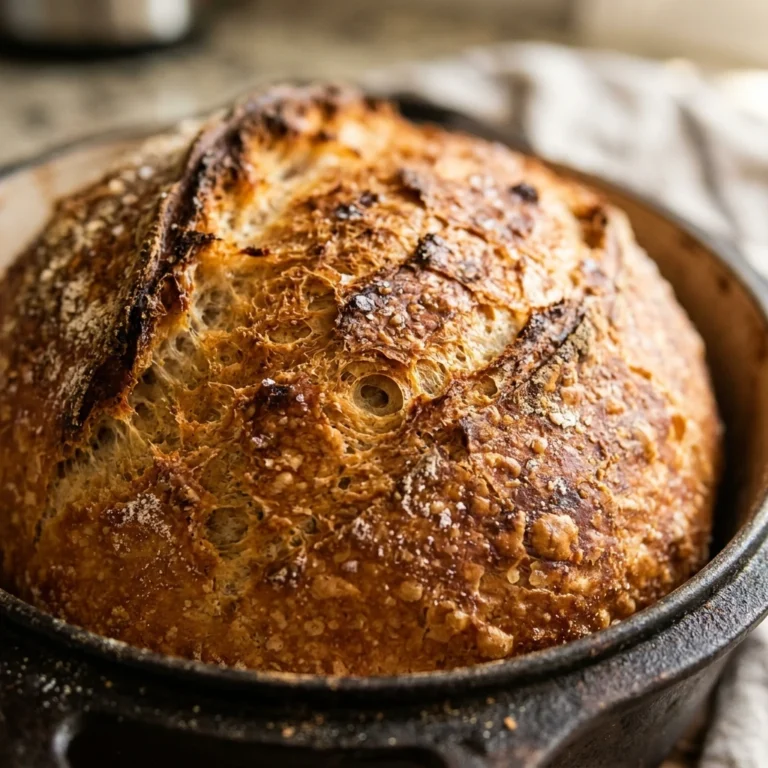
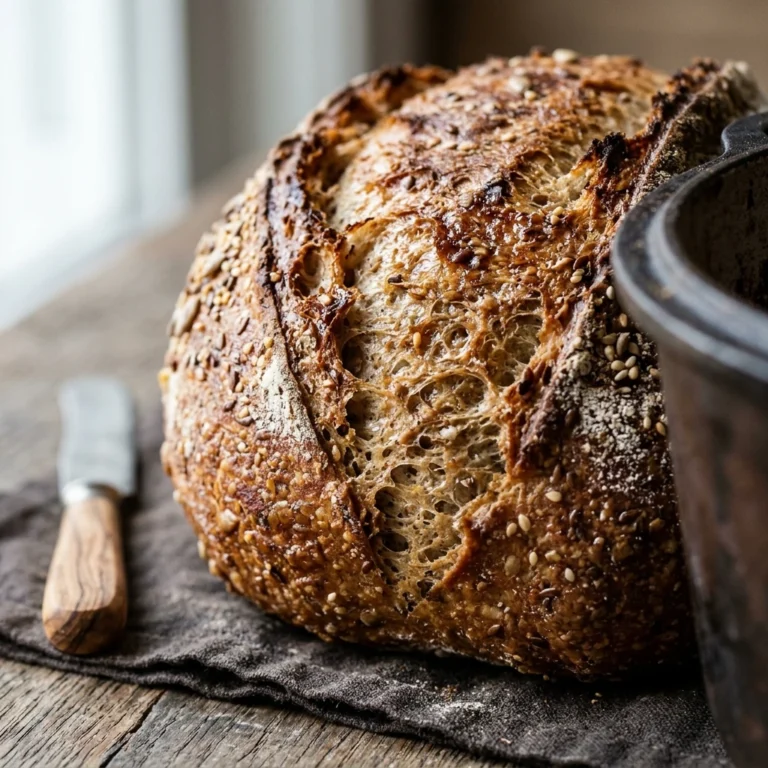
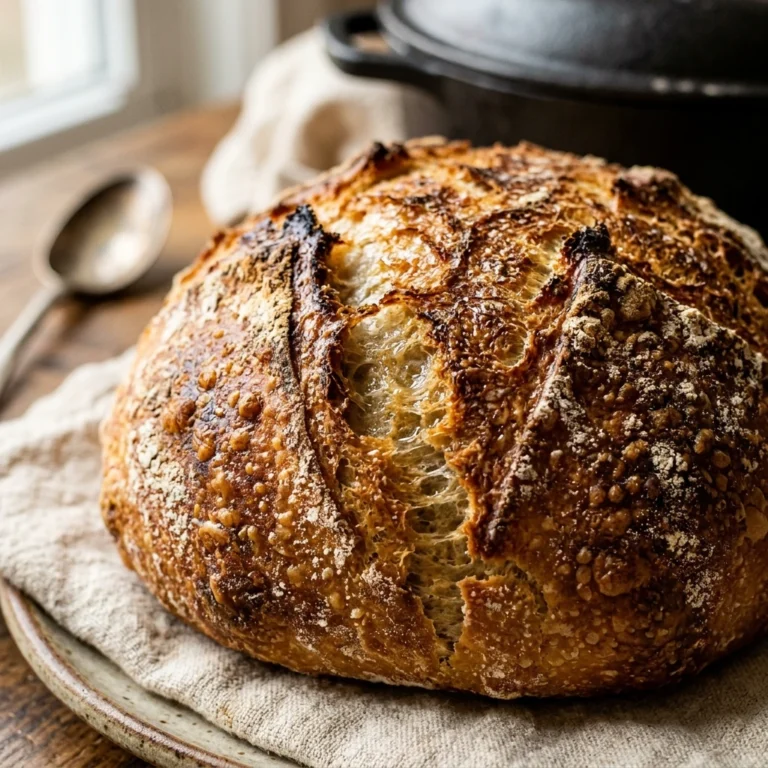
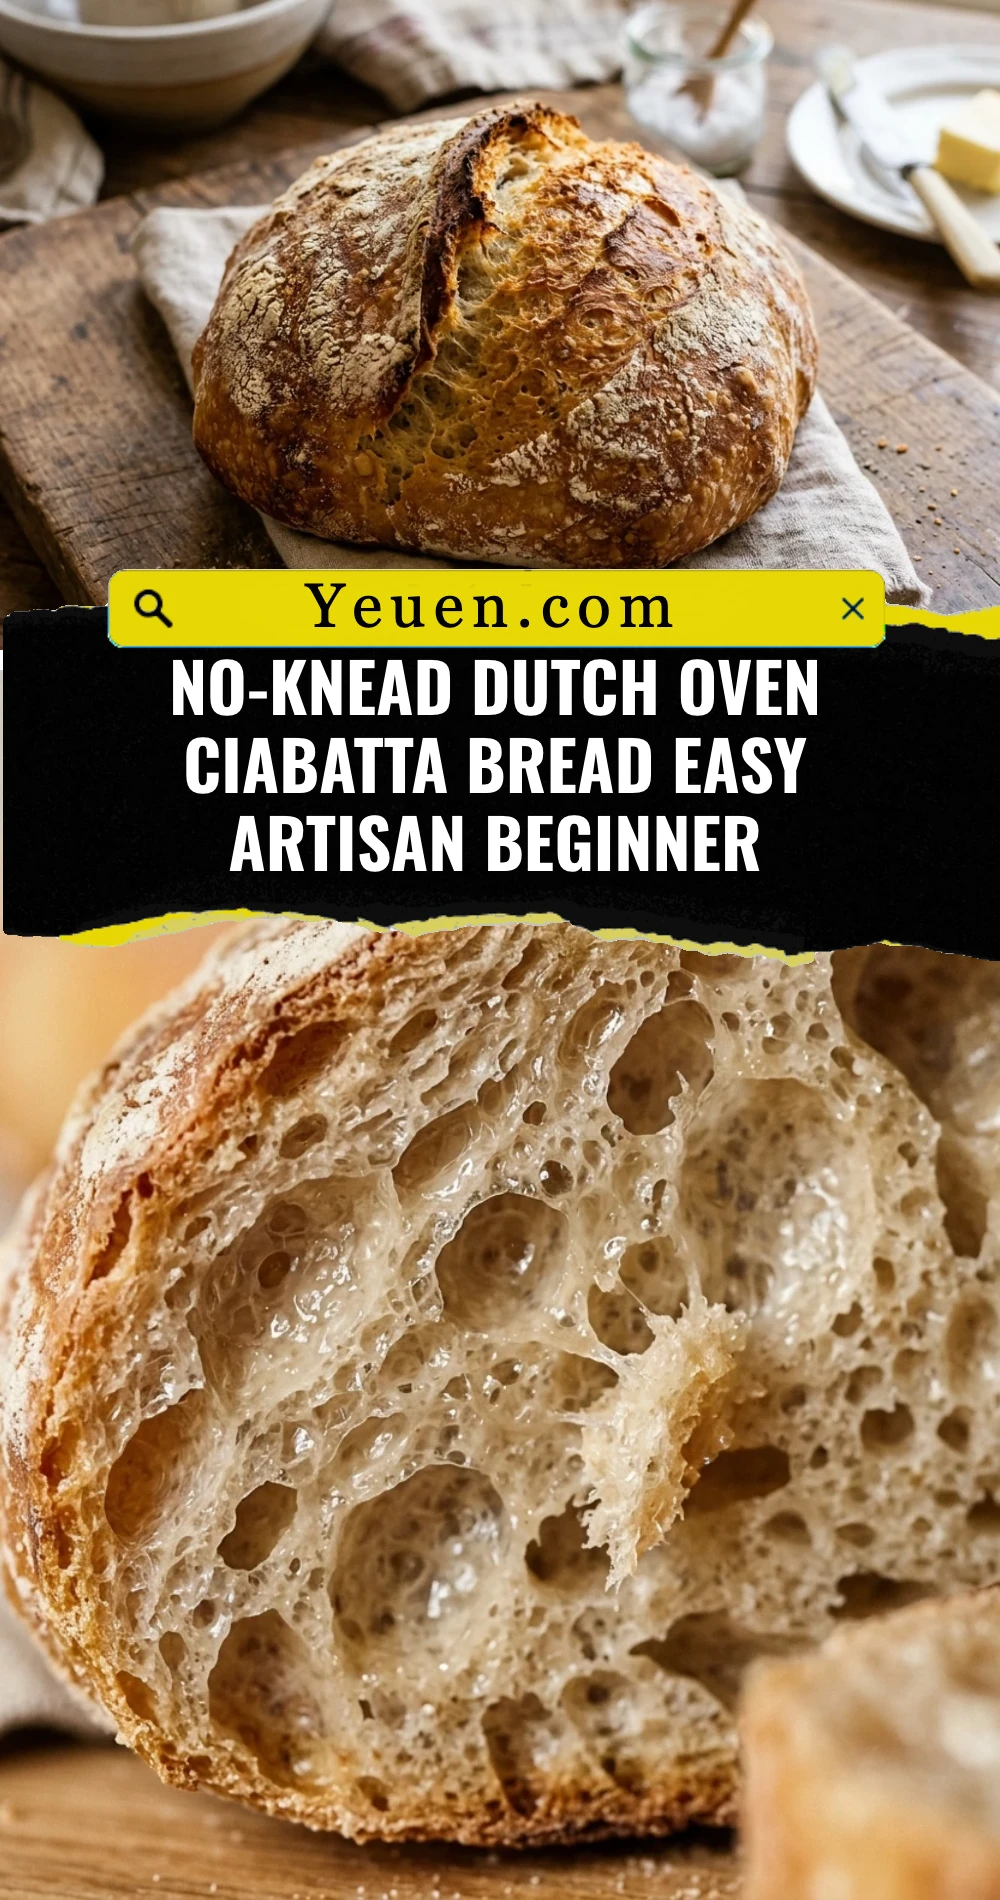
Imagine pulling a bakery-quality loaf of bread out of your own oven with almost zero physical effort. This no-knead Dutch oven ciabatta bread is a game-changer for anyone who thinks bread making is too complicated. With its signature airy interior, large holes, and a shatteringly crisp crust, this artisan loaf relies on time rather than muscle power to develop its incredible flavor and texture. You don’t need a fancy stand mixer or years of experience—just a few basic ingredients and a bit of patience. Whether you are a total beginner or a seasoned home cook, this foolproof method will give you professional results every single time.
Recipe Information
- Prep Time: 15 minutes (plus 12-18 hours rising time)
- Cook Time: 45 minutes
- Total Time: 19 hours 0 minutes
- Servings: 1 loaf (about 10 slices)
- Difficulty: Easy
Nutrition values
- Calories: 195 kcal per slice
- Protein: 6g
- Carbs: 38g
Why Make This No-Knead Dutch Oven Ciabatta Bread Easy Artisan Beginner
This recipe is perfect because it removes the intimidation factor of traditional bread making. By using a high-hydration dough and a long fermentation period, the gluten develops naturally on its own. The Dutch oven acts as a mini steam oven, trapping moisture to create that iconic thin, crispy ciabatta crust while keeping the inside soft and moist. It is the ultimate “set it and forget it” bread that makes your kitchen smell like a professional Italian bakery.
Ingredients
- 4 cups (500g) Bread flour (all-purpose works, but bread flour provides better chew)
- 2 cups (475ml) Warm water (about 105°F)
- 1 ½ teaspoons Fine sea salt
- ½ teaspoon Active dry yeast
- Extra flour for dusting and shaping
Directions
Step 1: Mixing the Dough
In a large mixing bowl, whisk together the bread flour, sea salt, and active dry yeast. Pour in the warm water and use a sturdy spatula or a wooden spoon to stir until a shaggy, sticky dough forms. Ensure there are no dry streaks of flour left at the bottom of the bowl. The dough will be much wetter than traditional bread dough, which is exactly what you want for a ciabatta texture.
Step 2: The Long Rise
Cover the bowl tightly with plastic wrap or a damp kitchen towel. Place the bowl in a warm, draft-free spot in your kitchen. Let the dough rest for at least 12 hours, though 18 hours is ideal for the best flavor. During this time, the dough will double in size, become very bubbly, and develop a slightly fermented, sweet aroma.
Step 3: Preheating the Dutch Oven
Once the dough has finished its long rise, place an empty 5 to 7-quart Dutch oven (with the lid) into your oven. Preheat the oven to 450°F (230°C). Let the pot heat up for at least 30 minutes. This ensures the dough hits a scorching hot surface, which triggers the “oven spring” needed for those big air pockets.
Step 4: Shaping the Dough
While the pot preheats, heavily flour a piece of parchment paper. Gently scrape the bubbly dough out of the bowl onto the paper. Do not deflate it; handle it as little as possible. Use floured hands to gently pat it into a rough rectangular shape. Dust the top with more flour. Let it rest on the counter while the oven finishes preheating.
Step 5: Baking the Bread
Carefully remove the hot Dutch oven from the oven. Lift the parchment paper by the corners and lower the dough (and the paper) into the pot. Cover with the lid and bake for 30 minutes. After 30 minutes, remove the lid and bake for another 15 minutes. The crust should be a deep golden brown and the loaf should sound hollow when tapped on the bottom.
Step 6: Cooling
Lift the bread out of the Dutch oven using the parchment paper and transfer it to a wire cooling rack. Resist the urge to slice into it immediately! Let the bread cool for at least 1 hour. This allows the internal structure to set; otherwise, the inside might turn out gummy.
Expert Tips for Perfect No-Knead Dutch Oven Ciabatta Bread Easy Artisan Beginner
Always use a kitchen scale if you have one, as measuring flour by weight is much more accurate than by volume. Since the dough is very sticky, wet your hands with water or coat them in flour before handling it to prevent sticking. If your kitchen is particularly cold, you can let the dough rise inside an oven that is turned off with the light left on. Finally, make sure your yeast is fresh; if it doesn’t foam when mixed with a little warm water, it is likely dead and your bread won’t rise.

Delicious Variations
- Rosemary and Sea Salt: Fold in 2 tablespoons of chopped fresh rosemary during the initial mixing stage.
- Garlic and Herb: Add 1 teaspoon of garlic powder and 1 tablespoon of dried Italian seasoning to the dry ingredients.
- Olive Ciabatta: Gently fold in 1/2 cup of chopped kalamata olives right before the final shaping.
- Cheesy Crust: Sprinkle 1/4 cup of grated Parmesan cheese over the top of the loaf during the last 5 minutes of baking.
Frequently Asked Questions
Can I use all-purpose flour instead of bread flour?
Yes, you can use all-purpose flour. The bread will still be delicious, but it may have a slightly softer crust and a less chewy interior compared to using bread flour, which has a higher protein content.
Do I really have to wait 12 hours for the dough to rise?
The long rise is essential for the no-knead method. It allows the yeast to work slowly, developing the gluten structure and the complex flavors that characterize artisan bread. A shorter rise will result in a denser loaf.
What if I don’t have a Dutch oven?
You can use a heavy oven-safe pot with a tight-fitting lid, like a Pyrex casserole dish. If you have no lid, place a pan of water on the bottom rack of the oven to create steam, though the crust results may vary.
Why is my dough so sticky and hard to handle?
Ciabatta is a high-hydration bread, meaning it has a high water-to-flour ratio. This stickiness is what creates the large holes inside. Use plenty of flour on your hands and the parchment paper to manage it.
How should I store the leftover bread?
Store the bread at room temperature in a paper bag for up to two days. Avoid plastic bags, as they will make the crust soft. For longer storage, slice the bread and freeze it in a freezer-safe bag for up to three months.
Conclusion
Baking your own artisan bread at home is incredibly rewarding, and this no-knead Dutch oven ciabatta recipe is the perfect starting point. With minimal active work, you can create a loaf that looks and tastes like it came from a high-end bakery. The combination of the long ferment and the Dutch oven steam creates a masterpiece of texture and flavor. Give this recipe a try this weekend, and you may never go back to store-bought bread again!
No-Knead Dutch Oven Ciabatta Bread Easy Artisan Beginner
- Total Time: 19 hours
- Diet: Vegetarian
Ingredients
Scale
- 4 cups (500g) Bread flour (all-purpose works, but bread flour provides better chew)
- 2 cups (475ml) Warm water (about 105°F)
- 1 ½ teaspoons Fine sea salt
- ½ teaspoon Active dry yeast
- Extra flour for dusting and shaping
Instructions
- Step 1: Mixing the Dough. In a large mixing bowl, whisk together the bread flour, sea salt, and active dry yeast. Pour in the warm water and use a sturdy spatula or a wooden spoon to stir until a shaggy, sticky dough forms. Ensure there are no dry streaks of flour left at the bottom of the bowl. The dough will be much wetter than traditional bread dough, which is exactly what you want for a ciabatta texture.
- Step 2: The Long Rise. Cover the bowl tightly with plastic wrap or a damp kitchen towel. Place the bowl in a warm, draft-free spot in your kitchen. Let the dough rest for at least 12 hours, though 18 hours is ideal for the best flavor. During this time, the dough will double in size, become very bubbly, and develop a slightly fermented, sweet aroma.
- Step 3: Preheating the Dutch Oven. Once the dough has finished its long rise, place an empty 5 to 7-quart Dutch oven (with the lid) into your oven. Preheat the oven to 450°F (230°C). Let the pot heat up for at least 30 minutes. This ensures the dough hits a scorching hot surface, which triggers the “oven spring” needed for those big air pockets.
- Step 4: Shaping the Dough. While the pot preheats, heavily flour a piece of parchment paper. Gently scrape the bubbly dough out of the bowl onto the paper. Do not deflate it; handle it as little as possible. Use floured hands to gently pat it into a rough rectangular shape. Dust the top with more flour. Let it rest on the counter while the oven finishes preheating.
- Step 5: Baking the Bread. Carefully remove the hot Dutch oven from the oven. Lift the parchment paper by the corners and lower the dough (and the paper) into the pot. Cover with the lid and bake for 30 minutes. After 30 minutes, remove the lid and bake for another 15 minutes. The crust should be a deep golden brown and the loaf should sound hollow when tapped on the bottom.
- Step 6: Cooling. Lift the bread out of the Dutch oven using the parchment paper and transfer it to a wire cooling rack. Resist the urge to slice into it immediately! Let the bread cool for at least 1 hour. This allows the internal structure to set; otherwise, the inside might turn out gummy.
- Cook Time: 19 hours 0 minutes