Follow Me On Pinterest!


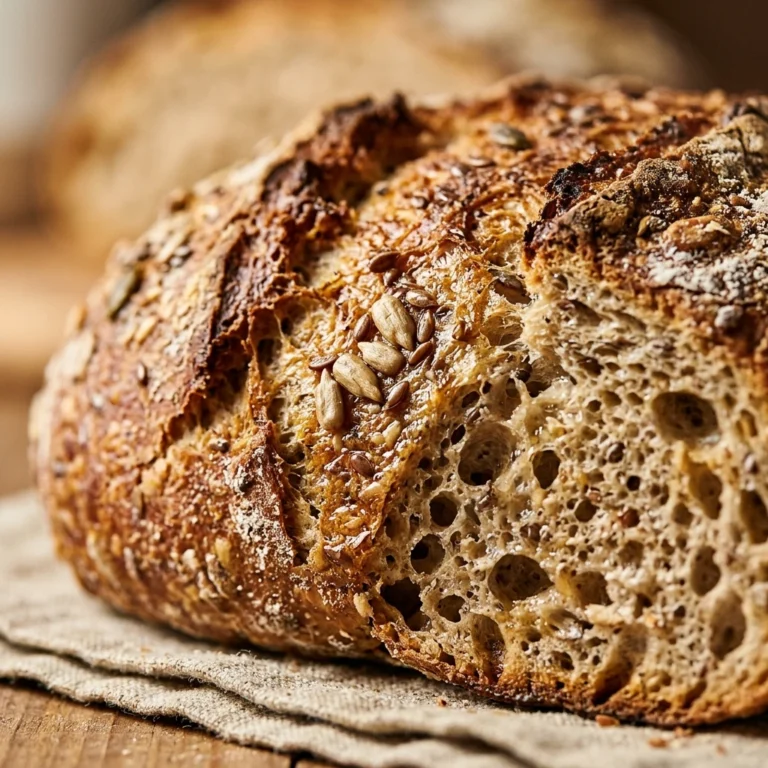
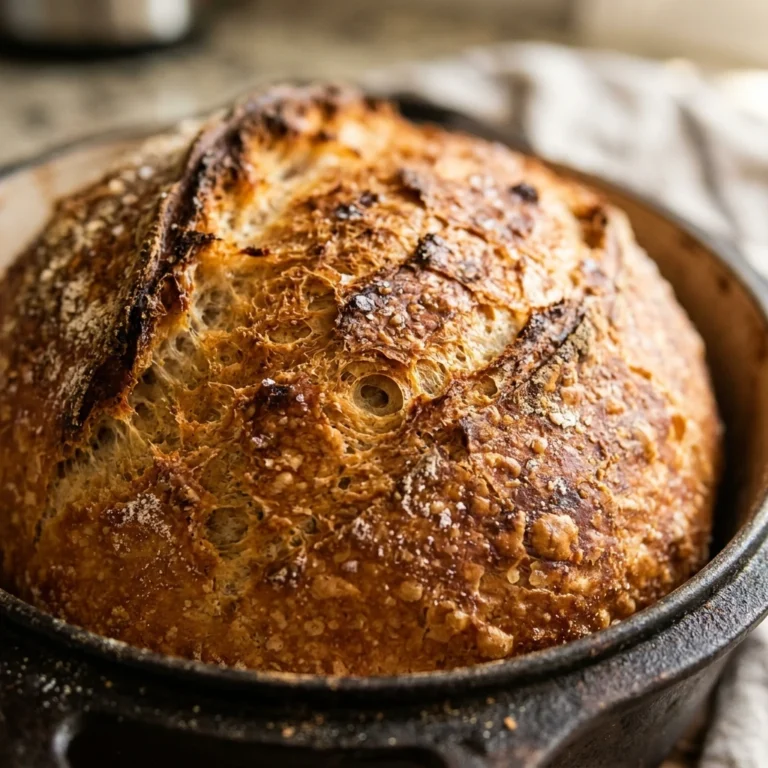
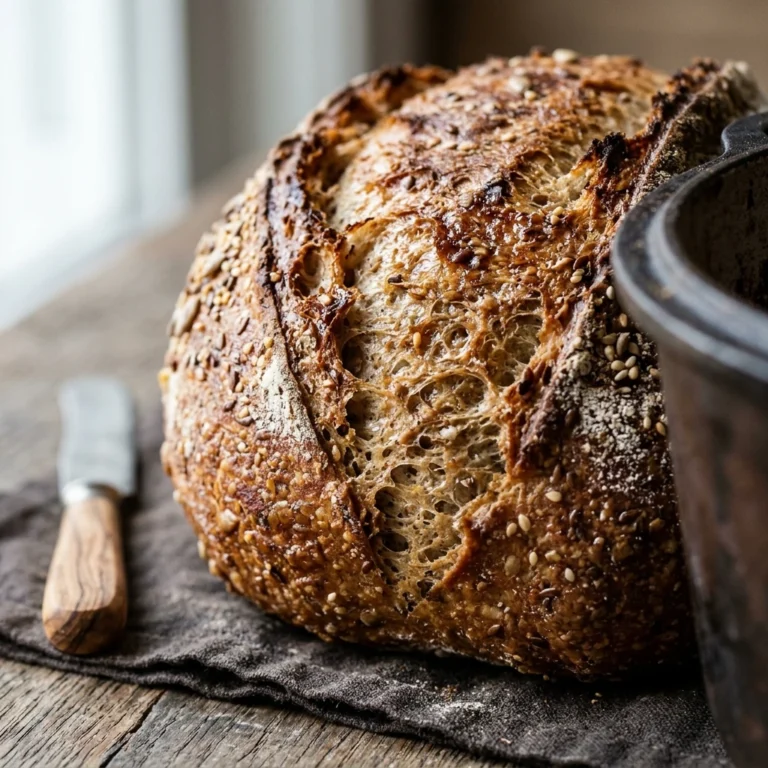
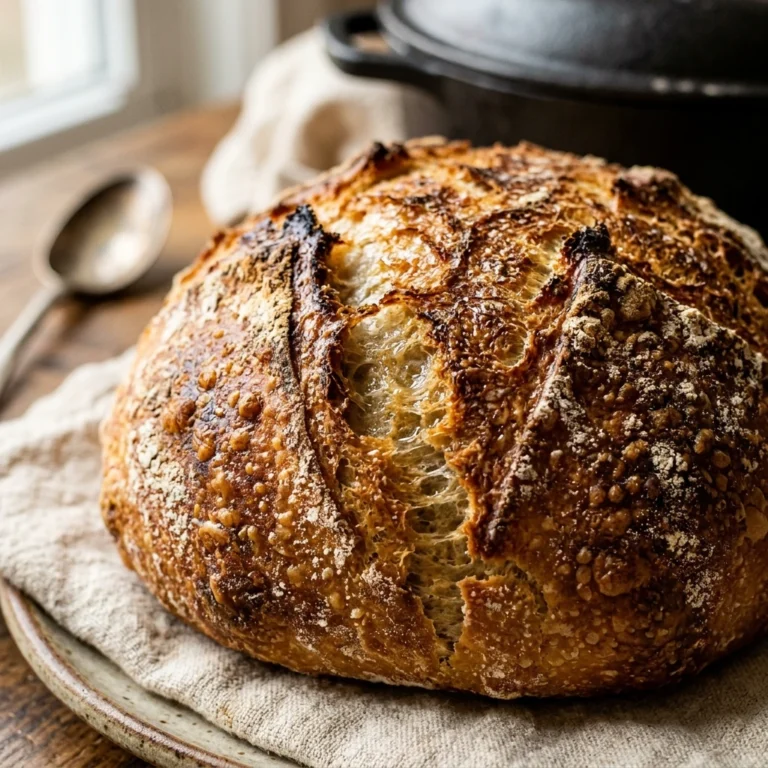
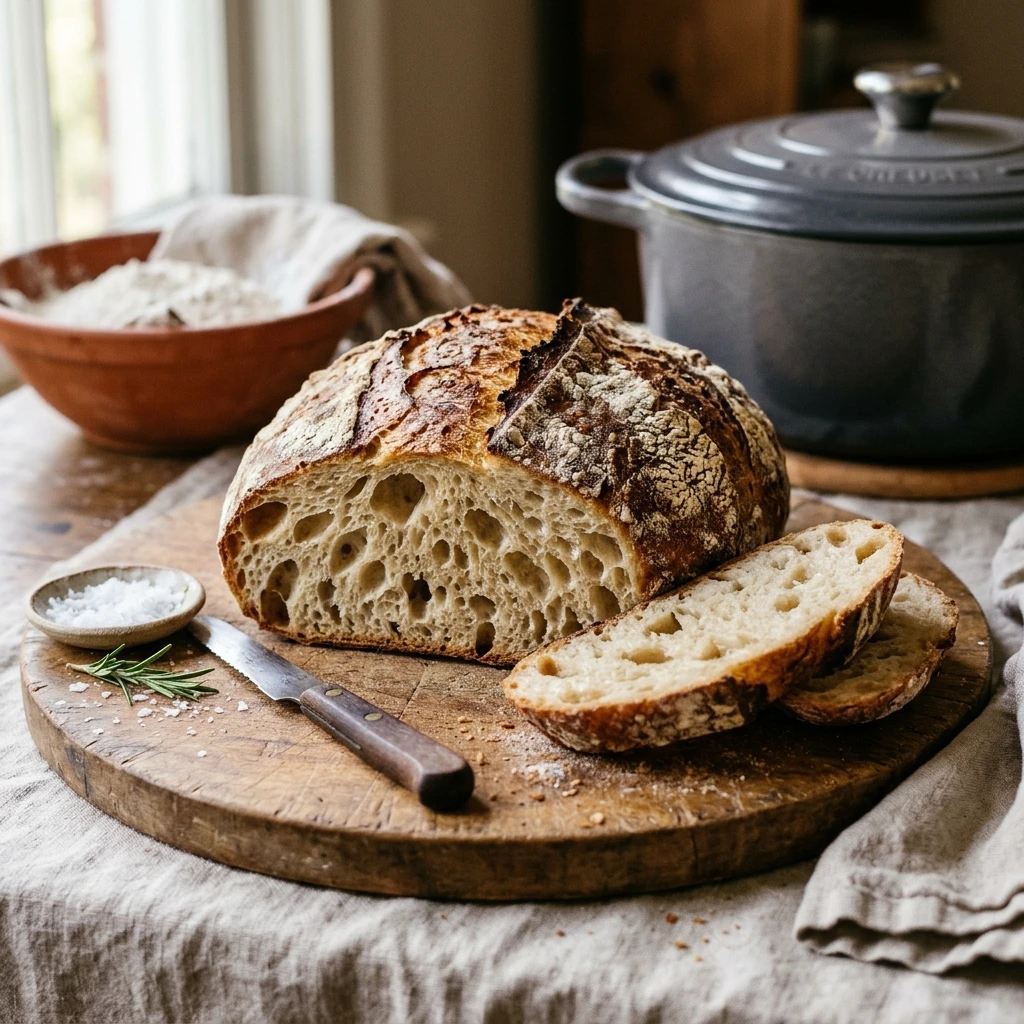
Imagine waking up to the aroma of a bakery inside your own kitchen without spending hours kneading dough or mastering complex techniques. This No-Knead Dutch Oven Ciabatta Bread is the ultimate “set it and forget it” recipe for anyone who craves that classic Italian slipper bread. With its signature airy holes, chewy interior, and a crust that crackles when you slice it, you won’t believe it came from your own oven. This recipe simplifies the artisan process, using a high-hydration dough and the heat-retaining power of a Dutch oven to create professional results every single time. Whether you are a total beginner or a seasoned pro looking for a low-effort loaf, this bread is about to become your new favorite obsession.
Recipe Information
- Prep Time: 15 minutes (plus 12-18 hours rising time)
- Cook Time: 45 minutes
- Total Time: 19 hours 0 minutes
- Servings: 8 slices
- Difficulty: Easy
Nutrition values
- Calories: 185 kcal
- Protein: 6g
- Carbs: 39g
Why Make This No-Knead Dutch Oven Ciabatta Bread Easy Artisan Beginner
This recipe removes all the intimidation factors of traditional bread making. You do not need a stand mixer, a proofing basket, or even strong arm muscles because there is zero kneading involved. By letting time do the work, the gluten develops naturally, resulting in a complex flavor and that iconic “open crumb” structure. Using a Dutch oven mimics a professional steam-injected oven, ensuring your ciabatta gets a perfectly crisp, golden-brown crust while staying moist and light inside. It is cost-effective, uses only four pantry staples, and delivers a gourmet loaf that rivals any high-end bakery.
Ingredients
- 4 cups (500g) All-purpose flour or Bread flour
- 2 cups (475ml) Warm water (approx. 105°F)
- 1 ½ teaspoons Salt
- ½ teaspoon Active dry yeast or Instant yeast
- Extra flour for dusting
Directions
Step 1: Mixing the Dough
In a large glass bowl, whisk together the flour, salt, and yeast until well combined. Pour the warm water into the dry ingredients. Use a sturdy spatula or a wooden spoon to stir the mixture until a shaggy, sticky dough forms and no dry flour remains. Do not worry about the texture; it should look messy and very wet compared to standard bread dough. Cover the bowl tightly with plastic wrap or a lid.
Step 2: The Long Fermentation
Place the covered bowl in a draft-free spot at room temperature. Let the dough rest for at least 12 hours, though 18 hours is ideal for the best flavor. During this time, you will see the dough double in size and become covered in tiny bubbles. This slow fermentation is the secret to the ciabatta’s airy texture and delicious fermented tang.
Step 3: Shaping and Second Rise
Generously flour a piece of parchment paper. Gently scrape the sticky dough out of the bowl and onto the paper. Do not deflate the bubbles. Using floured hands, gently fold the edges of the dough toward the center to form a rough rectangular shape. Sprinkle the top with a little more flour, cover with a clean kitchen towel, and let it rise for another 45 minutes to 1 hour.
Step 4: Preheating and Baking
While the dough undergoes its second rise, place your empty Dutch oven (with the lid) into the oven. Preheat the oven to 450°F (230°C). Once preheated, carefully remove the hot pot. Lift the parchment paper with the dough and drop it directly into the Dutch oven. Cover with the lid and bake for 30 minutes. Remove the lid and bake for another 15 minutes until the crust is deep golden brown and sounds hollow when tapped.
Step 5: Cooling
Carefully lift the bread out of the Dutch oven using the parchment paper edges. Transfer the loaf to a wire cooling rack. Resist the urge to cut into it immediately! Let the bread cool for at least 30 to 60 minutes to allow the internal structure to set. Slicing too early can result in a gummy texture.
Expert Tips for Perfect No-Knead Dutch Oven Ciabatta Bread Easy Artisan Beginner
Always use a kitchen scale for the most accurate results, as flour density varies by cup. Because this is a high-hydration dough, it will be very sticky; avoid adding too much extra flour during the shaping phase, or you will lose those beautiful air pockets. Ensure your Dutch oven is screaming hot before adding the dough to jumpstart the “oven spring.” If you want an even crispier crust, you can toss a few ice cubes into the bottom of the oven (not the pot) to create extra steam during the first few minutes of baking.
Delicious Variations
- Rosemary and Sea Salt: Fold in 2 tablespoons of fresh chopped rosemary during the initial mixing and sprinkle flaky sea salt on top before baking.
- Roasted Garlic: Mix in a head of roasted garlic cloves for a sweet, savory punch in every bite.
- Everything Bagel: Generously coat the top of the loaf with everything bagel seasoning just before putting the lid on the Dutch oven.
- Olive and Thyme: Fold in a half-cup of chopped Kalamata olives and fresh thyme for a Mediterranean twist.
Frequently Asked Questions
Can I use whole wheat flour for this recipe?
You can substitute up to 50% of the white flour with whole wheat flour. Note that whole wheat absorbs more water, so you may need to add an extra tablespoon or two of water to maintain the sticky consistency, and the loaf will be slightly denser.
What if I don’t have a Dutch oven?
You can use a heavy oven-safe pot with a tight-fitting lid, like a cast-iron skillet with a stainless steel bowl inverted over it. The goal is to trap steam, which allows the bread to expand before the crust sets.
Can I speed up the rising process?
If you are in a hurry, you can increase the yeast to 2 teaspoons and let it rise in a warm spot for 2-3 hours. However, you will sacrifice the depth of flavor and the characteristic airy crumb that comes from the long, slow ferment.
How do I store this bread?
Store the bread at room temperature in a paper bag for up to two days to maintain the crust. For longer storage, slice the bread and freeze it in a sealed plastic bag. Toast the slices directly from the freezer to revive that fresh-baked taste.
Why is my dough so liquidy?
Ciabatta dough is naturally much wetter than sandwich bread dough. It should be “slack” and hard to handle with bare hands. This high water content is exactly what creates the steam necessary for those large holes in the crumb.
Conclusion
Making artisan-quality bread at home doesn’t have to be a stressful chore. This No-Knead Dutch Oven Ciabatta Bread proves that with just a little patience and the right method, anyone can achieve bakery-worthy results. From the crunch of the golden crust to the soft, airy center, this loaf is the perfect companion for soups, sandwiches, or simply dipped in olive oil. Give it a try this weekend, and you may never go back to store-bought bread again!


No-Knead Dutch Oven Ciabatta Bread Easy Artisan Beginner
- Total Time: 19 hours
- Diet: Vegan, Vegetarian
Ingredients
Scale
- 4 cups (500g) All-purpose flour or Bread flour
- 2 cups (475ml) Warm water (approx. 105°F)
- 1 ½ teaspoons Salt
- ½ teaspoon Active dry yeast or Instant yeast
- Extra flour for dusting
Instructions
- In a large glass bowl, whisk together the flour, salt, and yeast until well combined. Pour the warm water into the dry ingredients. Use a sturdy spatula or a wooden spoon to stir the mixture until a shaggy, sticky dough forms and no dry flour remains. Do not worry about the texture; it should look messy and very wet compared to standard bread dough. Cover the bowl tightly with plastic wrap or a lid.
- Place the covered bowl in a draft-free spot at room temperature. Let the dough rest for at least 12 hours, though 18 hours is ideal for the best flavor. During this time, you will see the dough double in size and become covered in tiny bubbles. This slow fermentation is the secret to the ciabatta’s airy texture and delicious fermented tang.
- Generously flour a piece of parchment paper. Gently scrape the sticky dough out of the bowl and onto the paper. Do not deflate the bubbles. Using floured hands, gently fold the edges of the dough toward the center to form a rough rectangular shape. Sprinkle the top with a little more flour, cover with a clean kitchen towel, and let it rise for another 45 minutes to 1 hour.
- While the dough undergoes its second rise, place your empty Dutch oven (with the lid) into the oven. Preheat the oven to 450°F (230°C). Once preheated, carefully remove the hot pot. Lift the parchment paper with the dough and drop it directly into the Dutch oven. Cover with the lid and bake for 30 minutes. Remove the lid and bake for another 15 minutes until the crust is deep golden brown and sounds hollow when tapped.
- Carefully lift the bread out of the Dutch oven using the parchment paper edges. Transfer the loaf to a wire cooling rack. Resist the urge to cut into it immediately! Let the bread cool for at least 30 to 60 minutes to allow the internal structure to set. Slicing too early can result in a gummy texture.
- Cook Time: 19 hours 0 minutes