Follow Me On Pinterest!


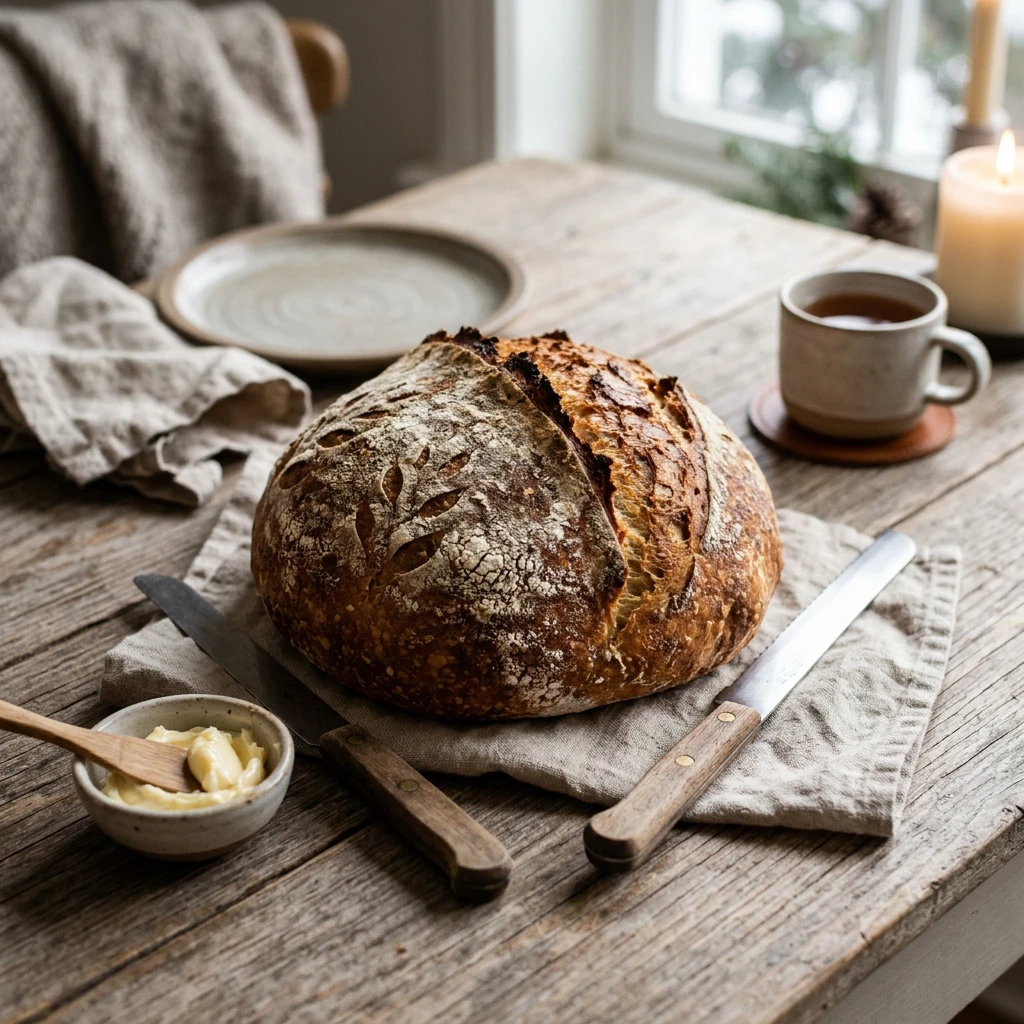
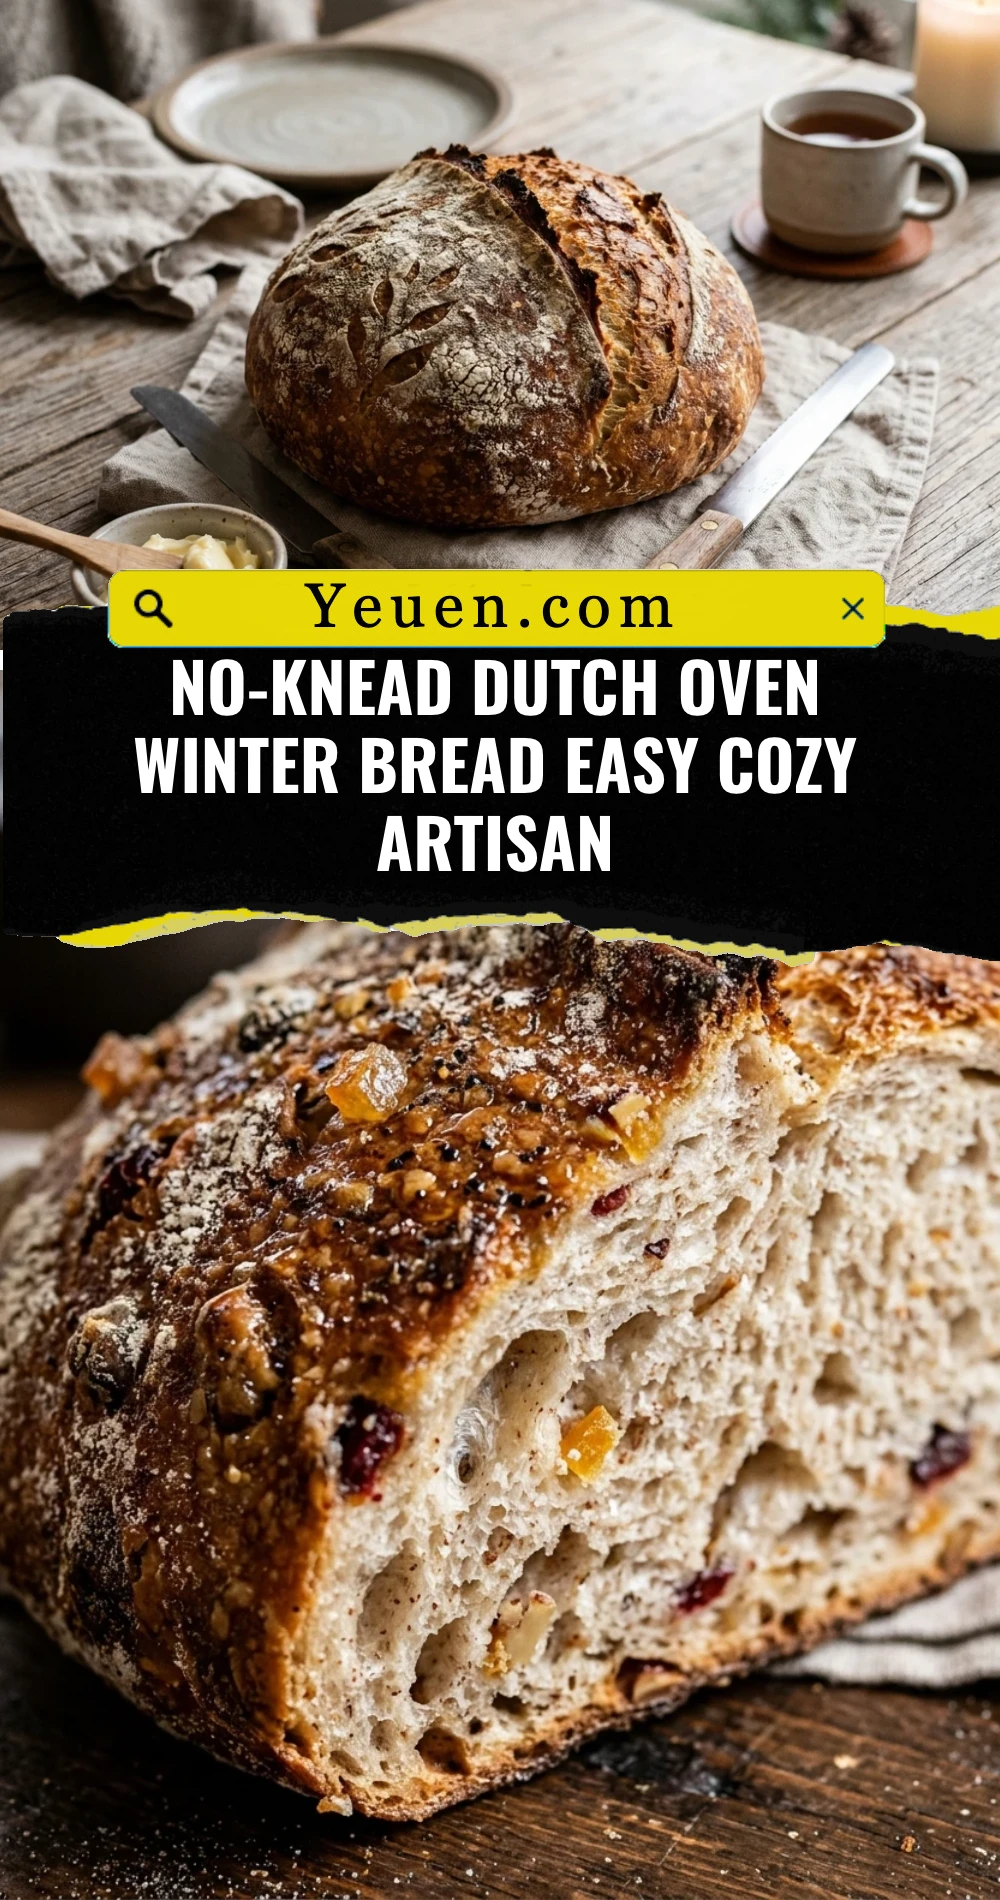
There is nothing quite like the aroma of fresh bread wafting through a chilly house on a winter afternoon. This No-Knead Dutch Oven Winter Bread is the ultimate comfort food for anyone who thinks baking bread is too complicated. You do not need a fancy mixer or hours of intense kneading to achieve a bakery-quality loaf. With just four basic ingredients and a bit of patience, you will create a loaf with a shatteringly crisp crust and a soft, airy interior. It is the perfect companion for a steaming bowl of stew or simply slathered in salted butter by the fireplace.
Recipe Information
- Prep Time: 15 minutes
- Cook Time: 45 minutes
- Total Time: 13 hours 0 minutes (includes rising time)
- Servings: 8 slices
- Difficulty: Easy
Nutrition values
- Calories: 185 kcal
- Protein: 6g
- Carbs: 38g
Why Make This No-Knead Dutch Oven Winter Bread Easy Cozy Artisan
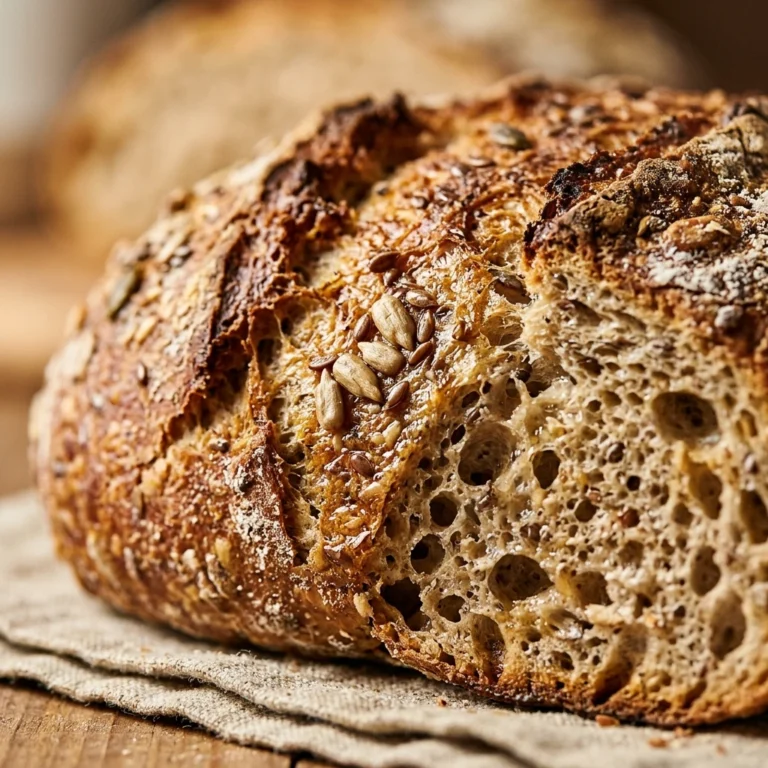
This recipe removes all the intimidation factor from bread making. The “no-knead” method relies on a long fermentation process, which does all the hard work of developing gluten for you. Using a Dutch oven creates a mini steam chamber, mimicking professional bread ovens to give you that iconic, crunchy artisan crust. It is incredibly cost-effective, requires zero special skills, and yields a result that looks like it came from a high-end French boulangerie. Plus, it makes your home smell absolutely heavenly on a cold day.
Ingredients
- 3 cups all-purpose flour (plus extra for dusting)
- 1 ½ cups warm water (about 100°F)
- 1 ½ teaspoons kosher salt
- ½ teaspoon active dry yeast
- Optional: 1 teaspoon dried rosemary or thyme for winter aromatics
Directions
Step 1: Mixing the Shaggy Dough
In a large glass bowl, whisk together the flour, salt, and active dry yeast. If you are adding herbs, toss them in now. Pour the warm water into the center. Use a sturdy wooden spoon or your hands to mix until a shaggy, sticky ball forms and no dry flour remains. Do not overwork it; you just want the ingredients incorporated. Cover the bowl tightly with plastic wrap or a damp kitchen towel.
Step 2: The Long Rise
Place the bowl in a warm, draft-free spot in your kitchen. Let the dough rest for at least 12 hours, though 18 hours is even better for flavor development. During this time, the yeast will bubble and the dough will double in size, becoming very loose and dotted with small air bubbles. This slow fermentation is the secret to the bread’s incredible texture.
Step 3: Preheating the Dutch Oven
When you are ready to bake, place your empty 6-quart Dutch oven (with the lid) into the oven. Preheat the oven to 450°F (230°C). Let the pot heat up for at least 30 minutes. This high heat is essential for the “oven spring” that makes the bread rise rapidly once it hits the hot surface.
Step 4: Shaping and Scoring
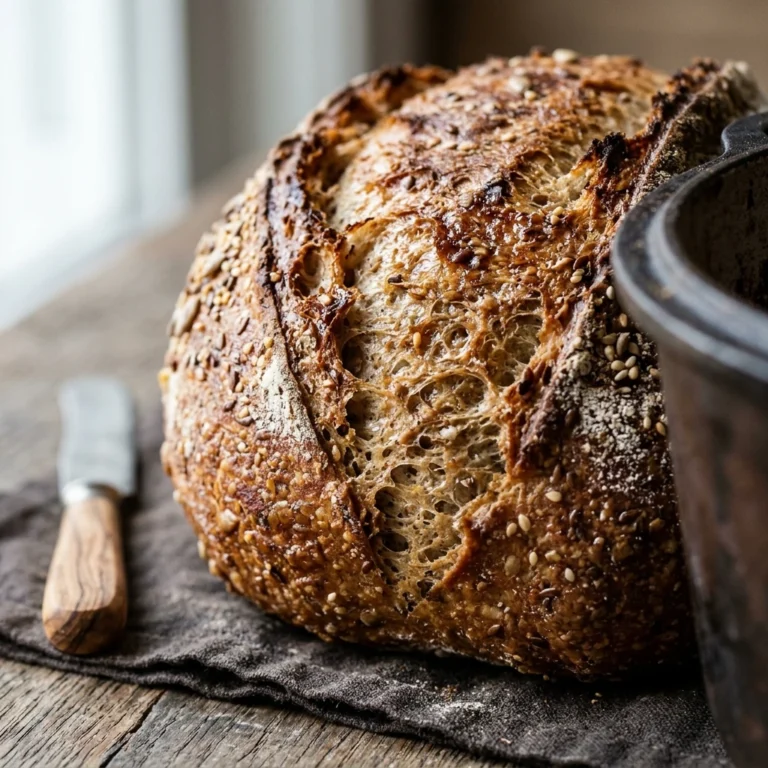
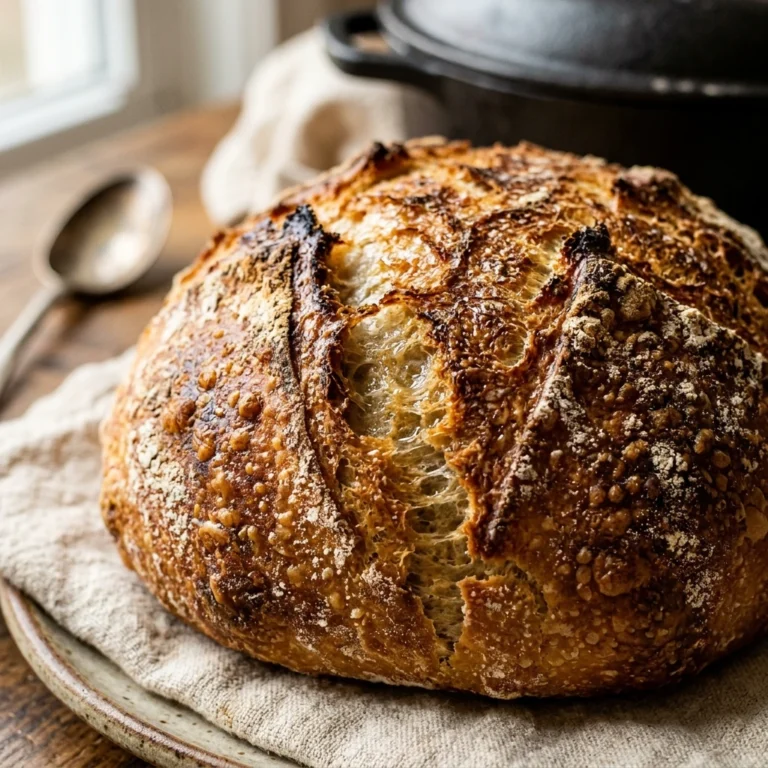
While the pot heats, turn the sticky dough out onto a well-floured surface. Gently fold the edges toward the center to form a round ball. Place the dough onto a piece of parchment paper. Use a sharp knife or a razor blade to slash a shallow “X” or a single line across the top. This allows steam to escape and helps the bread expand beautifully.
Step 5: Baking with Steam
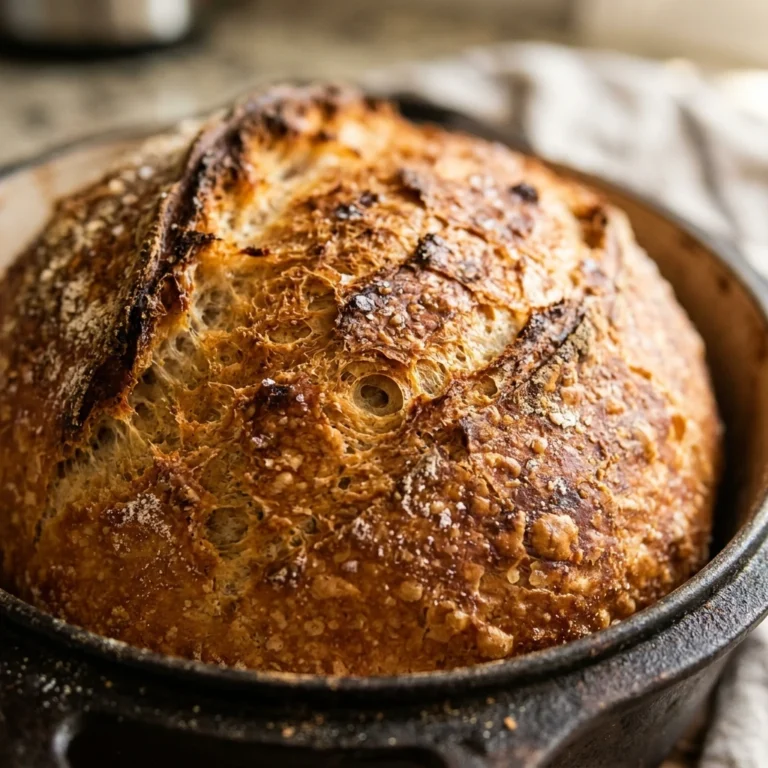
Carefully remove the hot Dutch oven from the oven. Using the parchment paper as a sling, lift the dough and lower it into the pot. Put the lid back on and slide it into the oven. Bake for 30 minutes with the lid on. This traps the moisture from the dough, creating the steam necessary for a crispy crust. After 30 minutes, remove the lid and bake for another 15 minutes until the crust is a deep golden brown.
Step 6: Cooling and Slicing
Carefully lift the bread out of the Dutch oven and place it on a wire cooling rack. Resist the urge to slice into it immediately! The bread continues to cook inside as it cools. Wait at least 30 to 60 minutes before slicing. This ensures the crumb structure sets and prevents the bread from becoming gummy.
Expert Tips for Perfect No-Knead Dutch Oven Winter Bread Easy Cozy Artisan
Make sure your yeast is fresh; if it doesn’t foam slightly in the warm water, it may be dead. Always use a heavy-bottomed pot like cast iron to maintain consistent heat. If your kitchen is very cold in the winter, you can let the dough rise inside an oven that is turned off with the light on. Using parchment paper makes the transfer to the blistering hot pot much safer and prevents sticking. Finally, use a serrated knife to cut the bread to keep from squishing that beautiful airy interior.
Delicious Variations
- Roasted Garlic and Cracked Pepper: Fold in six cloves of roasted garlic and a teaspoon of black pepper during the initial mixing phase.
- Cranberry Walnut: Add a half-cup of dried cranberries and chopped walnuts for a sweet and nutty winter twist.
- Cheddar and Jalapeño: Mix in one cup of cubed sharp cheddar and diced jalapeños for a spicy, cheesy loaf.
- Honey Wheat: Replace one cup of all-purpose flour with whole wheat flour and add a tablespoon of honey to the water.
Frequently Asked Questions
Can I use bread flour instead of all-purpose flour?
Yes, you can use bread flour. It has a higher protein content which will result in a slightly chewier texture and a taller rise, but all-purpose flour works perfectly for a standard artisan loaf.
What if I don’t have a Dutch oven?
You can use a heavy oven-safe pot with a tight-fitting lid, like a Pyrex casserole dish. However, cast iron provides the best heat distribution for that specific crusty finish.
Does the water temperature really matter?
Yes. If the water is too hot (over 120°F), it will kill the yeast. If it is too cold, the yeast will not activate properly. Aim for lukewarm, similar to the temperature of a baby’s bath.
How should I store this bread?
Keep the bread at room temperature in a paper bag for up to two days to preserve the crust. If you put it in plastic, the crust will soften. You can also freeze slices in a freezer bag for up to three months.
Why is my dough so sticky?
No-knead dough is supposed to be very hydrated and sticky. This high moisture content is what creates the large air bubbles in the bread. Avoid adding too much extra flour when shaping.
Conclusion
Mastering the art of artisan baking is simpler than you ever imagined. This No-Knead Dutch Oven Winter Bread proves that you don’t need fancy equipment or a lot of time to create something extraordinary. Whether you are serving it alongside a holiday roast or enjoying a thick slice with your morning coffee, this cozy loaf brings warmth to any winter day. Give it a try tonight, and you may never buy store-bought bread again!
No-Knead Dutch Oven Winter Bread Easy Cozy Artisan
- Total Time: 13 hours
- Diet: Vegetarian
Ingredients
Scale
- 3 cups all-purpose flour (plus extra for dusting)
- 1 ½ cups warm water (about 100°F)
- 1 ½ teaspoons kosher salt
- ½ teaspoon active dry yeast
- Optional: 1 teaspoon dried rosemary or thyme for winter aromatics
Instructions
- In a large glass bowl, whisk together the flour, salt, and active dry yeast. If you are adding herbs, toss them in now. Pour the warm water into the center. Use a sturdy wooden spoon or your hands to mix until a shaggy, sticky ball forms and no dry flour remains. Do not overwork it; you just want the ingredients incorporated. Cover the bowl tightly with plastic wrap or a damp kitchen towel.
- Place the bowl in a warm, draft-free spot in your kitchen. Let the dough rest for at least 12 hours, though 18 hours is even better for flavor development. During this time, the yeast will bubble and the dough will double in size, becoming very loose and dotted with small air bubbles. This slow fermentation is the secret to the bread’s incredible texture.
- When you are ready to bake, place your empty 6-quart Dutch oven (with the lid) into the oven. Preheat the oven to 450°F (230°C). Let the pot heat up for at least 30 minutes. This high heat is essential for the “oven spring” that makes the bread rise rapidly once it hits the hot surface.
- While the pot heats, turn the sticky dough out onto a well-floured surface. Gently fold the edges toward the center to form a round ball. Place the dough onto a piece of parchment paper. Use a sharp knife or a razor blade to slash a shallow “X” or a single line across the top. This allows steam to escape and helps the bread expand beautifully.
- Carefully remove the hot Dutch oven from the oven. Using the parchment paper as a sling, lift the dough and lower it into the pot. Put the lid back on and slide it into the oven. Bake for 30 minutes with the lid on. This traps the moisture from the dough, creating the steam necessary for a crispy crust. After 30 minutes, remove the lid and bake for another 15 minutes until the crust is a deep golden brown.
- Carefully lift the bread out of the Dutch oven and place it on a wire cooling rack. Resist the urge to slice into it immediately! The bread continues to cook inside as it cools. Wait at least 30 to 60 minutes before slicing. This ensures the crumb structure sets and prevents the bread from becoming gummy.
- Cook Time: 13 hours 0 minutes (includes rising time)