Follow Me On Pinterest!


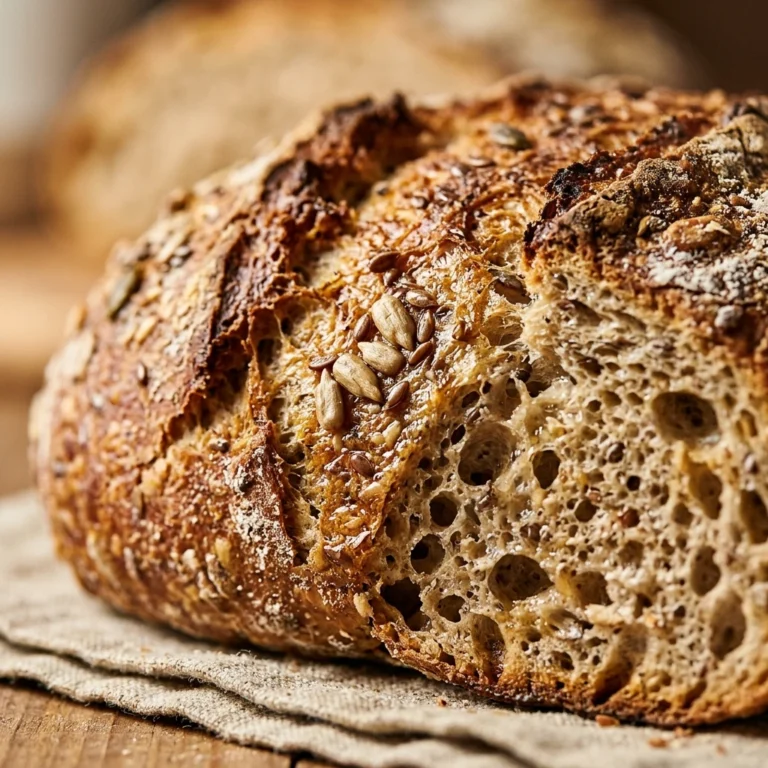
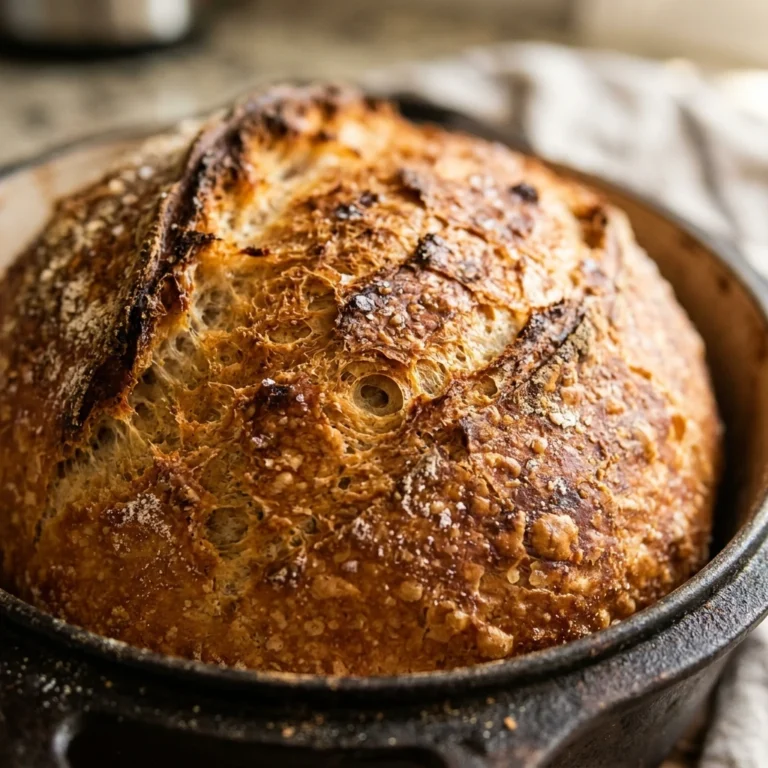
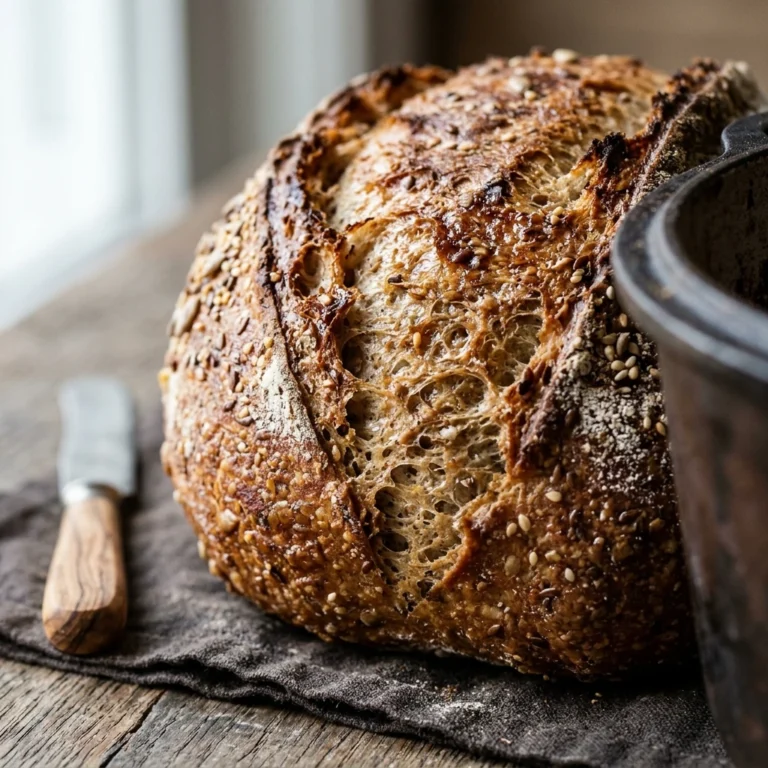
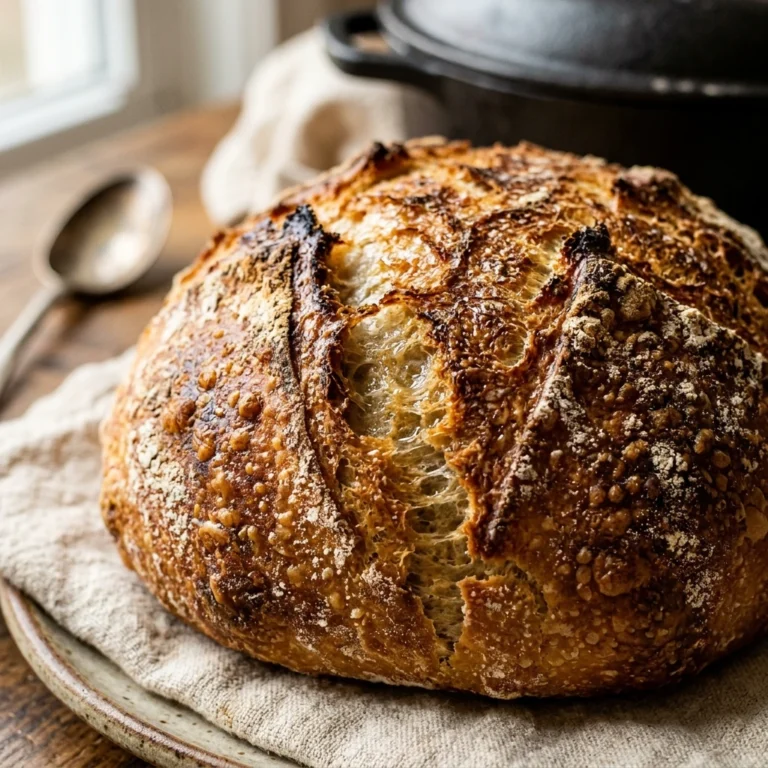
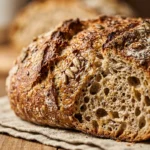
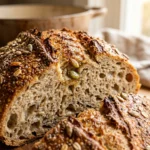
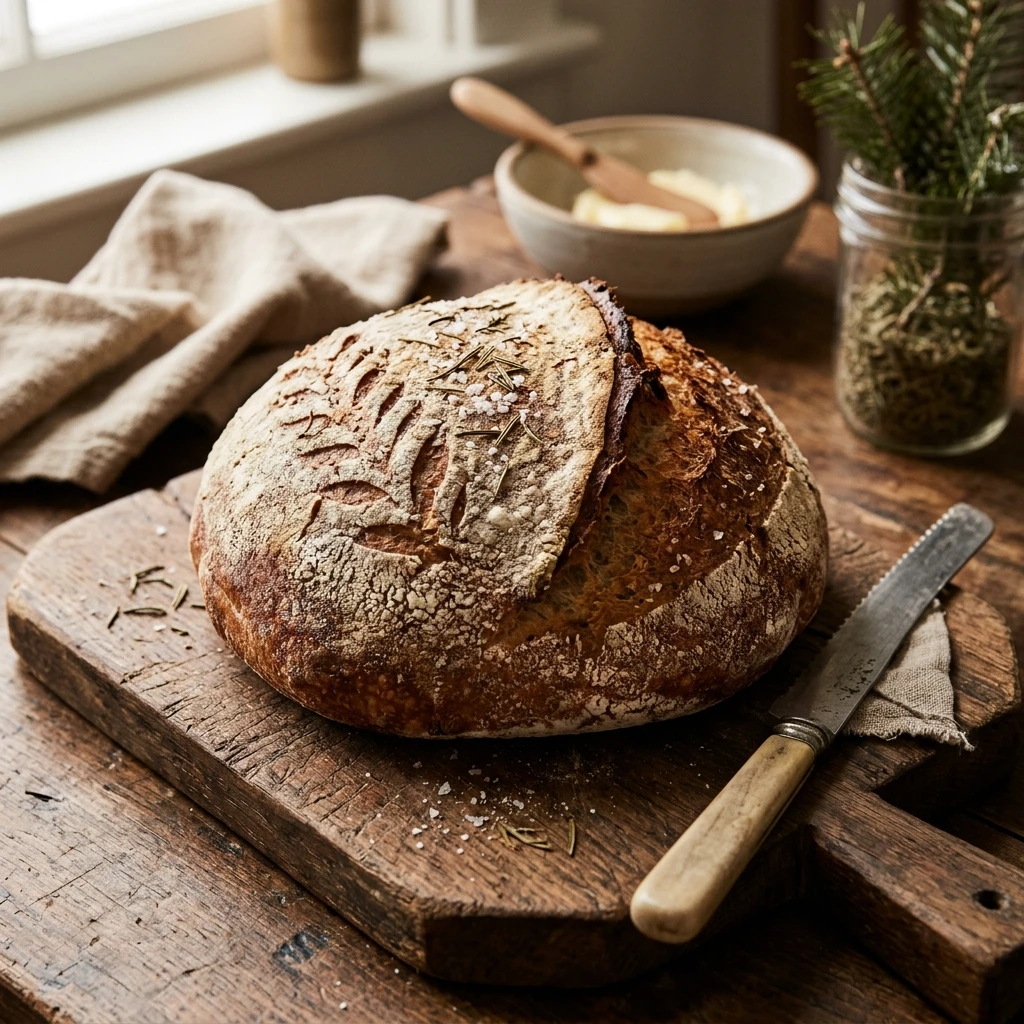
There is something magical about the aroma of fresh bread wafting through a chilly house during the winter months. This no-knead Dutch oven winter bread is the ultimate comfort food for anyone who wants bakery-quality results without the workout of traditional kneading. With a crispy, golden crust and a soft, airy interior, this loaf pairs perfectly with hearty stews or just a thick slab of salted butter. You do not need to be an expert baker to master this recipe; you just need a little patience and a heavy pot. Let the slow fermentation do all the hard work for you while you stay cozy by the fire.
Recipe Information
- Prep Time: 15 minutes (plus 12-18 hours rising time)
- Cook Time: 45 minutes
- Total Time: 18 hours 45 minutes
- Servings: 10 slices
- Difficulty: Easy
Nutrition values
- Calories: 185 kcal per slice
- Protein: 5g
- Carbs: 38g
Why Make This No-Knead Dutch Oven Winter Bread Easy Cozy Artisan
This recipe is a game-changer for home cooks. First, it eliminates the messy and tiring process of kneading dough by hand. Second, using a Dutch oven creates a pressurized, steamy environment that mimics a professional bread oven, resulting in that coveted crackly crust. It is incredibly budget-friendly, requiring only four basic pantry staples. Most importantly, the long rising time develops a deep, complex flavor that quick-rise breads simply cannot match. It is the perfect low-effort, high-reward project for a slow winter weekend.
Ingredients
- 3 cups all-purpose flour (or bread flour for extra chew)
- 1 ½ cups warm water (about 100°F)
- ¼ teaspoon active dry yeast
- 1 ½ teaspoons kosher salt
- Optional: 1 teaspoon dried rosemary or thyme for winter aroma
- Extra flour for dusting
Directions
Step 1: Mixing the Dough
In a large mixing bowl, whisk together the flour, salt, and active dry yeast. If you are using dried herbs, stir them in now. Pour the warm water into the dry ingredients. Use a sturdy wooden spoon or a spatula to stir the mixture until a shaggy, sticky ball forms and no dry flour remains. Do not worry if the dough looks messy; it is supposed to be hydrated and loose.
Step 2: The Long Rise
Cover the bowl tightly with plastic wrap or a beeswax wrap. Place the bowl in a draft-free spot at room temperature. Let the dough rest for at least 12 hours, though 18 hours is ideal for the best flavor. During this time, you will see the dough double in size and develop tiny bubbles on the surface. This slow fermentation is what creates the artisan texture.
Step 3: Shaping and Preheating
Place your empty Dutch oven (with the lid) into the oven and preheat it to 450°F (230°C). While the oven heats, turn the dough out onto a well-floured surface. Gently fold the edges toward the center to form a round loaf. Place the dough onto a piece of parchment paper, cover it with a clean kitchen towel, and let it rest for 30 minutes while the pot gets scorching hot.
Step 4: Baking the Bread
Carefully remove the hot Dutch oven from the oven. Use the parchment paper to lift the dough and lower it into the pot. Place the lid back on and bake for 30 minutes. The lid traps steam, which allows the bread to rise fully and creates a thin, crisp crust. After 30 minutes, remove the lid and bake for another 12 to 15 minutes until the top is a deep golden brown.
Step 5: Cooling and Slicing
Carefully lift the bread out of the pot using the edges of the parchment paper. Transfer the loaf to a wire cooling rack. Resist the urge to slice it immediately! Let the bread cool for at least 30 minutes. This allows the internal structure to set so the bread doesn’t become gummy. Slice and serve with your favorite winter soup.
Expert Tips for Perfect No-Knead Dutch Oven Winter Bread Easy Cozy Artisan
To ensure success, always measure your flour using the “spoon and level” method rather than scooping directly with the measuring cup, which packs the flour too tightly. Ensure your yeast is fresh; if it doesn’t foam slightly in warm water, it might be dead. Use a heavy cast iron Dutch oven if possible, as it retains heat much better than ceramic or thin metal pots. If you want an even crispier crust, toss two ice cubes into the bottom of the Dutch oven (under the parchment paper) right before closing the lid to create extra steam.
Delicious Variations
- Cranberry Walnut: Add ½ cup of dried cranberries and ½ cup of chopped walnuts during the mixing stage for a festive winter twist.
- Garlic and Parmesan: Fold in 2 cloves of minced garlic and ¼ cup of grated Parmesan cheese before the long rise.
- Honey Wheat: Replace 1 cup of all-purpose flour with whole wheat flour and add 1 tablespoon of honey to the warm water.
- Everything Bagel: Sprinkle the top of the dough with everything bagel seasoning right before putting the lid on for the bake.
Frequently Asked Questions
Can I make this recipe in a regular cake pan or baking sheet?
You can, but the results will differ. The Dutch oven is essential for trapping steam, which creates the artisan-style crust. If you use a baking sheet, place a pan of water on the bottom rack of the oven to create some steam, though the crust will likely be thicker and less crispy.
What size Dutch oven works best?
A 4-quart to 6-quart Dutch oven is the ideal size. If the pot is too large, the dough may spread out too much and result in a flatter loaf. If it is too small, the bread won’t have enough room to rise fully.
Can I use instant yeast instead of active dry yeast?
Yes, you can use instant yeast in the same quantity. Since this is a long-rise recipe, both types of yeast will perform well. You do not need to bloom instant yeast in water beforehand.
Why is my bread dough so sticky?
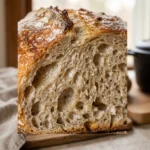
High hydration is the secret to those beautiful air pockets inside artisan bread. Do not be tempted to add more flour. Use well-floured hands or a bench scraper to handle the dough if it feels difficult to manage.
How do I store leftover bread?
Store the bread at room temperature in a paper bag for up to two days to preserve the crust. For longer storage, slice the bread and freeze it in a sealed plastic bag. Toast the frozen slices directly for a “just-baked” taste.
Conclusion
This no-knead Dutch oven winter bread is a testament to the idea that great cooking doesn’t have to be complicated. With just a few minutes of active work and a bit of patience, you can produce a loaf that looks like it came from a high-end bakery. It is the perfect companion for chilly evenings and cozy gatherings. Give this simple method a try, and you may never go back to store-bought loaves again. Happy baking!

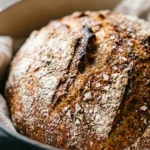
No-Knead Dutch Oven Winter Bread Easy Cozy Artisan
- Total Time: 18 hours 45 minutes
- Diet: Vegan, Vegetarian
Ingredients
Scale
- 3 cups all-purpose flour (or bread flour for extra chew)
- 1 ½ cups warm water (about 100°F)
- ¼ teaspoon active dry yeast
- 1 ½ teaspoons kosher salt
- Optional: 1 teaspoon dried rosemary or thyme for winter aroma
- Extra flour for dusting
Instructions
- In a large mixing bowl, whisk together the flour, salt, and active dry yeast. If you are using dried herbs, stir them in now. Pour the warm water into the dry ingredients. Use a sturdy wooden spoon or a spatula to stir the mixture until a shaggy, sticky ball forms and no dry flour remains. Do not worry if the dough looks messy; it is supposed to be hydrated and loose.
- Cover the bowl tightly with plastic wrap or a beeswax wrap. Place the bowl in a draft-free spot at room temperature. Let the dough rest for at least 12 hours, though 18 hours is ideal for the best flavor. During this time, you will see the dough double in size and develop tiny bubbles on the surface. This slow fermentation is what creates the artisan texture.
- Place your empty Dutch oven (with the lid) into the oven and preheat it to 450°F (230°C). While the oven heats, turn the dough out onto a well-floured surface. Gently fold the edges toward the center to form a round loaf. Place the dough onto a piece of parchment paper, cover it with a clean kitchen towel, and let it rest for 30 minutes while the pot gets scorching hot.
- Carefully remove the hot Dutch oven from the oven. Use the parchment paper to lift the dough and lower it into the pot. Place the lid back on and bake for 30 minutes. The lid traps steam, which allows the bread to rise fully and creates a thin, crisp crust. After 30 minutes, remove the lid and bake for another 12 to 15 minutes until the top is a deep golden brown.
- Carefully lift the bread out of the pot using the edges of the parchment paper. Transfer the loaf to a wire cooling rack. Resist the urge to slice it immediately! Let the bread cool for at least 30 minutes. This allows the internal structure to set so the bread doesn’t become gummy. Slice and serve with your favorite winter soup.
- Cook Time: 18 hours 45 minutes