Follow Me On Pinterest!



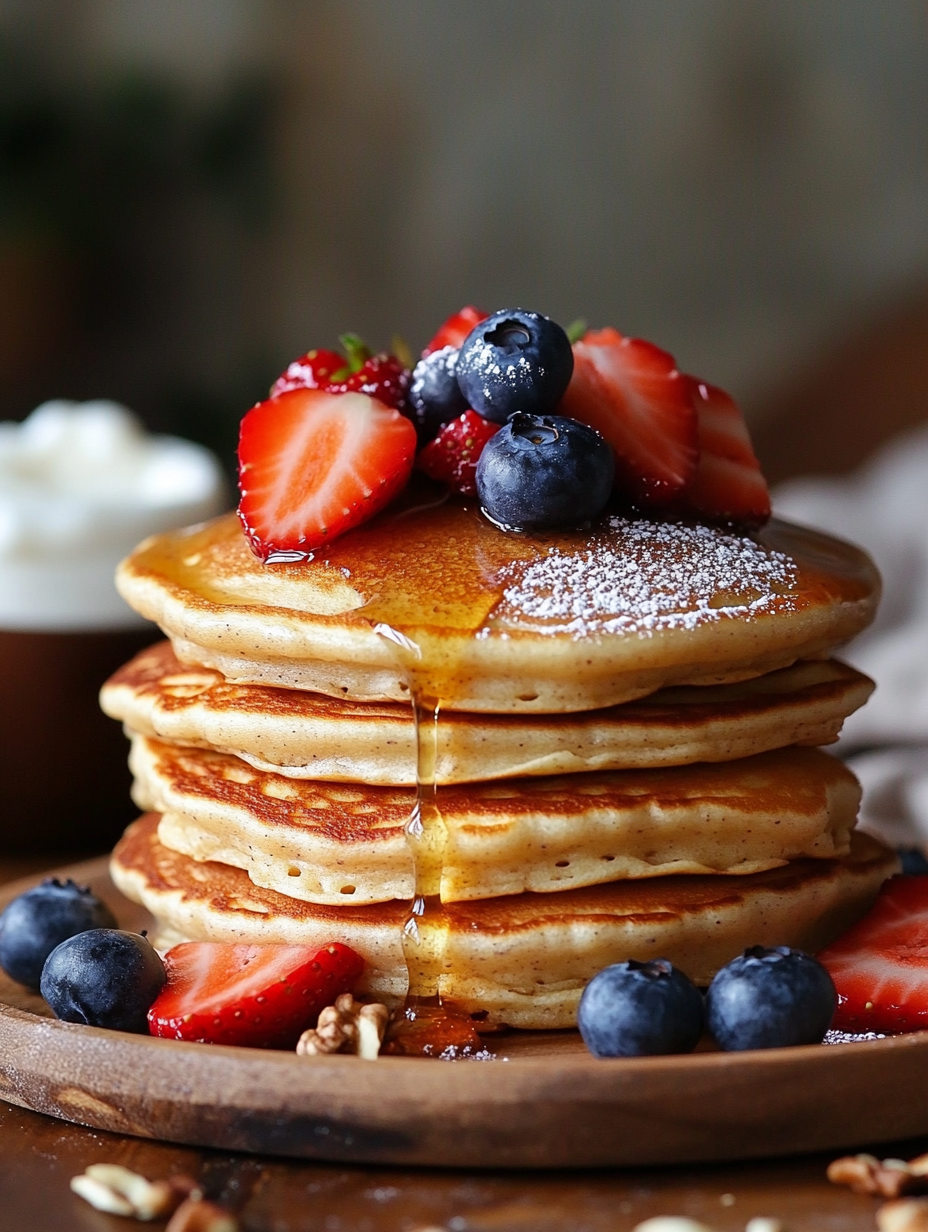
Vegan Pancakes: Light, Fluffy, and Irresistibly Delicious
Introduction
Picture this: a sun-drenched Sunday morning, the aroma of warm pancakes wafting through your home, and your favorite cozy sweater wrapped around you like a hug. Growing up, weekends meant pancake days at my grandma’s kitchen, where she’d whip up her signature fluffy stacks that made every Saturday feel like a holiday. Although my childhood love for pancakes never waned, I found myself seeking a way to enjoy them without the eggs and dairy as I transitioned to a vegan lifestyle.
That’s where these vegan pancakes come into play. With each bite, they capture the nostalgic essence of those family gatherings while being entirely plant-based. The first time I made them, I was skeptical. Could these golden disks of joy truly be as satisfying as the ones I remembered? To my delight, they not only matched but exceeded my expectations—light, fluffy, and with a hint of sweetness from the maple syrup, they became an instant favorite in my cooking repertoire.
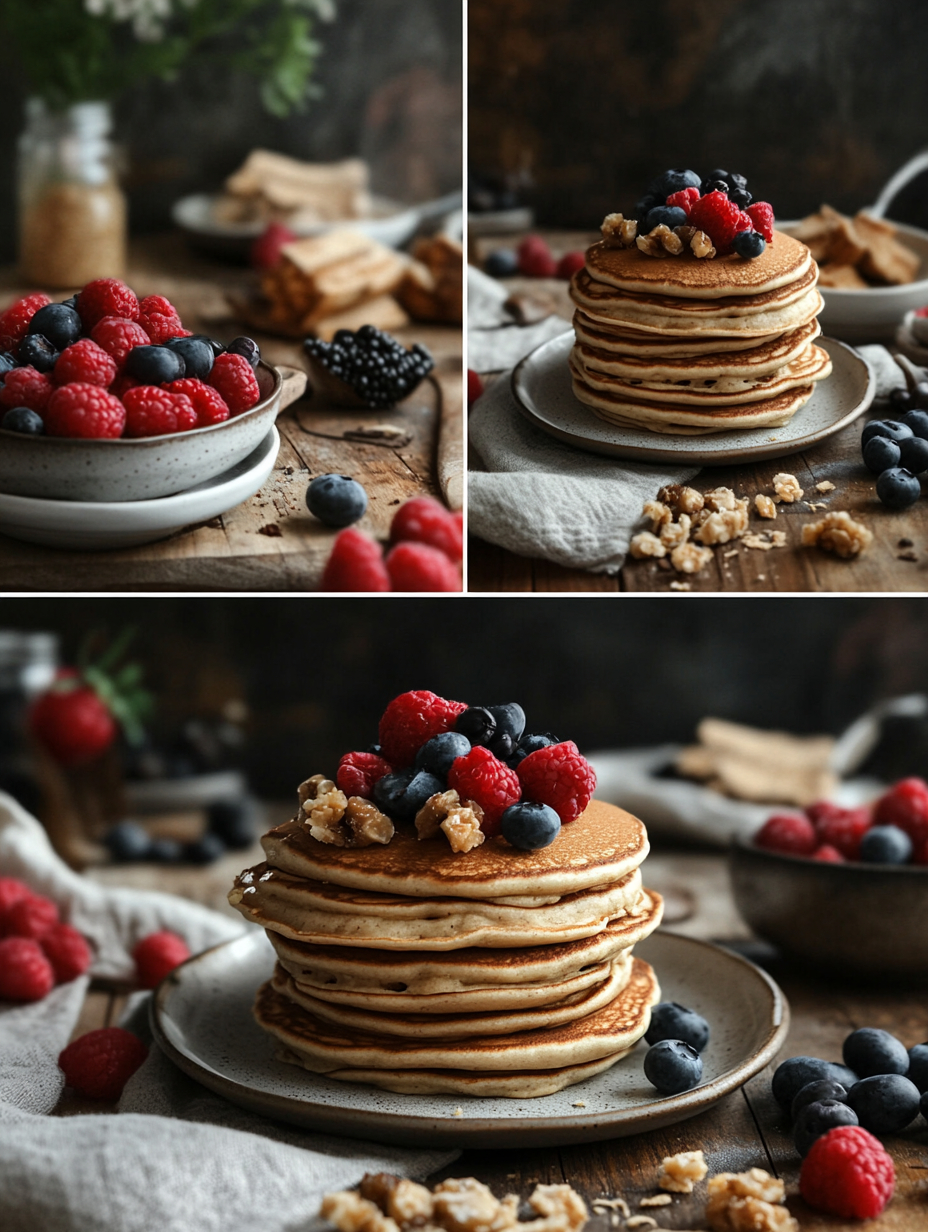
What I love most about these pancakes is the versatility. You can dress them up with fresh berries, a drizzle of maple syrup, or a sprinkle of nuts. Each pancake is a blank canvas, inviting you to get creative. As you flip them on the skillet, you can’t help but smile, knowing you’re about to enjoy a dish that’s both nourishing and soul-soothing.
So, whether you’re serving them at a leisurely brunch with friends or indulging in a simple breakfast for one, these vegan pancakes are bound to become a beloved part of your culinary journey.
Why This Recipe Works
These vegan pancakes shine not just because they’re plant-based, but due to the specific combination of ingredients and techniques that come together to create the perfect texture and flavor. Let’s break down why this recipe is a winner.
1. Flour: The backbone of any pancake, all-purpose flour provides structure. It allows the pancakes to rise while still keeping them tender. You can experiment with whole wheat or gluten-free flour if needed, just keep in mind that the texture may vary.
2. Baking Powder and Baking Soda: These two leavening agents work in tandem to create that coveted fluffy texture. Baking powder releases carbon dioxide when mixed with wet ingredients, while baking soda does so when it encounters acidity—in this case, the almond milk. Together, they create little air pockets that help the pancakes rise beautifully.
3. Almond Milk: This creamy, plant-based milk not only serves as a liquid base but also contributes a subtle nuttiness that elevates the flavor profile. If almond milk isn’t your preference, feel free to substitute it with oat milk, soy milk, or your favorite non-dairy milk.
4. Coconut Oil: A key player in this recipe, melted coconut oil adds moisture and a hint of tropical flavor, while also acting as a fat that helps the pancakes remain tender. If you’re allergic to coconut or prefer a different taste, you can swap it out for canola oil or melted vegan butter.
5. Maple Syrup: This natural sweetener not only sweetens the batter but also adds depth to the flavor, making your pancakes taste more indulgent. You can adjust the amount to your liking or even substitute it with agave syrup or a sugar-free sweetener if desired.
By understanding the roles of each ingredient, you can customize this recipe to fit your taste preferences while ensuring that they come out delightful every time.
What Makes It Special
What sets these vegan pancakes apart from the store-bought or restaurant versions is their homemade charm and the ability to tailor them to your liking. Here are a few unique qualities that elevate this recipe:
– Freshness: There’s something undeniably magical about homemade pancakes. They’re light, fluffy, and bursting with flavor—far superior to the often dense and overly sweet pre-packaged varieties. You control the quality of your ingredients, ensuring your meal is both wholesome and satisfying.
– Customization: One of the best parts about making pancakes at home is the ability to personalize them. Want to add blueberries or chocolate chips? Go for it! Craving a touch of cinnamon or nutmeg? Sprinkle it in. This flexibility means that you can create a breakfast tailored to your mood and preferences.
– Healthier Ingredients: By making these pancakes from scratch, you can choose healthier, whole-food ingredients and adjust the sugar levels to your liking. You can also easily swap in whole grain flours or add chia seeds for extra nutrition, making your breakfast as wholesome as it is delicious.
– Vegan-friendly: These pancakes cater to those following a vegan lifestyle without sacrificing taste or texture. They prove that you don’t need eggs or dairy to achieve that perfect stack of pancakes, making them accessible for everyone.
With these qualities, it’s easy to see why this vegan pancake recipe is not only a staple in my kitchen but can easily become a favorite in yours too.
Ingredient Breakdown
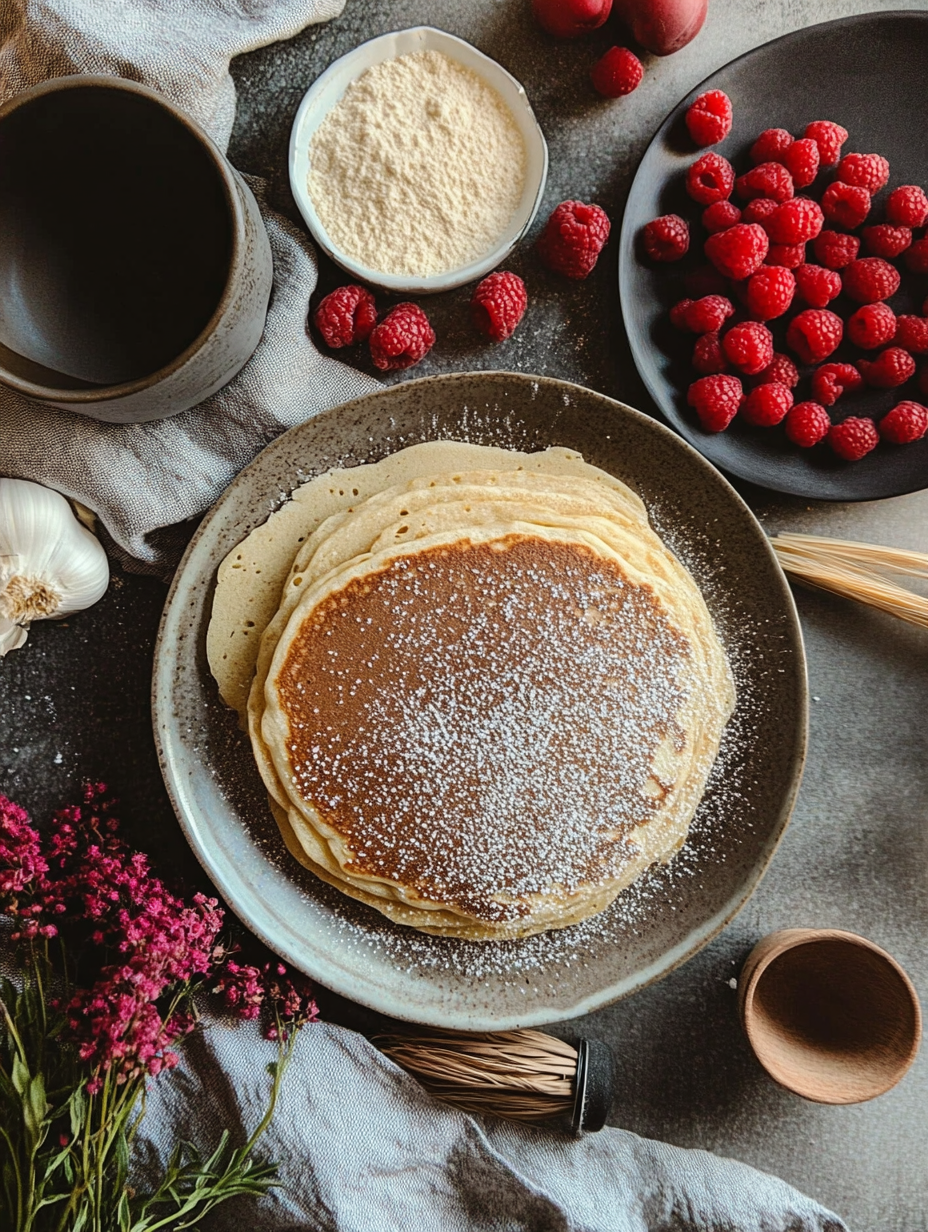
Understanding the role of each ingredient not only enhances your cooking skills but also empowers you to make substitutions based on dietary preferences and needs. Here’s a closer look at the ingredients that make these vegan pancakes so special:
– All-Purpose Flour: This common flour is versatile and provides the desired structure. If gluten-free is your preference, try using a gluten-free all-purpose mix that includes xanthan gum for the best results.
– Almond Milk: This non-dairy milk is popular for its lightness and slightly nutty flavor. If you’re allergic to nuts, oat milk or soy milk works beautifully as alternatives.
– Maple Syrup: A beloved natural sweetener, maple syrup not only adds sweetness but also a rich depth of flavor. For those avoiding liquid sweeteners, coconut sugar can be used instead—just mix it with the dry ingredients and adjust the liquid accordingly.
– Baking Powder and Baking Soda: Essential for achieving fluffiness, these leavening agents can be substituted with a combination of self-rising flour and baking soda if you prefer to keep it simple.
– Salt: A small but important addition that enhances the overall flavor of the pancakes. If you’re watching your sodium intake, you can reduce the amount or use a salt substitute.
– Coconut Oil: This adds moisture and a subtle coconut taste. For those who prefer a different flavor, avocado oil or vegetable oil serves as a great alternative.
– Vanilla Extract: A splash of this magical flavor enhancer elevates the pancakes immensely. If you’re in a pinch, you can replace it with almond extract for a different, yet delightful, twist.
By exploring these ingredients, you’ll not only understand their purpose in the recipe but also how to adapt it to fit your dietary needs.
Equipment Needed
Creating the perfect stack of pancakes requires just a few essential tools, and luckily, they don’t need to break the bank. Here’s what you’ll need:
– Mixing Bowls: A couple of sturdy mixing bowls are essential for combining your dry and wet ingredients. Opt for glass or stainless steel for durability and ease of cleaning.
– Whisk: A good whisk is vital for blending your batter smoothly. If you don’t have one, a fork will do in a pinch, although it may take a bit longer to reach the desired consistency.
– Skillet or Griddle: A non-stick skillet or electric griddle is ideal for cooking pancakes evenly. If you’re looking for a budget-friendly option, any good non-stick frying pan will suffice—just make sure to keep the heat low to avoid sticking.
– Spatula: A flexible spatula helps you flip those pancakes effortlessly. Silicone or wooden spatulas are great choices as they won’t scratch your cookware.
– Measuring Cups and Spoons: Accurate measurements are key to success in any recipe. If you don’t have a set, a simple liquid measuring cup and some standard spoons will work just fine.
With these essential tools in hand, you’ll be ready to whip up a batch of delicious vegan pancakes that will impress both you and your loved ones!
Step-by-Step Instructions
1. Whisk the Dry Ingredients
Start by taking a large mixing bowl and adding the all-purpose flour, baking powder, baking soda, and salt. Use a whisk to combine these dry ingredients thoroughly. Make sure they are well blended to ensure an even rise in your pancakes. As you whisk, take in the fresh scent of the flour and baking powder; it should feel light and airy. This step is crucial for creating that fluffy texture you want.
2. Blend the Wet Ingredients
In a separate bowl, pour in the almond milk, melted coconut oil, maple syrup, and vanilla extract. Using a whisk or a fork, mix these ingredients until they are fully combined. You should see the oil seamlessly blend with the milk, and the aroma of the vanilla will start to fill the air. This mixture needs to be well-combined, as it will add moisture and sweetness to the pancakes.
3. Combine Wet and Dry Ingredients
Now, it’s time to bring the two mixtures together. Pour the wet ingredients into the dry ingredients. Using a spatula, gently fold the wet into the dry until just combined. Be cautious here: it’s okay if there are a few lumps. Overmixing can lead to dense pancakes, which we definitely want to avoid. Feel free to pause and notice the texture of the batter; it should be thick yet pourable.
4. Let the Batter Rest
Allow the batter to sit for about 5 minutes. This resting period is essential as it helps the gluten relax and allows the baking powder to start working. You’ll notice that the batter thickens slightly during this time. Trust this step! The smell of the batter will be sweet and inviting, hinting at the delicious pancakes to come.
5. Prepare the Skillet
While your batter is resting, heat a non-stick skillet or griddle over medium heat. Once it’s warm, lightly grease it with a little coconut oil. You’ll know it’s ready when a drop of water sizzles on the surface. The sound should be a gentle sizzle, indicating that the pan has reached the perfect temperature for cooking.
6. Cook the Pancakes
Now, it’s time for the fun part! Pour about 1/4 cup of batter for each pancake onto the skillet. As you pour the batter, listen for that satisfying sizzle. Cook the pancakes until bubbles form on the surface, which should take about 2-3 minutes. Watch closely; you’re looking for a golden-brown bottom before flipping. When you flip the pancakes, they should be puffed up and fragrant. Cook for another 2-3 minutes until golden brown on the other side.
7. Serve and Enjoy
Once cooked, transfer your pancakes to a warm plate. If you want to keep them warm while you finish cooking, you can place them in an oven set to low heat. Serve with your favorite toppings like fresh fruit, maple syrup, or a sprinkle of nuts. The smell should be heavenly, and the taste should be nothing short of delightful!
Chef’s Note: Always check for doneness; you want a beautifully golden exterior with a soft, fluffy interior.
Pro Tips for the Best Results
1. Use Fresh Ingredients: Ensure that your baking powder is fresh. Old baking powder can lead to flat pancakes. A simple test: add a teaspoon of baking powder to a small bowl of warm water. If it bubbles, it’s still good!
2. Adjust the Consistency: If the batter seems too thick, you can add a splash more almond milk to achieve the desired consistency. The batter should flow off the spoon without being runny.
3. Temperature Control: If your pancakes are browning too quickly, lower the heat. A medium heat setting typically works best. It allows the pancakes to cook through without burning the exterior.
4. Don’t Rush the Resting Period: Allowing the batter to rest is not just a suggestion—it’s essential for texture. Use this time to clean up your work area or prepare toppings.
5. Try a Test Pancake: If you’re not sure about your skillet’s temperature, cook a small test pancake first. This way, you can adjust heat and batter consistency before committing to the whole batch.
6. Keep Them Warm: If you’re making a large batch, keep the cooked pancakes warm in a low oven (around 200°F) while you finish cooking the rest.
7. Experiment with Add-ins: Feel free to fold in extras like blueberries or chocolate chips into the batter just before cooking. This will give your pancakes an exciting twist!
Common Mistakes to Avoid
1. Overmixing the Batter: This can create tough pancakes instead of light and fluffy ones. Always mix until just combined, even if there are a few lumps.
2. Skipping the Resting Step: Neglecting to let the batter rest can result in dense pancakes. This step allows the gluten to relax and contributes to a lighter texture.
3. Using Cold Ingredients: Cold almond milk or coconut oil can shock the mixture and affect the cooking process. Always use room-temperature ingredients for the best results.
4. Cooking on Too High Heat: If your skillet is too hot, the outside will burn while the inside remains uncooked. Stick to medium heat for even cooking.
5. Not Greasing the Pan: A non-stick surface is essential, but skipping this step can lead to messy pancakes. Lightly grease the skillet with coconut oil before each batch.
6. Ignoring Consistency: If your batter is too thick, your pancakes may turn out dry. Always ensure it’s the right consistency—pourable but not runny.
7. Serving Immediately Without Toppings: While these pancakes are delicious on their own, they shine when topped with the right accompaniments. Don’t skip this final touch!
Creative Variations
1. Seasonal: Embrace the flavors of the season! In the fall, add 1 teaspoon of cinnamon and a dash of nutmeg for pumpkin spice pancakes. In summer, fold in fresh berries or peaches for a fruity delight.
2. Dietary-Friendly: For gluten-free pancakes, substitute the all-purpose flour with a 1:1 gluten-free baking blend. Ensure your baking powder is gluten-free as well, and you’ll have a stack that everyone can enjoy.
3. Gourmet Elevated: Elevate your pancakes with a rich chocolate twist! Add cocoa powder to the dry ingredients for chocolate pancakes or fold in dark chocolate chips and serve with a raspberry or blueberry compote.
4. Quick 15-Minute: For a speedy breakfast, prepare the batter the night before and refrigerate it. In the morning, just give it a quick stir and cook. This time-saving tip allows for a delicious breakfast with minimal effort.
5. Kid-Friendly: Turn pancake time into fun! Use cookie cutters to shape the pancakes after cooking. You can also let kids add their toppings of choice, whether it be sprinkles, chocolate chips, or fruit.
6. International Twist: Take inspiration from around the world! Create Japanese-style fluffy pancakes by adding an extra tablespoon of baking powder and whipping the almond milk into soft peaks before folding it into the batter.
7. Savory Pancakes: For a savory variation, omit the maple syrup and vanilla. Instead, add finely chopped herbs like chives or spinach and serve with avocado or a dollop of vegan sour cream for a delightful brunch dish.
Serving Ideas
When it comes to serving your vegan pancakes, the sky’s the limit! Here are a few creative plating ideas that will elevate your breakfast or brunch experience:
1. Classic Maple Drizzle: Stack your pancakes high and drizzle with warm maple syrup. Add a sprinkle of powdered sugar for an elegant touch.
2. Fruit Fiesta: Top your pancakes with a medley of fresh berries—strawberries, blueberries, and raspberries. A dollop of coconut whipped cream adds a creamy contrast.
3. Nut Butter Delight: Spread almond or peanut butter between layers of pancakes. Finish with banana slices and a drizzle of agave syrup for a satisfying treat.
4. Choco-Banana Bliss: Mix in chocolate chips into your batter or sprinkle on top. Serve with sliced bananas and a drizzle of melted dark chocolate for a decadent twist.
5. Savory Option: For a different take, serve your pancakes with sautéed spinach and cherry tomatoes. A sprinkle of nutritional yeast adds a cheesy flavor without dairy.
Aim for about two to three pancakes per serving, depending on the size you make. This way, you can enjoy a balanced meal without overindulging!
What to Serve With
Pairing your vegan pancakes with complementary sides can turn your breakfast into a well-rounded meal. Here are a few suggestions:
1. Fresh Fruit Salad: A light, refreshing fruit salad balances the richness of the pancakes and adds a vitamin boost.
2. Coconut Yogurt: Vegan coconut yogurt adds creaminess and probiotics, enhancing digestion and flavor.
3. Chia Seed Pudding: This nutrient-dense pudding provides healthy fats and proteins, keeping you full longer. Layer it with your pancakes for an appealing presentation.
4. Tofu Scramble: For a savory kick, a well-seasoned tofu scramble gives you a protein-rich option that pairs wonderfully with the sweetness of pancakes.
5. Smoothies: A vibrant green smoothie made with spinach, banana, and almond milk is a quick, nutrient-packed beverage that complements your pancakes perfectly.
6. Nutty Granola: A sprinkle of homemade granola on top adds crunch and texture, making every bite delightful.
These pairings not only enhance the flavors but also ensure you have a balanced meal that fuels your day ahead!
Storage Guide
To keep your vegan pancakes fresh, proper storage is key. Follow these guidelines:
– Container Type: Use an airtight container to store your pancakes in the fridge. If you have leftover batter, transfer it to a covered bowl.
– Temperature: Store your pancakes in the refrigerator at a temperature of 40°F (4°C) or below.
– Days It Keeps: Your pancakes will stay fresh for about 2-3 days in the fridge. If you notice any off smells or mold, it’s best to discard them.
– Signs Gone Bad: Look for discoloration or an unusual smell which indicates spoilage.
– How to Refresh: If you need to revive your pancakes, heat them briefly in the microwave or on a skillet with a touch of oil to bring back their fluffiness.
Storing your pancakes properly ensures you can enjoy them even on busy mornings!
Freezing Tips
If you’re looking to save time and enjoy your vegan pancakes later, freezing is a fantastic option. Here are some helpful tips:
– Freezing Well: Yes, these pancakes freeze beautifully! To prevent sticking, allow pancakes to cool completely before freezing.
– Portioning: Stack pancakes with parchment paper in between each layer, then place them in a freezer-safe bag or container to make it easy to grab just what you need.
– How Long: Frozen pancakes can last for up to 2 months in the freezer without losing their flavor or texture.
– Thawing Method: To thaw, simply transfer them to the fridge overnight or heat them straight from frozen in the microwave or on a skillet.
Enjoying pancakes anytime has never been easier with this handy freezing method!
Reheating Guide
Once you’ve stored or frozen your vegan pancakes, reheating them properly will help you enjoy them just as much as when they were fresh. Here are three methods:
– Microwave: Place 1-2 pancakes on a microwave-safe plate. Cover with a damp paper towel to keep them moist. Heat on high for 30-60 seconds or until warmed through.
– Oven: Preheat your oven to 350°F (175°C). Place pancakes on a baking sheet and cover with aluminum foil to retain moisture. Heat for about 10-15 minutes until warmed.
– Stovetop: Lightly grease a skillet and heat over medium-low. Place pancakes in the skillet and cover with a lid. Warm for 2-3 minutes on each side, or until heated through.
Choose your reheating method based on your preference and time, and enjoy your pancakes as if they were just made!
Nutrition Overview
Each serving of these vegan pancakes (approximately two to three pancakes) contains around 200-250 calories, depending on your specific ingredients and toppings. Here’s a quick breakdown of the macros:
– Carbohydrates: Approximately 40g
– Protein: Approximately 4g
– Fat: Approximately 8g
Key ingredients like almond milk provide calcium and vitamin E, while coconut oil delivers healthy fats that can boost energy. Additionally, the inclusion of maple syrup offers essential minerals like manganese and zinc. These pancakes not only satisfy your cravings but also nourish your body!
Frequently Asked Questions
Q: Can I use whole wheat flour instead of all-purpose flour?
A: Absolutely! Whole wheat flour can be used for a denser texture and added nutrition. Just be aware that the pancakes may turn out a bit heavier than those made with all-purpose flour.
Q: Are these pancakes gluten-free?
A: If you want to make gluten-free pancakes, you can substitute the all-purpose flour with a gluten-free flour blend. Just make sure it contains a binding agent to help the pancakes hold together.
Q: Can I substitute almond milk for another non-dairy milk?
A: Yes! You can use any type of non-dairy milk like soy, oat, or coconut milk. Each will impart a slightly different flavor but will still work well in the recipe.
Q: How can I make these pancakes sweeter?
A: If you prefer a sweeter pancake, consider adding an extra tablespoon of maple syrup to the batter or mixing in some mashed bananas or applesauce.
Q: Can I add mix-ins like blueberries or chocolate chips?
A: Definitely! Fold in 1/2 cup of blueberries or chocolate chips into the batter before cooking for added flavor and texture.
Q: Can I make the batter ahead of time?
A: Yes, you can prepare the batter the night before and store it in the fridge. Just give it a quick stir before cooking as it may thicken overnight.
Q: How can I make these pancakes oil-free?
A: You can omit the coconut oil and replace it with unsweetened applesauce or mashed banana, which will still keep the pancakes moist.
Q: What’s the best way to serve leftovers?
A: Leftover pancakes can be enjoyed cold, reheated as mentioned above, or even made into a breakfast sandwich with avocado or nut butter for a delicious twist.
Final Thoughts
Making vegan pancakes is not just about whipping up a quick breakfast; it’s an opportunity to create a delightful meal that can be tailored to your taste and nutritional needs. Remember, the key tip is to be gentle when mixing your batter—this will ensure your pancakes come out fluffy and light.
I hope you feel inspired to try this recipe and make it your own. Whether you’re enjoying them on a lazy Sunday morning or serving them at a brunch gathering, these pancakes are sure to impress. Dive in, have fun with the toppings, and relish every bite.