Follow Me On Pinterest!


Imagine the smell of zesty citrus wafting through your kitchen as you pull a crusty, golden loaf from the oven. If you think bread making is reserved for professional bakers or requires hours of intense kneading, think again. This no-knead Dutch oven lemon bread is a game-changer for beginners. It combines the rustic crunch of a traditional sourdough with a sweet, lemony twist that makes it perfect for breakfast, brunch, or an afternoon snack. You do not need fancy equipment or strong arms—just a Dutch oven and a little bit of patience while the dough works its magic on its own.
Recipe Information
- Prep Time: 15 minutes (plus 12-18 hours rising time)
- Cook Time: 45 minutes
- Total Time: 18 hours 15 minutes
- Servings: 10 slices
- Difficulty: Easy
Nutrition values
- Calories: 210 kcal
- Protein: 5g
- Carbs: 42g
Why Make This No-Knead Dutch Oven Lemon Bread Easy Sweet Beginner
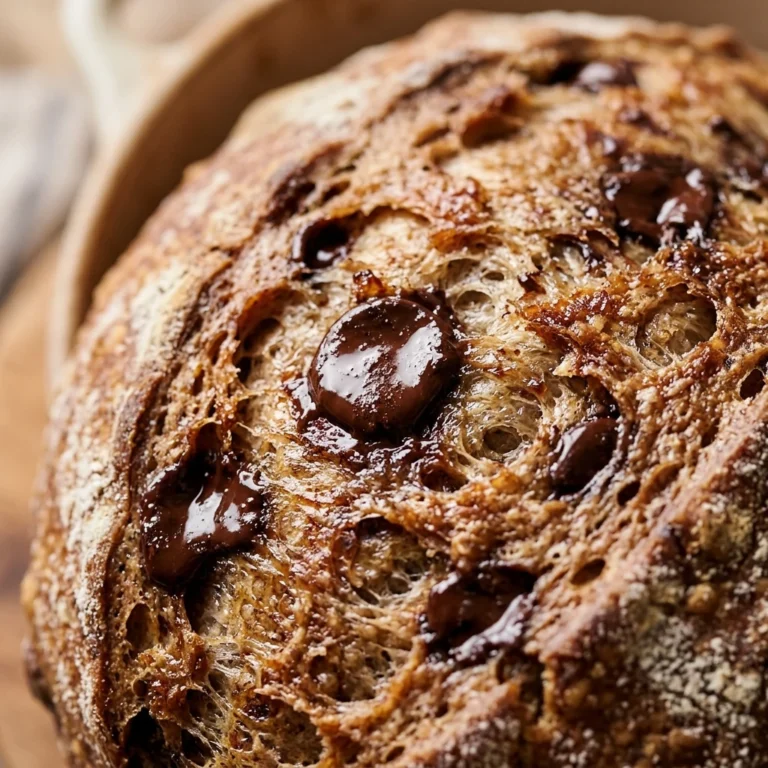
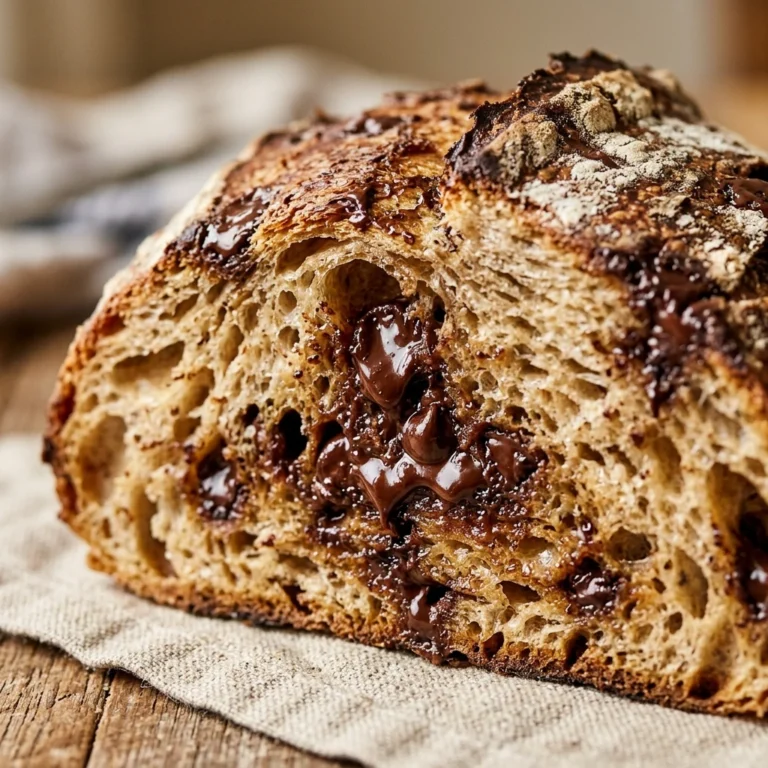
This recipe removes all the intimidation factors of traditional bread making. You do not have to worry about proper kneading techniques or over-working the gluten. The Dutch oven does the heavy lifting by trapping steam, which creates a professional-quality crust that is thin and crispy. The addition of lemon and a hint of sugar elevates the flavor profile from a plain loaf to a bright, aromatic treat. It is cost-effective, uses pantry staples, and provides an immense sense of accomplishment for any first-time baker.
Ingredients
- 3 cups all-purpose flour (plus extra for dusting)
- 1 ½ cups warm water (about 100°F)
- 1 teaspoon active dry yeast or instant yeast
- 1 ½ teaspoons salt
- 2 tablespoons granulated sugar
- Zest of 2 large lemons
- 1 tablespoon fresh lemon juice
- 1 tablespoon poppy seeds (optional)
Directions
Step 1: Mixing the Dough
In a large mixing bowl, whisk together the flour, yeast, salt, sugar, and lemon zest. Ensure the lemon zest is well-distributed so it doesn’t clump. Pour in the warm water and lemon juice. Use a sturdy wooden spoon or a spatula to stir the mixture until a shaggy, sticky dough forms and no dry flour streaks remain. Do not worry about the texture; it should look messy and wet at this stage.
Step 2: The Long Rise
Cover the bowl tightly with plastic wrap or a beeswax wrap. Place the bowl in a draft-free spot at room temperature. Let the dough rest for at least 12 hours, though 18 hours is ideal for the best flavor. During this time, the yeast will ferment and create air bubbles, naturally developing the gluten structure without any kneading required. The dough should double in size and look bubbly on the surface.
Step 3: Preheating the Dutch Oven
Place your empty Dutch oven (with the lid on) into the oven. Preheat the oven to 450°F (230°C). Allow the pot to heat up for at least 30 minutes. This high heat is essential for achieving that signature crispy crust. While the pot heats, gently scrape the dough onto a well-floured piece of parchment paper. Use floured hands to fold it over itself a few times into a rough ball shape.
Step 4: Baking the Bread
Carefully remove the hot Dutch oven from the oven. Lift the parchment paper by the corners and drop the dough (with the paper) into the pot. Place the lid back on and return the pot to the oven. Bake for 30 minutes with the lid on to trap the steam. After 30 minutes, remove the lid and bake for another 15 minutes. This final stage allows the crust to turn a beautiful golden brown.
Step 5: Cooling and Serving
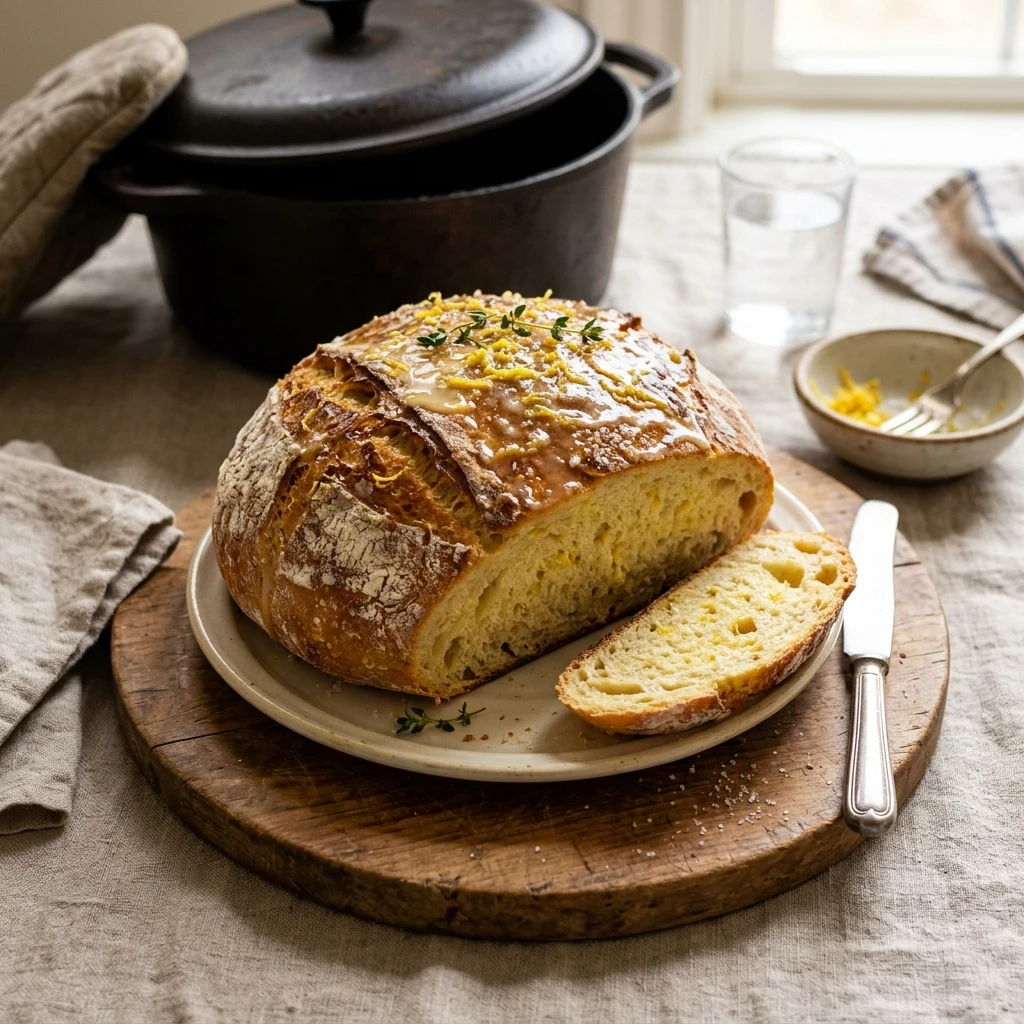
Lift the bread out of the Dutch oven using the parchment paper. Transfer the loaf to a wire cooling rack immediately. This prevents the bottom from becoming soggy. Resist the urge to slice into it right away! Let the bread cool for at least 30 minutes to allow the internal structure to set. Slice and serve with a dollop of butter or a simple lemon glaze for extra sweetness.
Expert Tips for Perfect No-Knead Dutch Oven Lemon Bread Easy Sweet Beginner
Always use fresh lemons for the zest and juice. Bottled juice lacks the vibrant aromatic oils found in the peel. When measuring your flour, use the “spoon and level” method rather than scooping directly with the measuring cup to avoid packing too much flour. If your kitchen is particularly cold, the rise might take longer; you can place the bowl inside an off oven with the light turned on to create a slightly warmer environment. Ensure your yeast is fresh by checking the expiration date, as dead yeast will result in a flat, dense brick.
Delicious Variations
You can easily customize this base recipe to suit your cravings. Add a cup of fresh blueberries to the dough during Step 1 for a classic Lemon Blueberry loaf. For a more floral note, mix in a teaspoon of dried culinary lavender. If you prefer a more dessert-like bread, drizzle a glaze made of powdered sugar and lemon juice over the cooled loaf. You can also swap the lemon for orange zest and add dried cranberries for a festive holiday version.
Frequently Asked Questions
Can I make this bread in a regular baking pan?
While you can bake it in a pan, you will not get the same crust. The Dutch oven traps steam, which is vital for the artisan-style texture. If you use a pan, place a tray of water on the bottom rack of the oven to create some steam.
Do I have to use parchment paper?
Parchment paper makes it much easier to transfer the sticky dough into a scorching hot pot without burning yourself. It also prevents the bread from sticking to the bottom of the Dutch oven.
What if I don’t have 12 hours to wait?
You can speed up the process by using slightly warmer water and adding an extra half-teaspoon of yeast, letting it rise in a warm spot for 3 to 4 hours. However, the flavor and texture will be slightly less developed than the slow-rise method.
Can I use whole wheat flour?
You can substitute up to 50% of the all-purpose flour with whole wheat flour. Note that the bread will be denser and may require a little more water, as whole wheat flour absorbs more liquid.
How do I store this bread?
Store the bread at room temperature in a paper bag for up to two days to maintain the crust. For longer storage, slice the bread and freeze it in a sealed freezer bag. Toast the slices directly from the freezer when you are ready to eat.
Conclusion
Making artisan-style bread at home does not have to be a stressful or complicated process. This no-knead Dutch oven lemon bread proves that with just a few ingredients and a little time, anyone can bake a beautiful, flavorful loaf. The bright citrus notes and the satisfying crunch of the crust make this a recipe you will return to again and again. Whether you are a total beginner or a seasoned pro looking for a low-effort bake, this lemon bread is sure to brighten your table.


No-Knead Dutch Oven Lemon Bread Easy Sweet Beginner
- Total Time: 18 hours 15 minutes
- Diet: Vegetarian
Ingredients
Scale
- 3 cups all-purpose flour (plus extra for dusting)
- 1 ½ cups warm water (about 100°F)
- 1 teaspoon active dry yeast or instant yeast
- 1 ½ teaspoons salt
- 2 tablespoons granulated sugar
- Zest of 2 large lemons
- 1 tablespoon fresh lemon juice
- 1 tablespoon poppy seeds (optional)
Instructions
- In a large mixing bowl, whisk together the flour, yeast, salt, sugar, and lemon zest. Ensure the lemon zest is well-distributed so it doesn’t clump. Pour in the warm water and lemon juice. Use a sturdy wooden spoon or a spatula to stir the mixture until a shaggy, sticky dough forms and no dry flour streaks remain. Do not worry about the texture; it should look messy and wet at this stage.
- Cover the bowl tightly with plastic wrap or a beeswax wrap. Place the bowl in a draft-free spot at room temperature. Let the dough rest for at least 12 hours, though 18 hours is ideal for the best flavor. During this time, the yeast will ferment and create air bubbles, naturally developing the gluten structure without any kneading required. The dough should double in size and look bubbly on the surface.
- Place your empty Dutch oven (with the lid on) into the oven. Preheat the oven to 450°F (230°C). Allow the pot to heat up for at least 30 minutes. This high heat is essential for achieving that signature crispy crust. While the pot heats, gently scrape the dough onto a well-floured piece of parchment paper. Use floured hands to fold it over itself a few times into a rough ball shape.
- Carefully remove the hot Dutch oven from the oven. Lift the parchment paper by the corners and drop the dough (with the paper) into the pot. Place the lid back on and return the pot to the oven. Bake for 30 minutes with the lid on to trap the steam. After 30 minutes, remove the lid and bake for another 15 minutes. This final stage allows the crust to turn a beautiful golden brown.
- Lift the bread out of the Dutch oven using the parchment paper. Transfer the loaf to a wire cooling rack immediately. This prevents the bottom from becoming soggy. Resist the urge to slice into it right away! Let the bread cool for at least 30 minutes to allow the internal structure to set. Slice and serve with a dollop of butter or a simple lemon glaze for extra sweetness.
- Cook Time: 18 hours 15 minutes